Tamiya F4U-1D (Pt. 3)
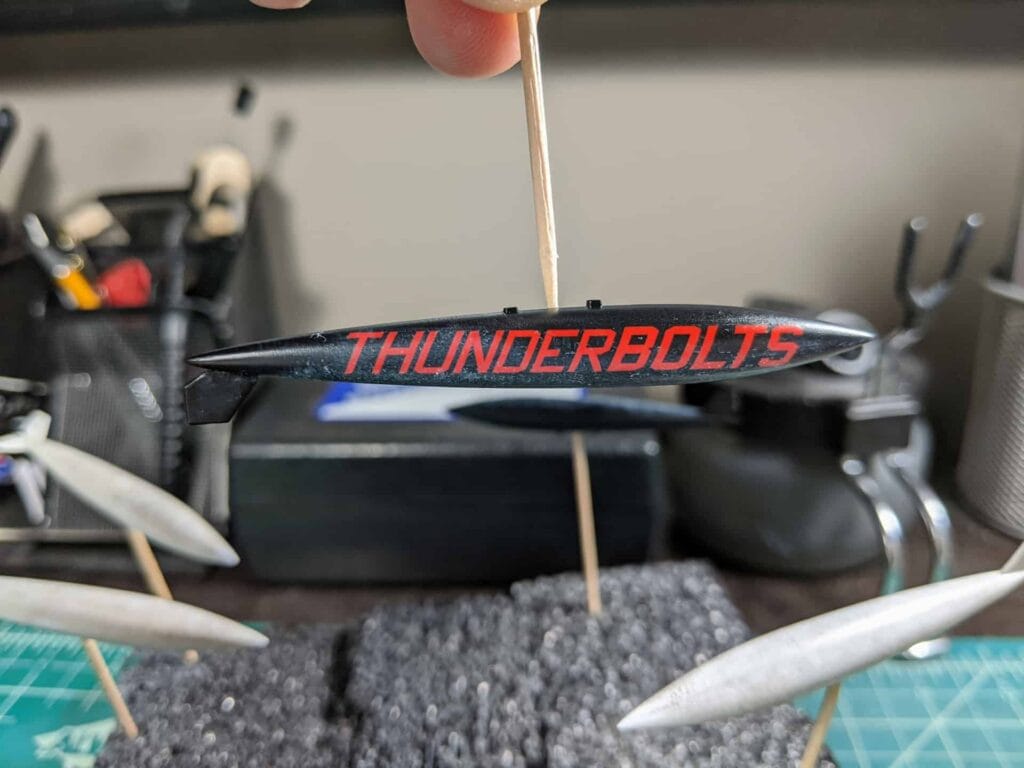
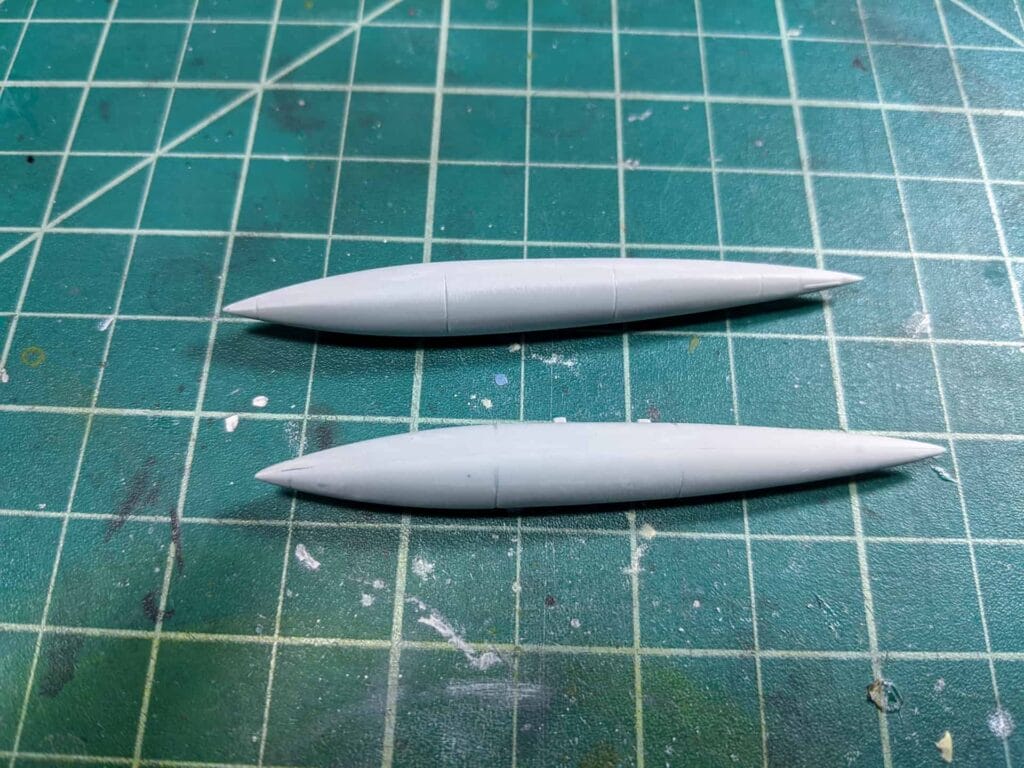
In Part 3 we go over weathering of the fuel tanks and put on some base layer paint. We also get into hairspray chipping.
In Part 3 we go over weathering of the fuel tanks and put on some base layer paint. We also get into hairspray chipping.
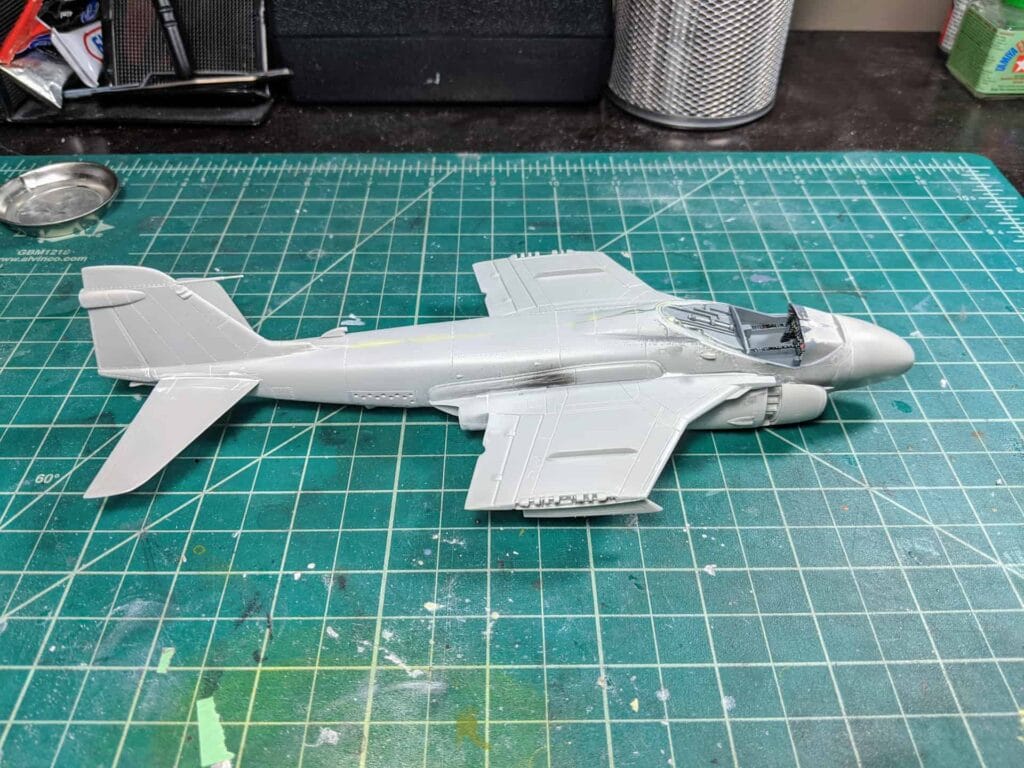
In Part 2 we detail the gear bay as well as look into the cockpit and fuselage fit.
In Part One we unbox the excellent Tamiya Corsair and check out its parts and decals.
In part eight, the final installment of this build series, we weather the aircraft and assemble the final pieces. The full completed build gallery can be found in the showcase.
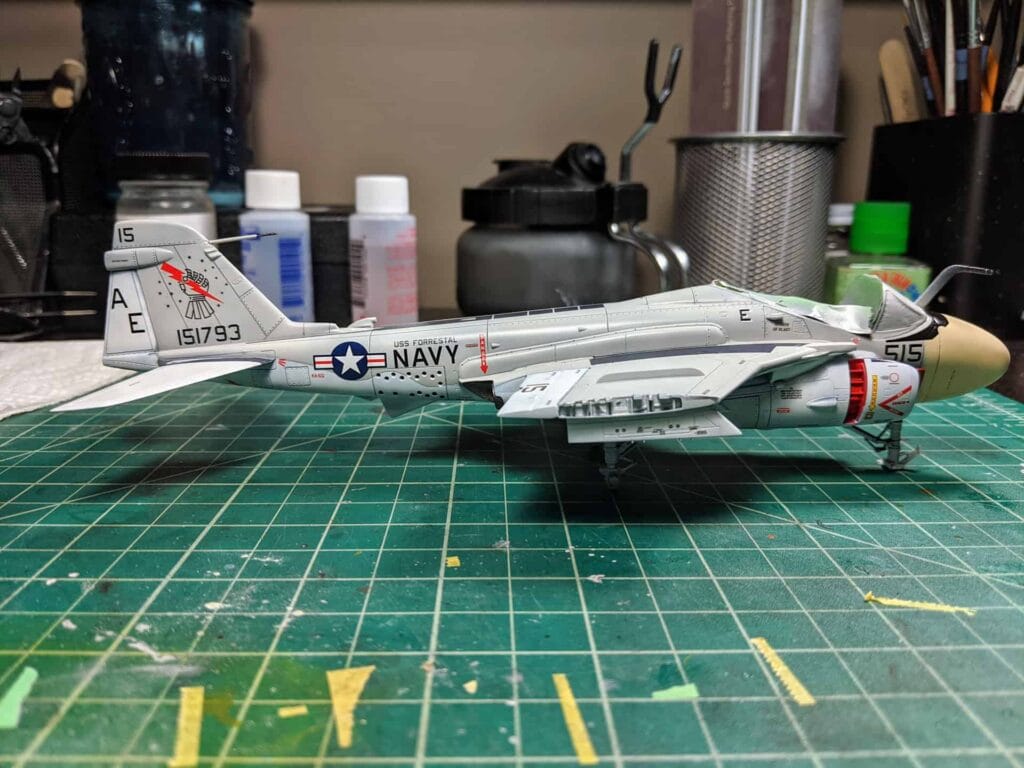
In this post we throw down the base coat, do some detail painting, and finally apply all the decals.
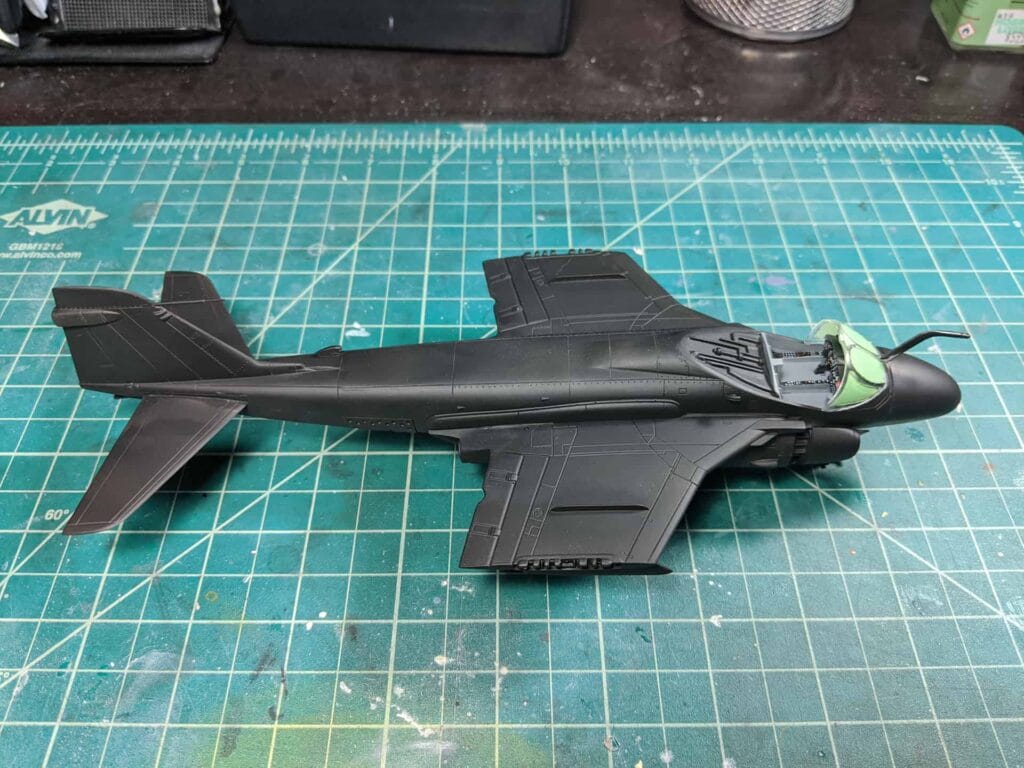
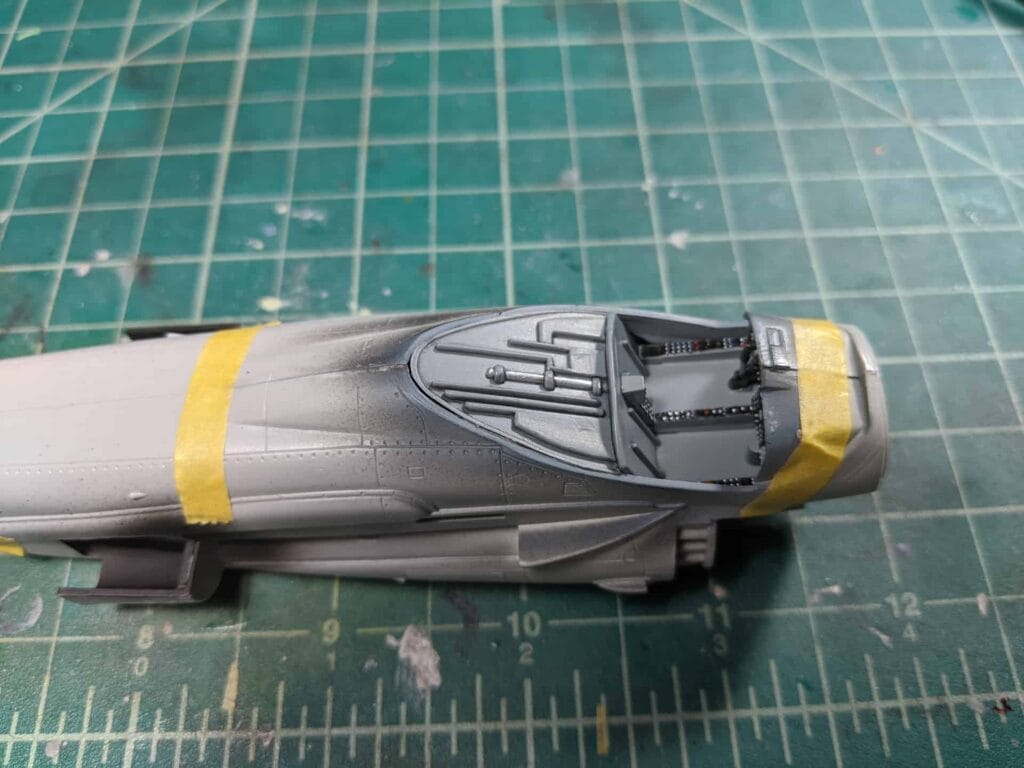
In this post we put down some primer and clean up a few remaining blemishes. I also go over the scheme options and chose paint scheme to use.
In this post we finish up the fuselage, clean up a few more seams, and add some nose weight. Finally, we clean it up to be ready for priming.
In this post we sand, and sand, and sand, and sand some more. We also attach some remaining fuselage bits.
In this article we put together the exhausts and go over the various intricacies of assembling the fuselage together.