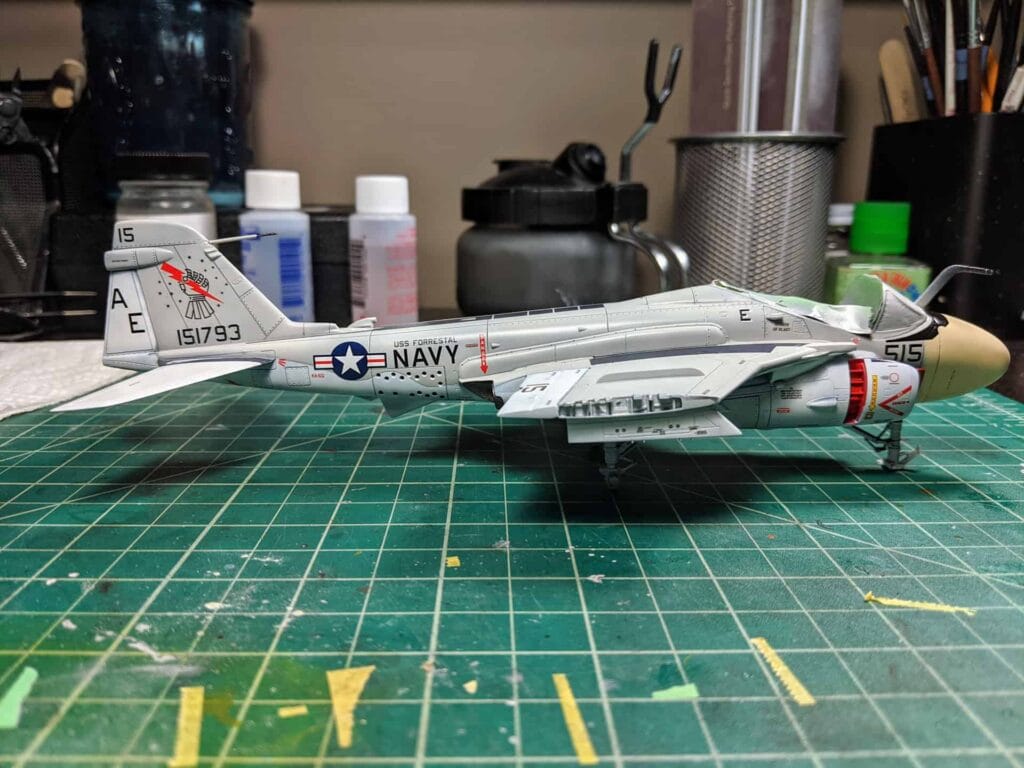
Weathering and Final Assembly
Black enamel wash has been applied. I like to go with Tamiya black panel liner. Some don’t like it because it causes too much contrast on gray aircraft. I tend to agree but I like the contrast. Too much contrast though and it looks like a cell shaded render.
Here’s a before and after. Bottom wing is no wash applied and the top had the wash (before cleaning it up). You can see it makes a big difference in bringing out the details.
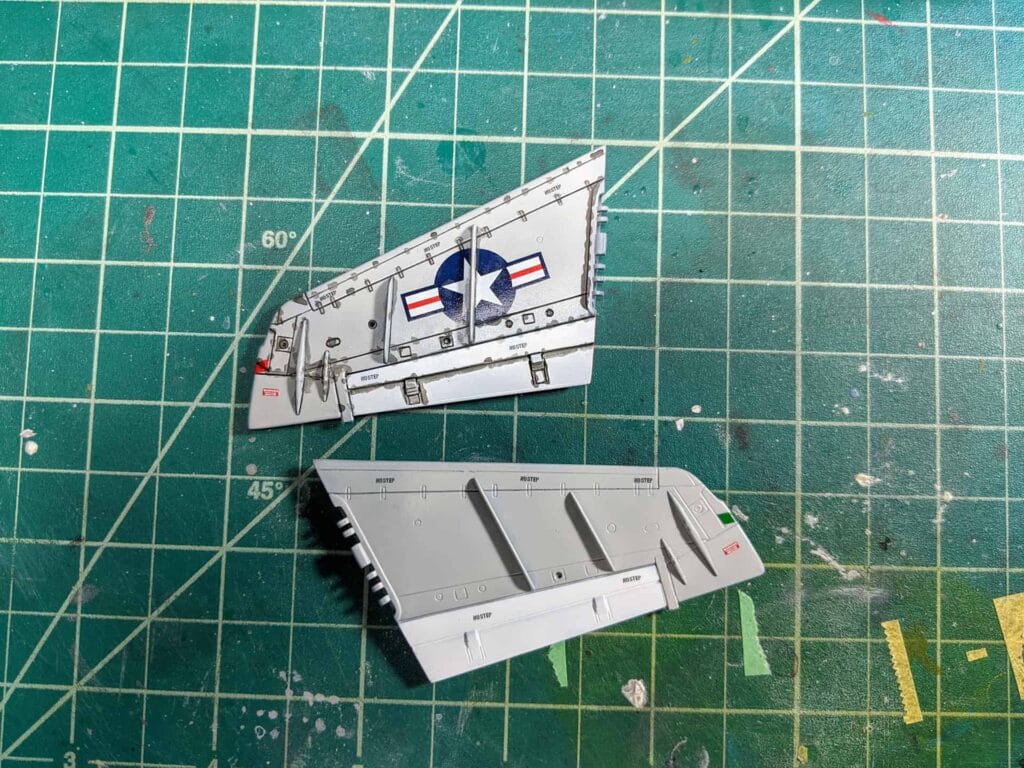
Here is the fuselage with the wash and cleaned up. Next up is oil weathering and will use some Tamiya weathering powders. We’re almost home!
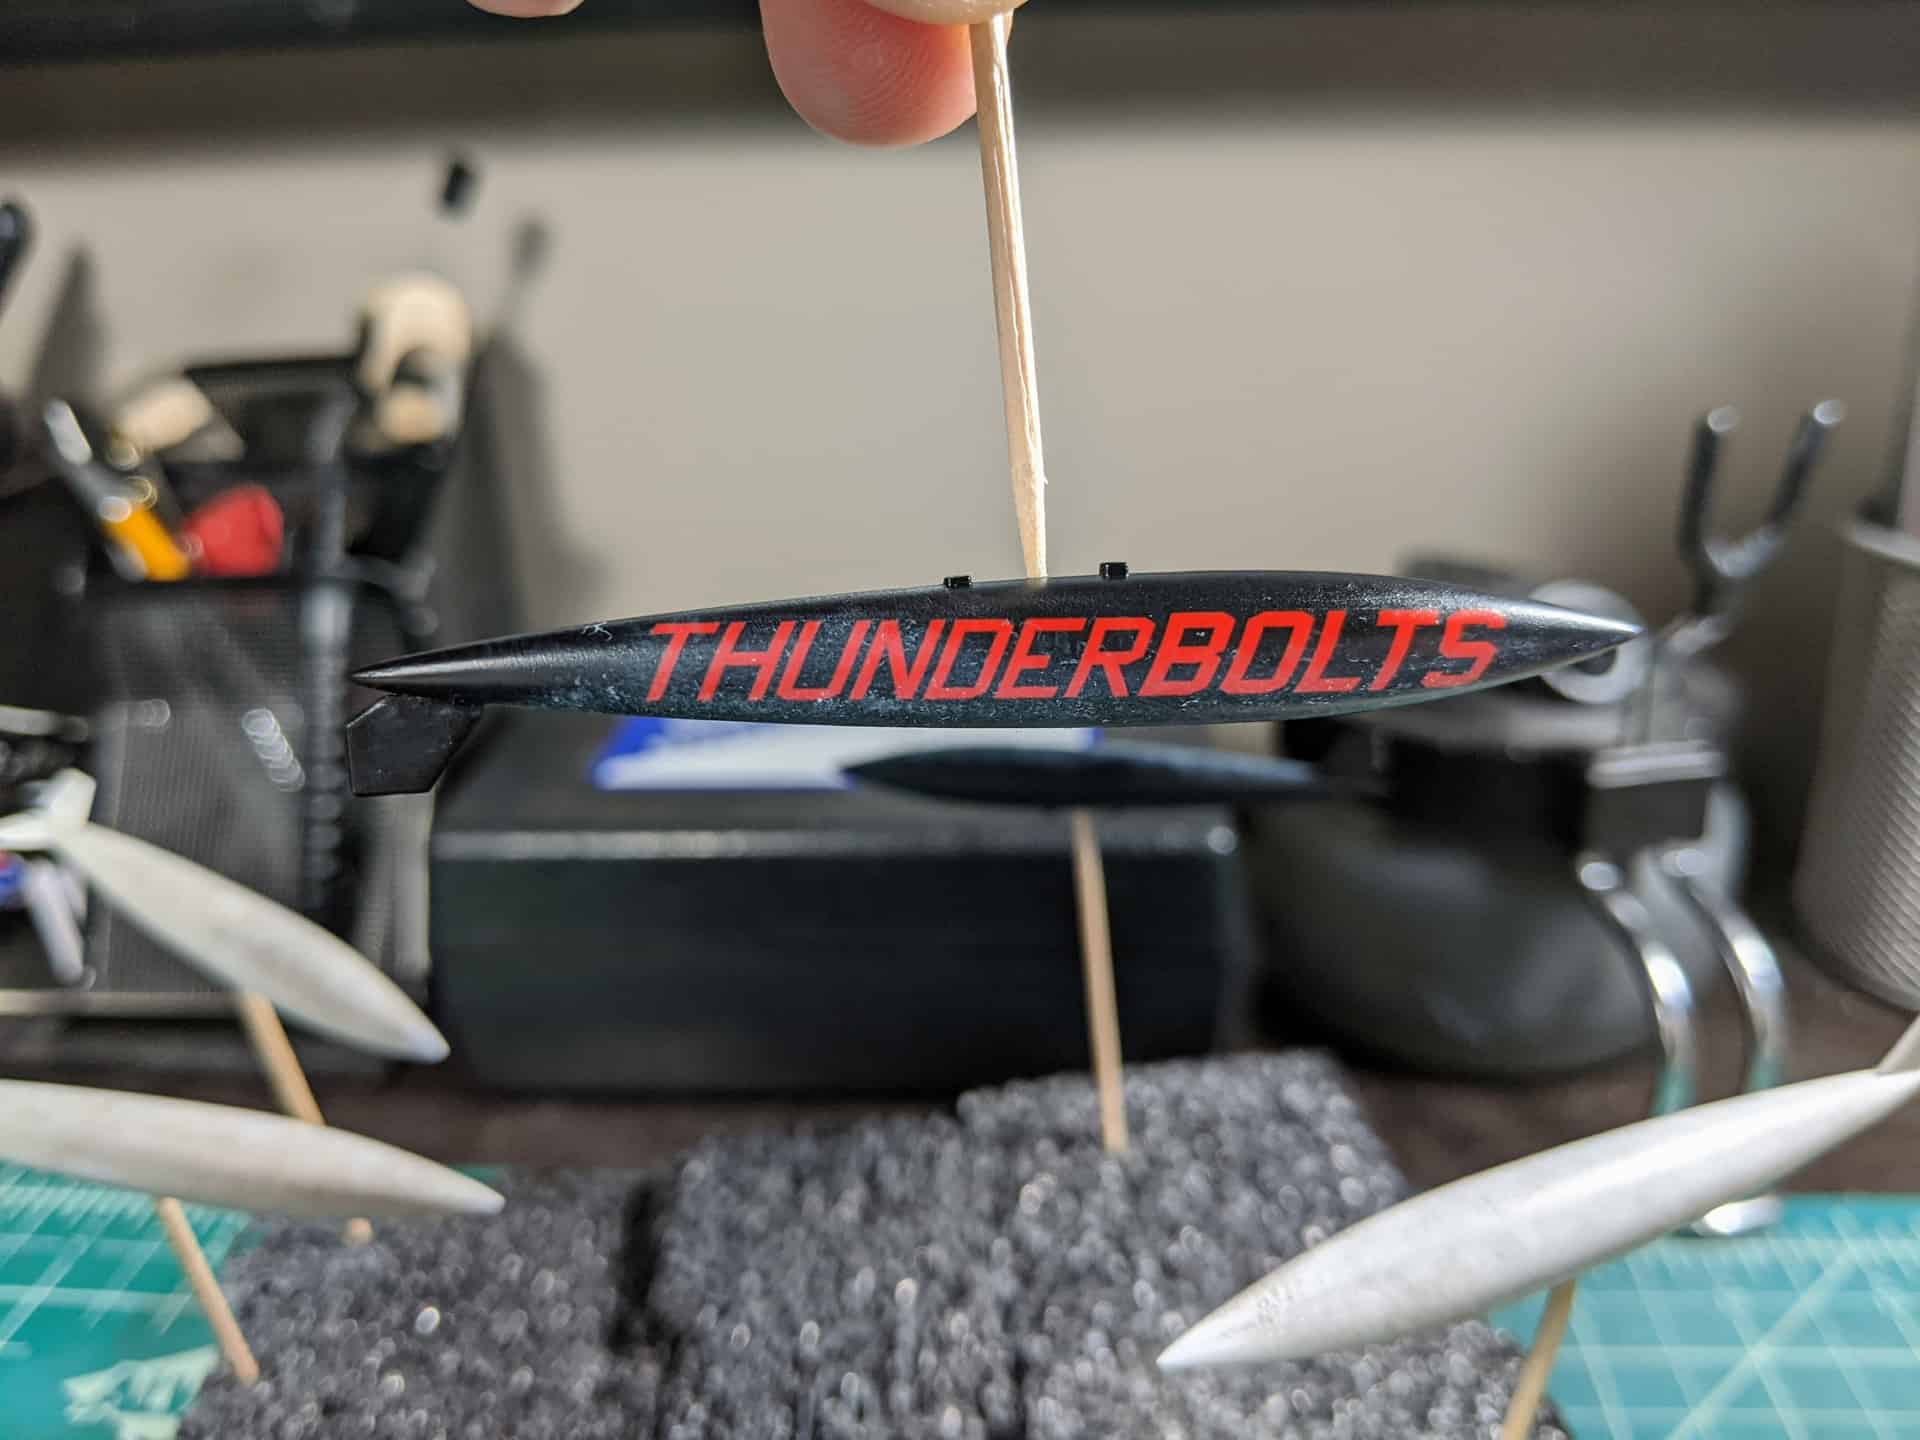
So I started weathering the fuel tanks. This baby has 5. I decided to go heavy on them. Between carrier launches and heavy use in the air I would imagine they get quite grimey.
For the black ones I used titanium white to simulate heavy fading. For they white tanks I used a mix of burnt sienna, white, and a gray mixture.
These are all oil paints. There is no method to the madness but I apply them with a mix of wet/dry sponges (some with or without thinner) and paper towel. My trick is to just keep dabbing and dabbing and dabbing the paint to simulate grainy look to fading.
I might have overdone it but we will go with it.
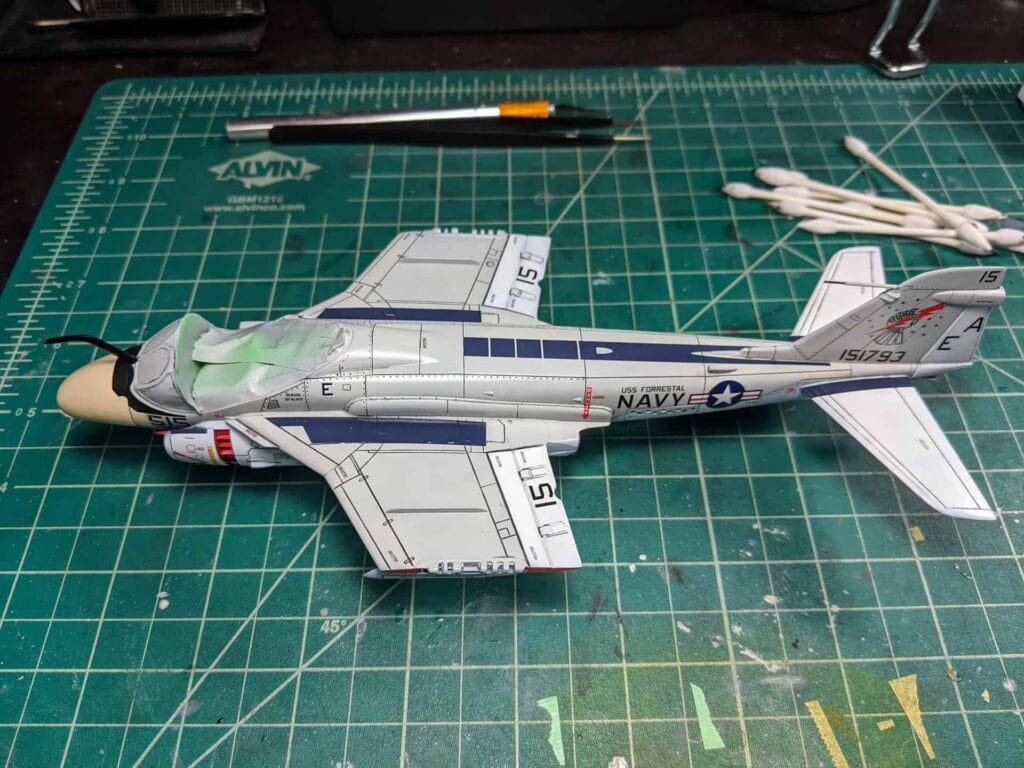
First wing glued on. I don’t have plastic rods to hold it in place per the instructions. I’m trusting the bad physics positioning and a whole lot of super glue. Hopefully it will stay upright. This whole wing process has caused a lot of heartburn!

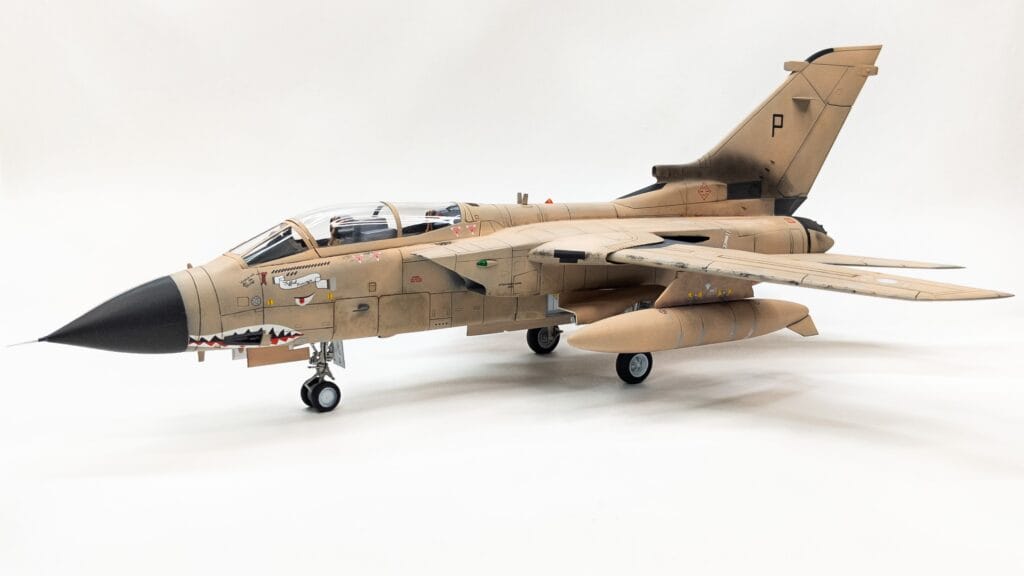
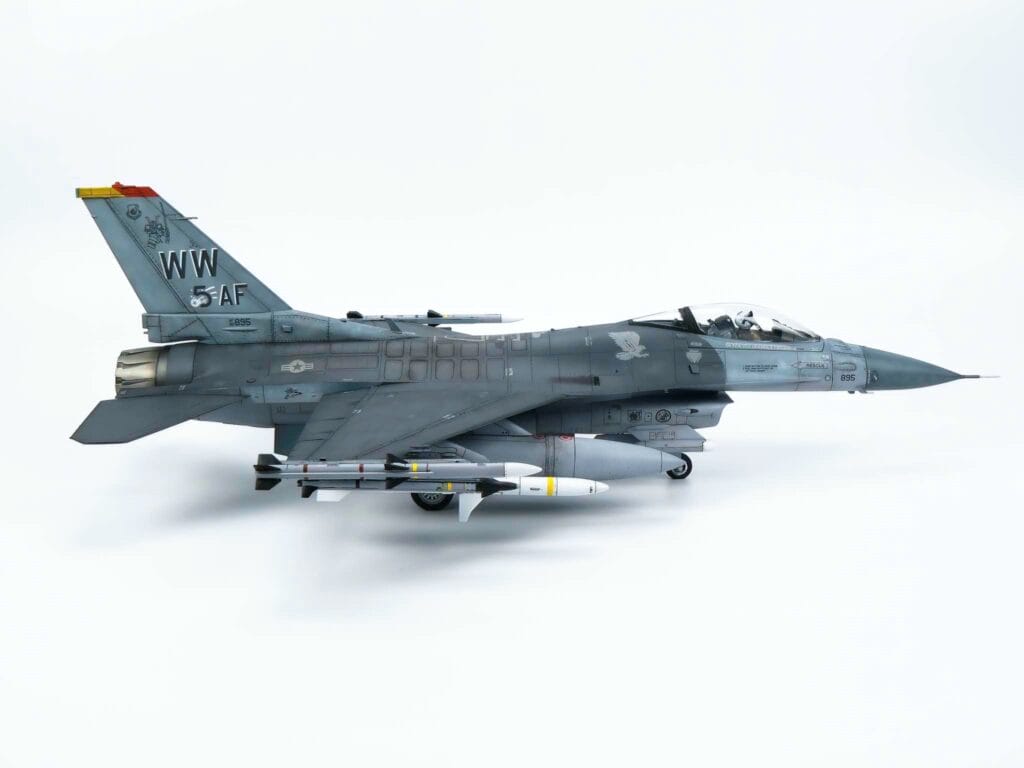
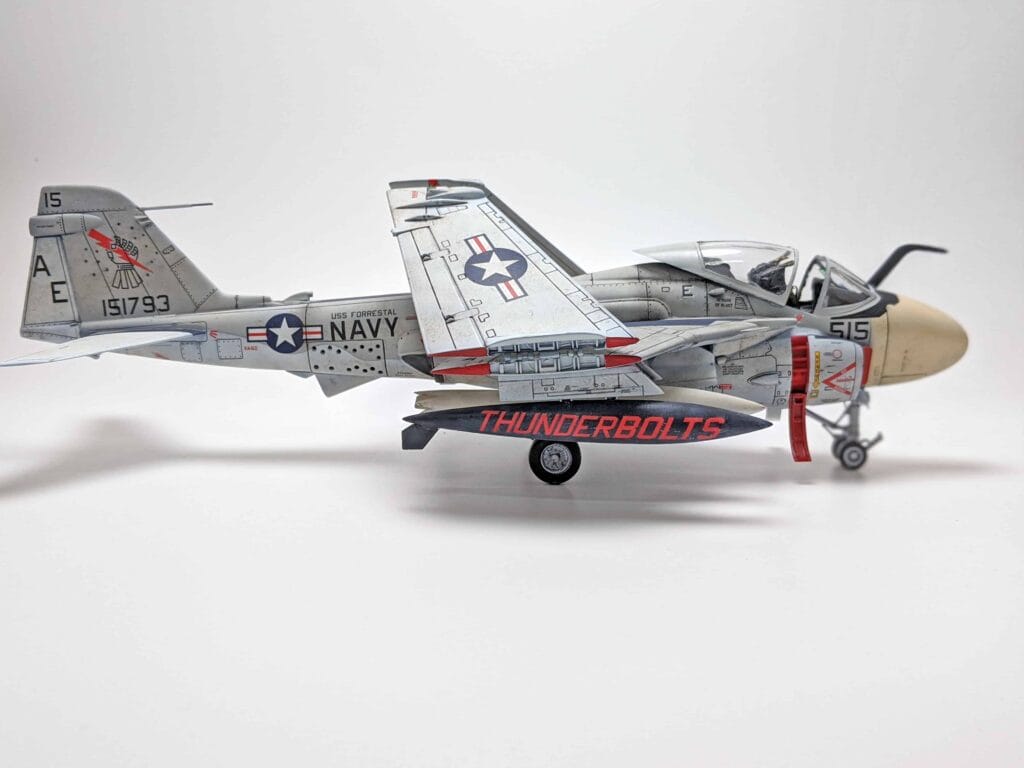
We’re Done!
Some final thoughts…
Didn’t turn out as well as I had hoped. First, I airbrushed a bit too uniformly which led to me over weathering in post. I needed to show a little bit more mottle but I ended up blending it too much. I also am not happy with the canopy painting or the fit. I did some touch ups best I could but fit is fit. It’s an older kit so you can only expect so much. Another way to save a headache in the future would be to attach the wings rather than pose them closed.
Overall though I liked the kit. It was a decent build with more modern tooling. It has some fit issues but if you power through them you can build out a nice bird. Also don’t do what I did and fall into the over weathering trap. I should’ve weathered more during the paint session and then just hit it with a wash and call it a day. But I’m still working on technique and it didn’t turn out too bad.
It’s not going to win any awards but it will look nice on the shelf.