This is part of a series originally published on Britmodeller.com. You can view the original article HERE.
Finishing Off the Fuselage
So what I like to do here is attack it with acrylic putty. In this case, Deluxe Perfect Plastic Putty. It goes down rough and sticky so I use tape to mask off the area. Then apply it and smooth it out with a q-tip. After it dries for a bit I smooth it out again with a wet q-tip while being liberal with the water on it. That way the putty begins to pool in the gap while removing it from the rest of the area. It works really well in hard to reach places where a tougher putty like Tamiya would be impossible to sand without damaging the model.
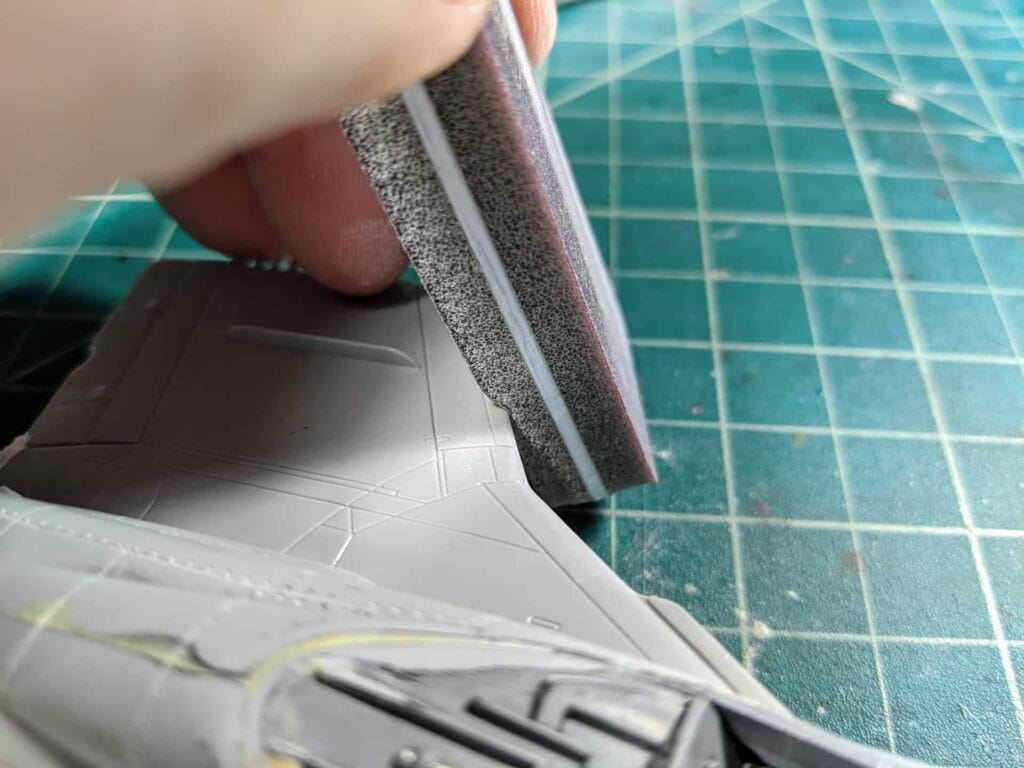
Let’s talk about sanding sponges for a minute. I love my Infini sanding sticks. They’re softback and are great at conforming to compound surfaces. Where regular sandpaper might flatten a surface, these keep the shape. Beware though, using them on straight edges can (and has for me) resulted in a curved or drooped edge. Oops!
See below how it conforms to the leading edge of the wing. Using regular sandpaper here would outright flatten the edge while these sticks will keep its shape.
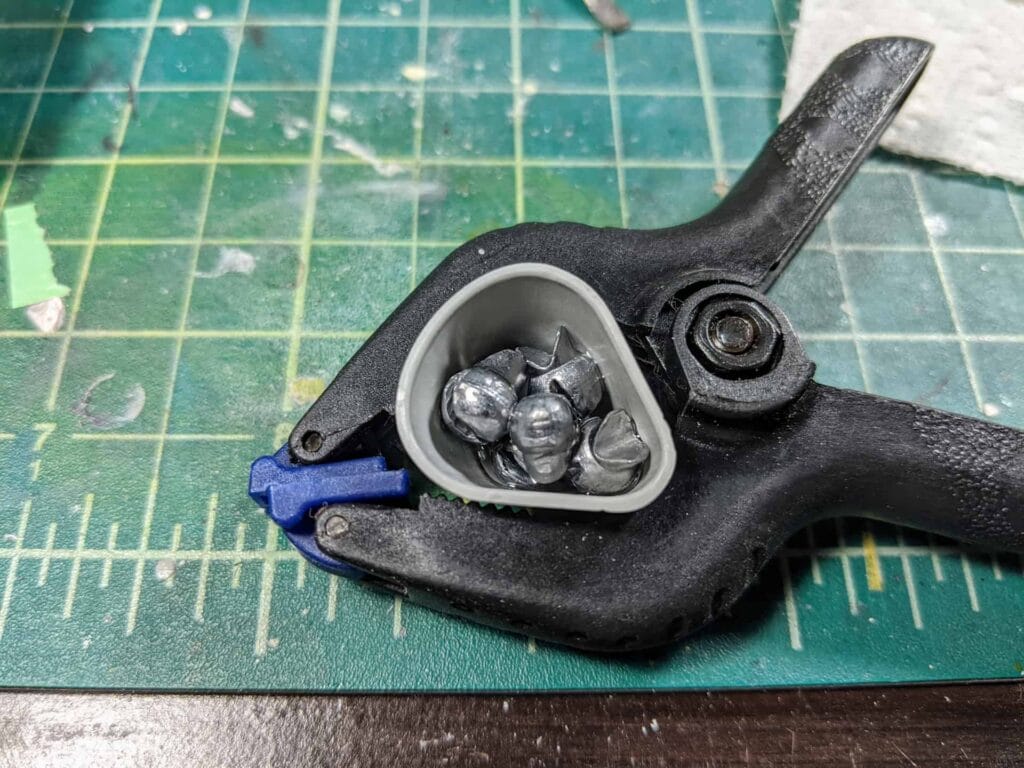
Moving on, I’ve added weight to the nose piece using lead fishing weights. I put about a pound of white glue (elmers) in there to hold it together. I’ve dropped it more than once on accident and nothing has jarred loose. Next time, I’ll throw some milliput in there to hold it down since its sticky and dries rock hard. Much easier than slopping the glue in there.
Since the bottom of the fuselage is all one color (gear, gear doors, pylons, etc) I’m going to go ahead and attach them all before painting. Always attach as much as you can before painting and you’re life will be easier.
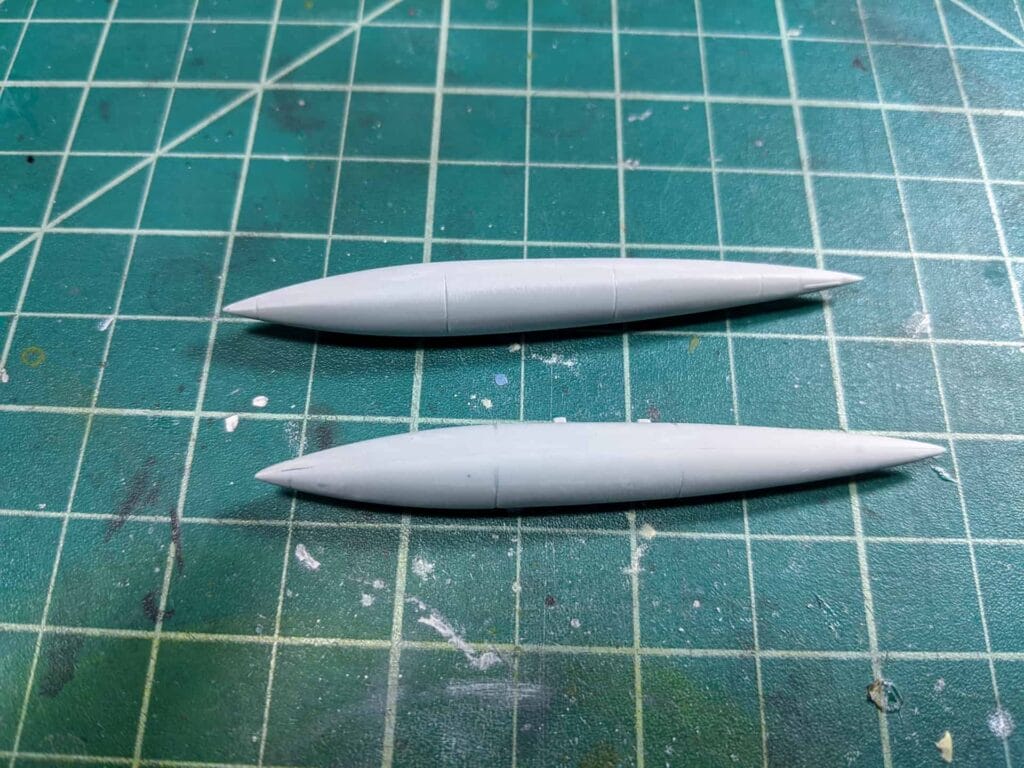
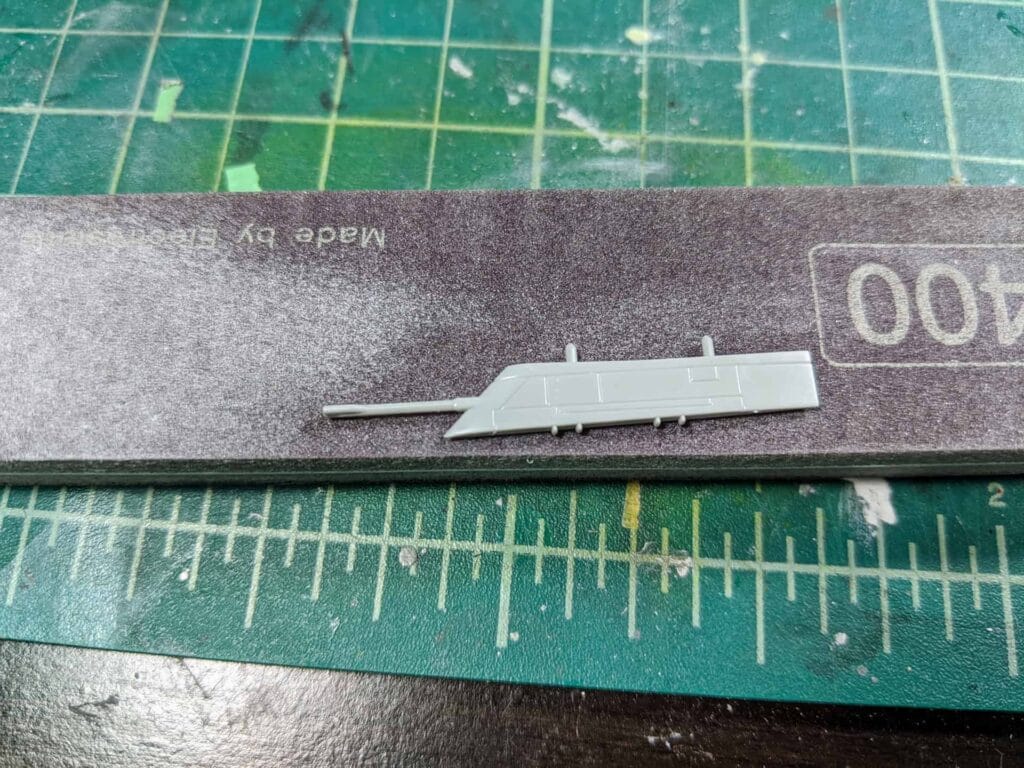
The pylons come with some weird rod sticking out but the instruction say to nip it off. After some brief sanding they’re good to go.
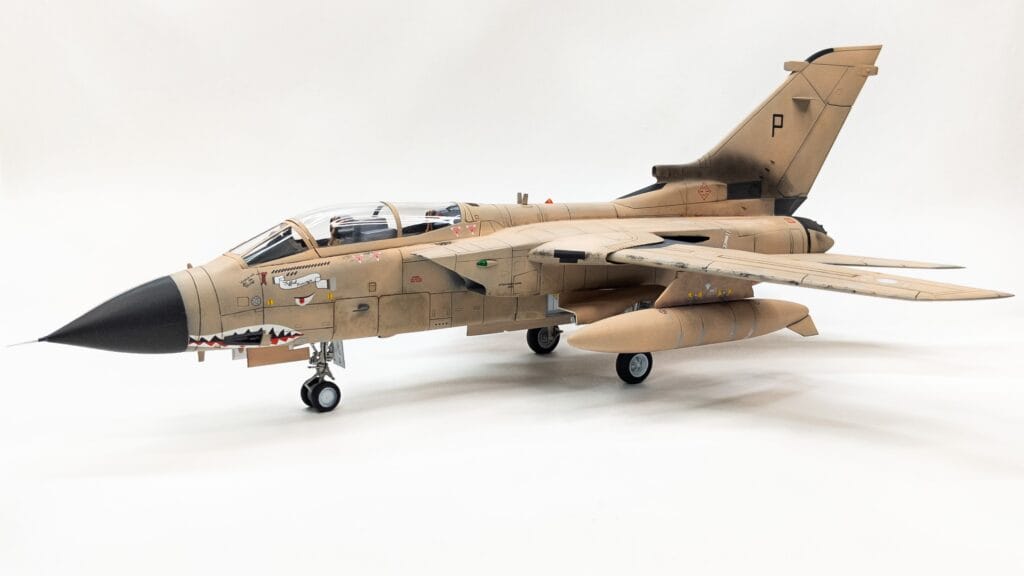
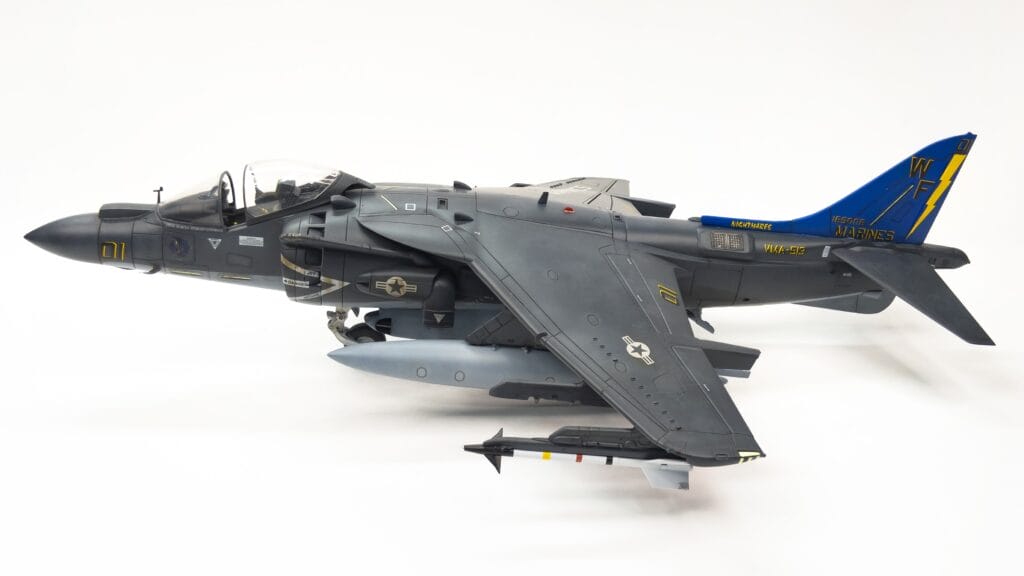
……..And here is the final product so far
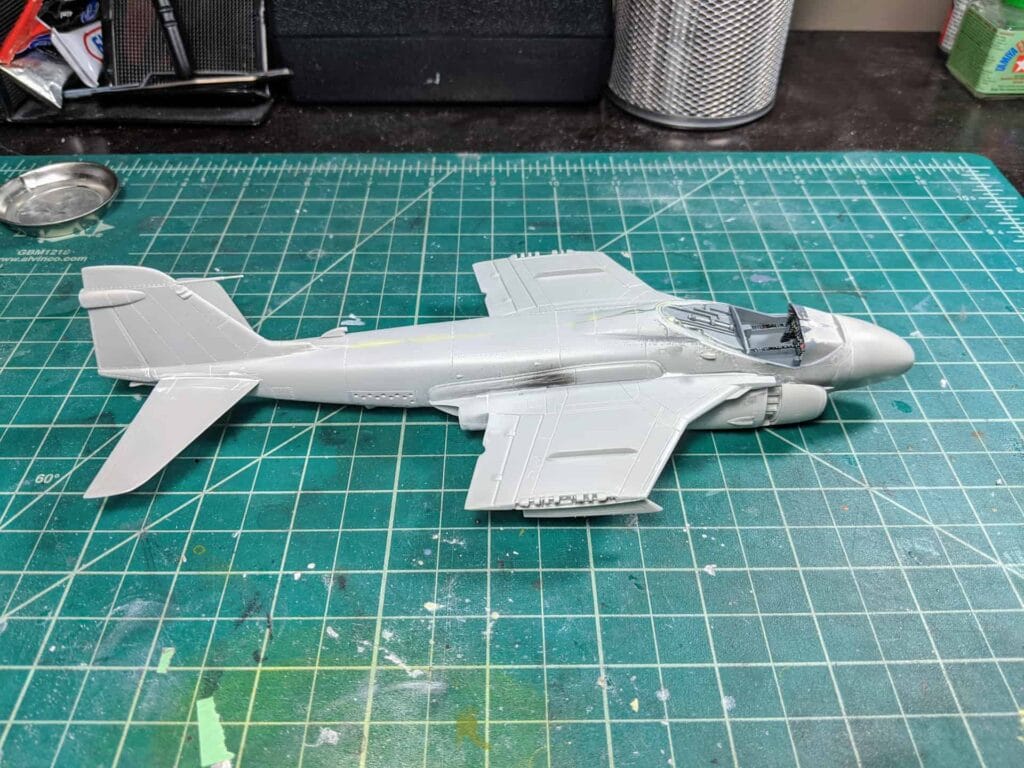

It’s starting to look like a plane! There still a few gaps I need to fill and cleanup. I also have a few more attachments on the outboard wings to attach. I’ll also throw the gear on (but skip the doors as they can break off easily) before painting. I want all assembly completed before I move on to painting.
I also made an executive decision and decided to completely fill in the fuel tank panel lines. Since the fit was…meh…half the lines got sanded/filled in. I tried rescribing one but after an hour it was too jaggy and annoying. I’ll just sand them all smooth and move on. Will it look realistic? No, but I dont think it will be too noticeable.
I’m also leaving off the refueling probe (underside) and the arresting hook. Those will be painted separately and attached at the end.
Hopefully in my next post we can get to priming! There we will fix any minor imperfections it shows – prime again – and move on to painting.