This is part of a series originally published on Britmodeller.com. You can view the original article HERE.
Weathering Fuel Tanks
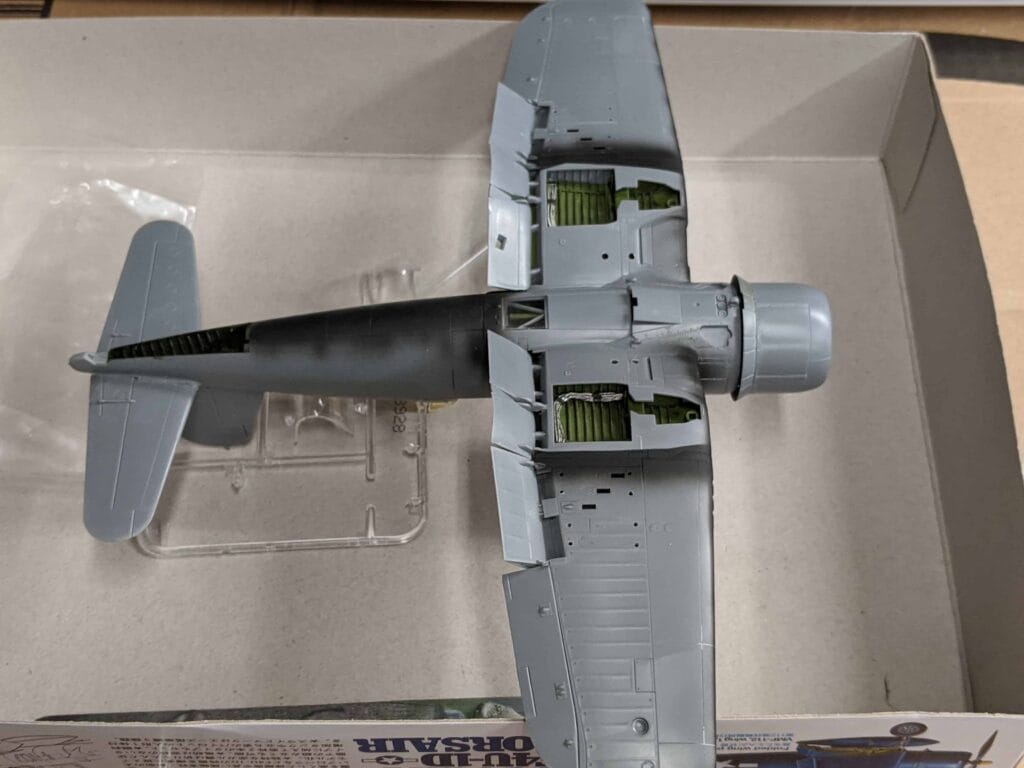
Been doing some work here and there. The fit is great so there really isn’t to write much about.
The worst fit was attaching the outer wings. They didn’t want to fit snug and even. Just needed some sanding and rescribing. No filler needed. All other seams just needed some minor sanding as well.
In fact I think I only used filler on one area of the fuselage and it was a very small spot probably due to my error. Otherwise the fit is fan-freaking-tastic.
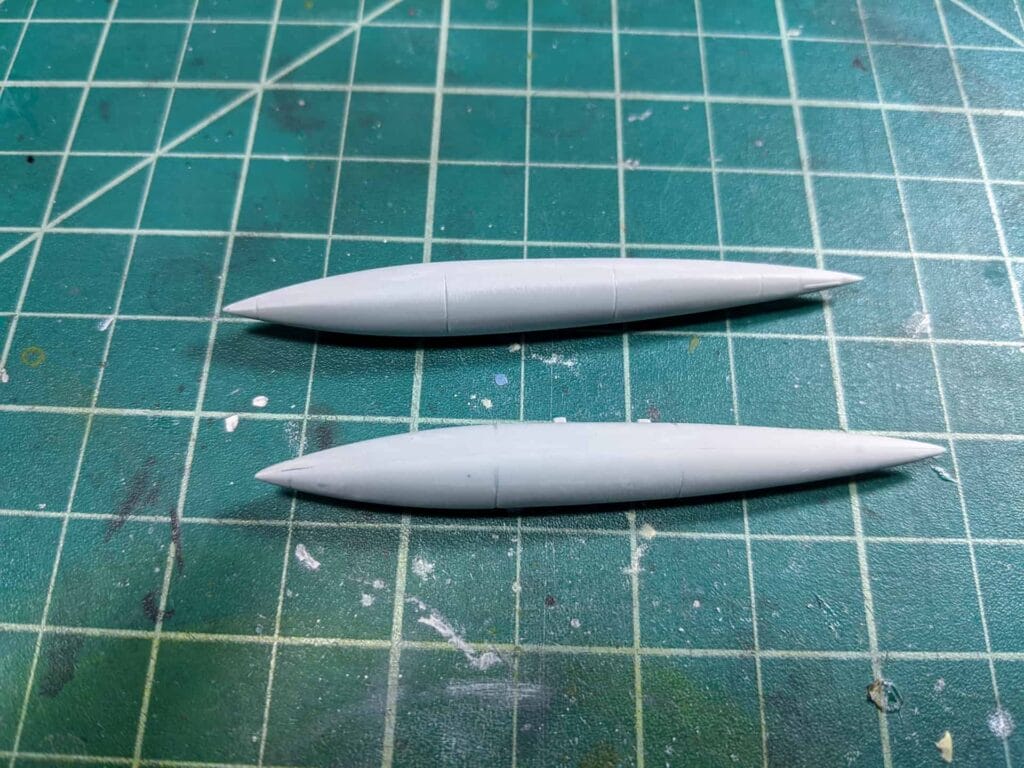
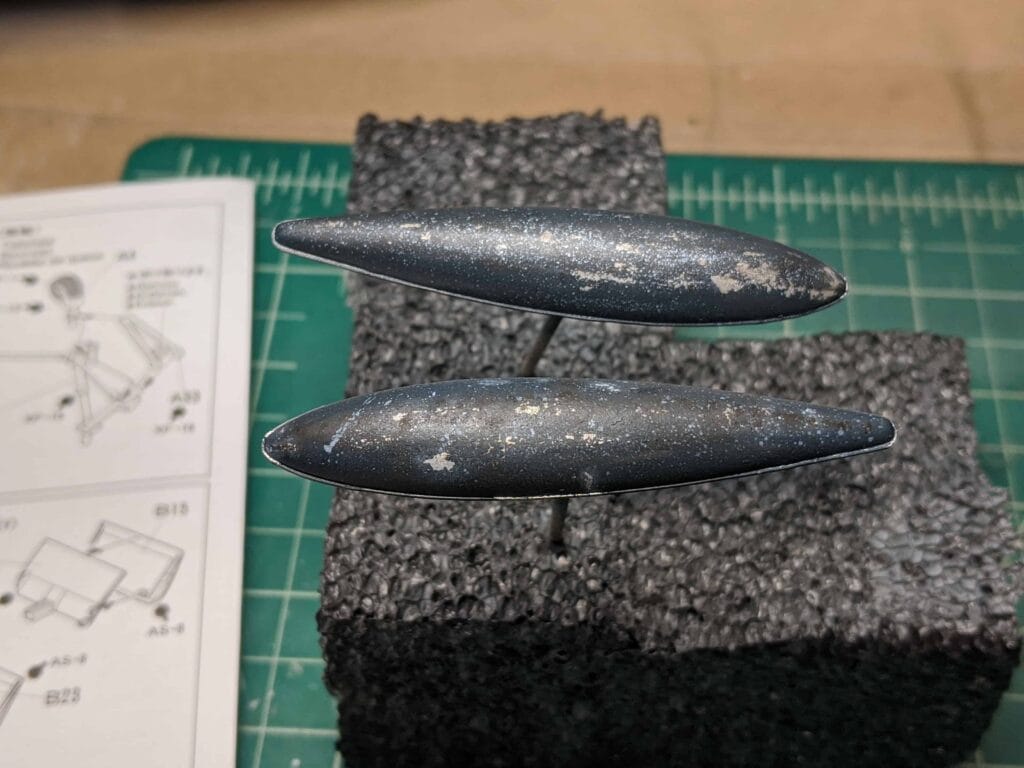
I’m going with Model Master Sea Blue for the main color since it can be chipped easily. As test of the color, chipping, and overall weathering I went ahead and completed the drop tanks. There isn’t much mud or paint fading since this is a late ’45 plane and it will be Carrier based (USS Bunker Hill).
Here’s a before/after weathering (with oils) shot. Top is weathered, bottom hasn’t been touched.
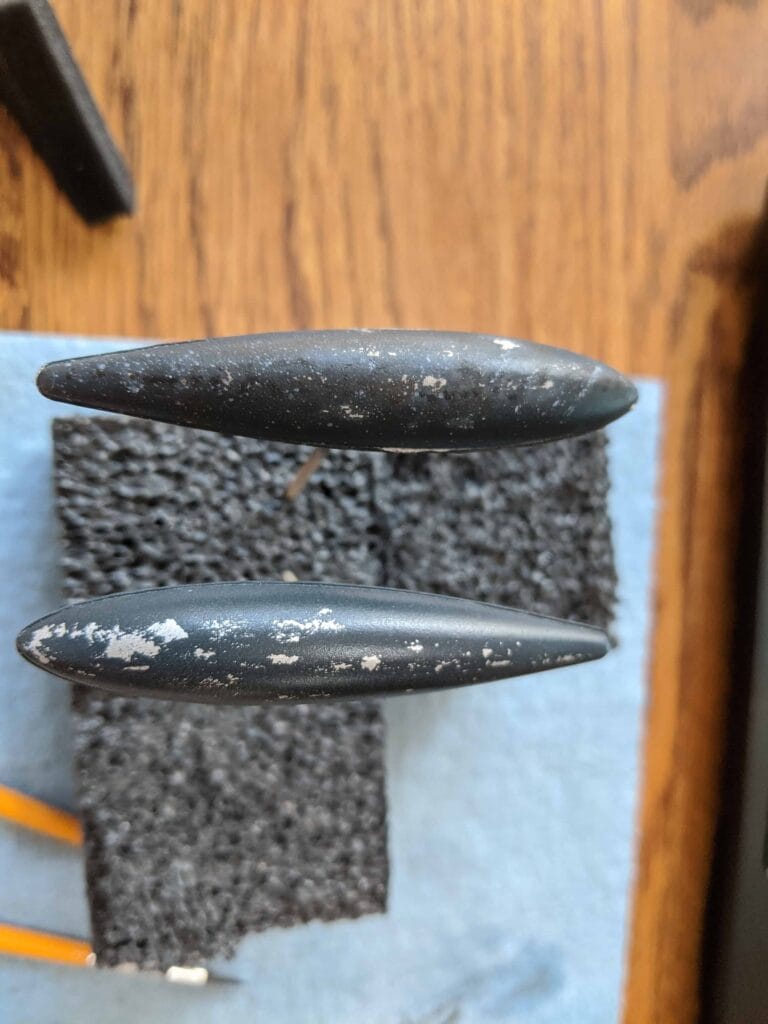
Final product. Like I said lots of water splooshes and salt.
Base Layer Chipping and Painting
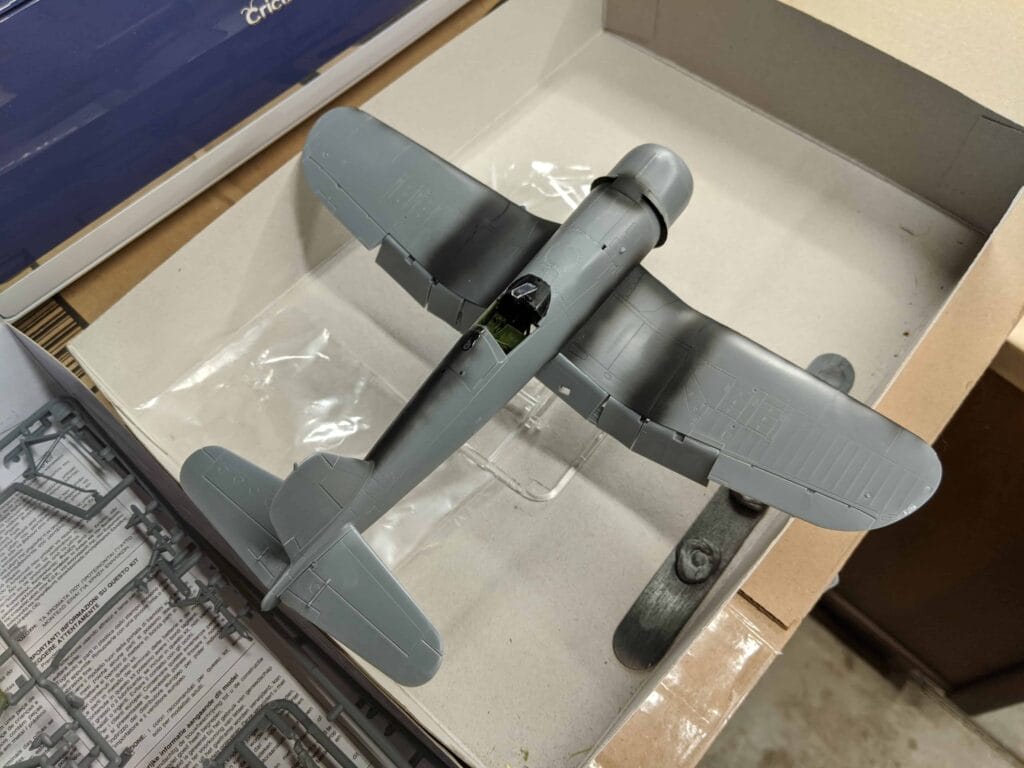
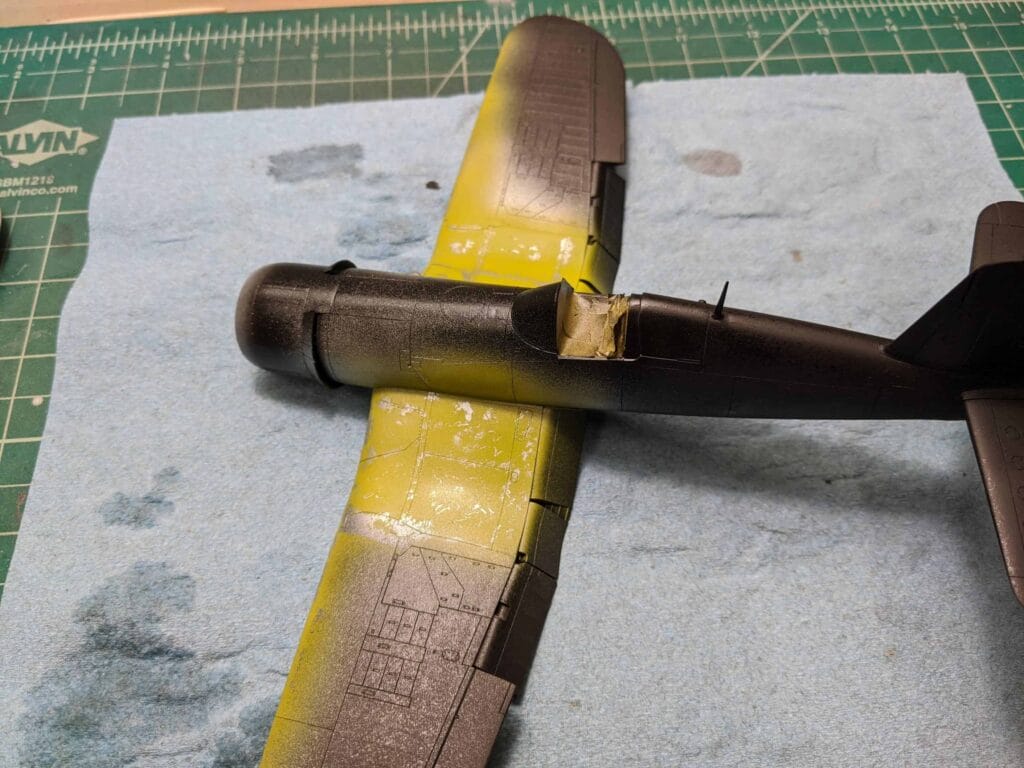
Wings attached, Flaps attached, seams spot primed and checked.
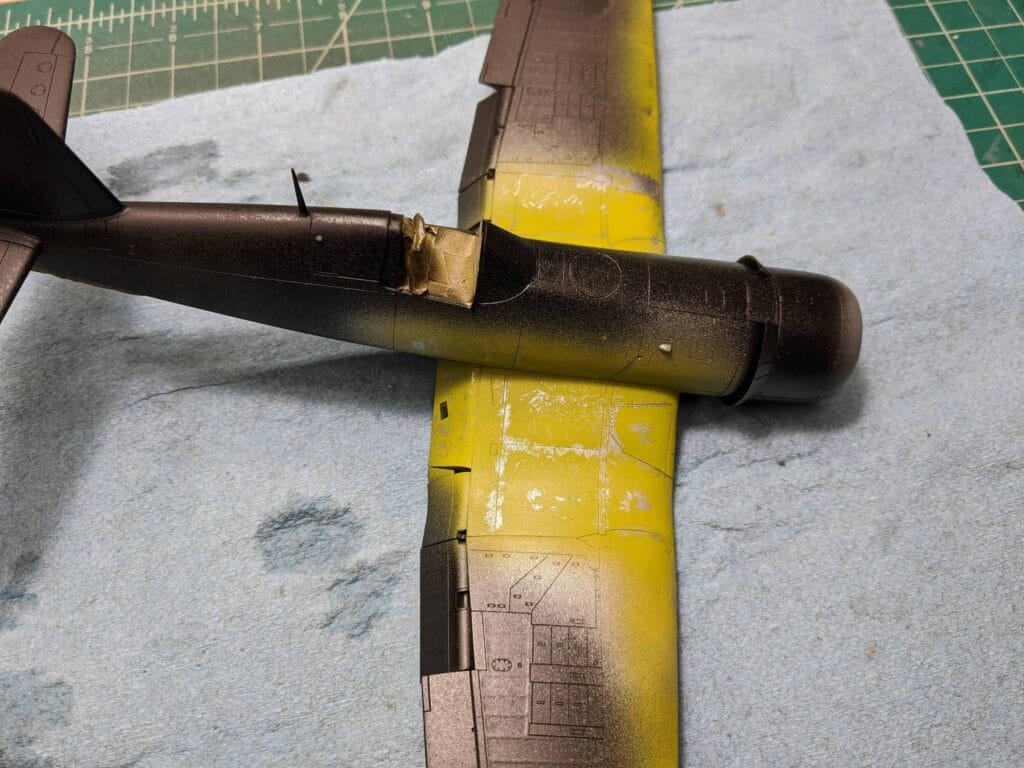
Base chipping is done. Zinc chromate chipped with silver underneath. Matte varnish on top to seal it in. Ready for sea blue base coat now!
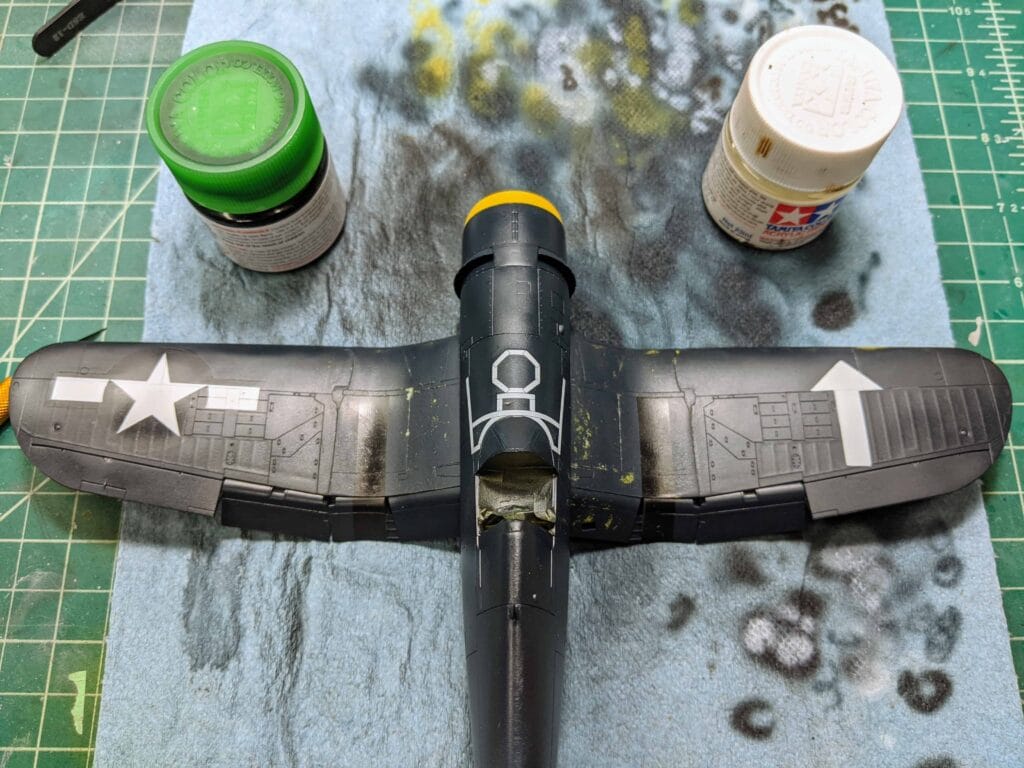
Painted, chipped, and now applying insignias.
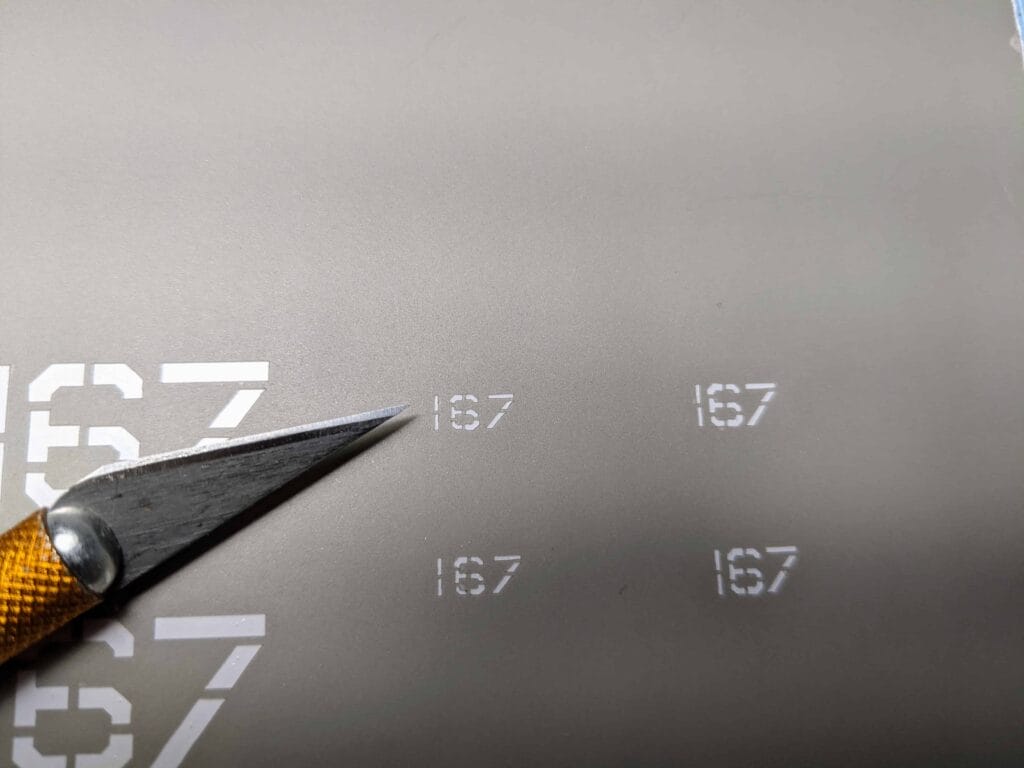
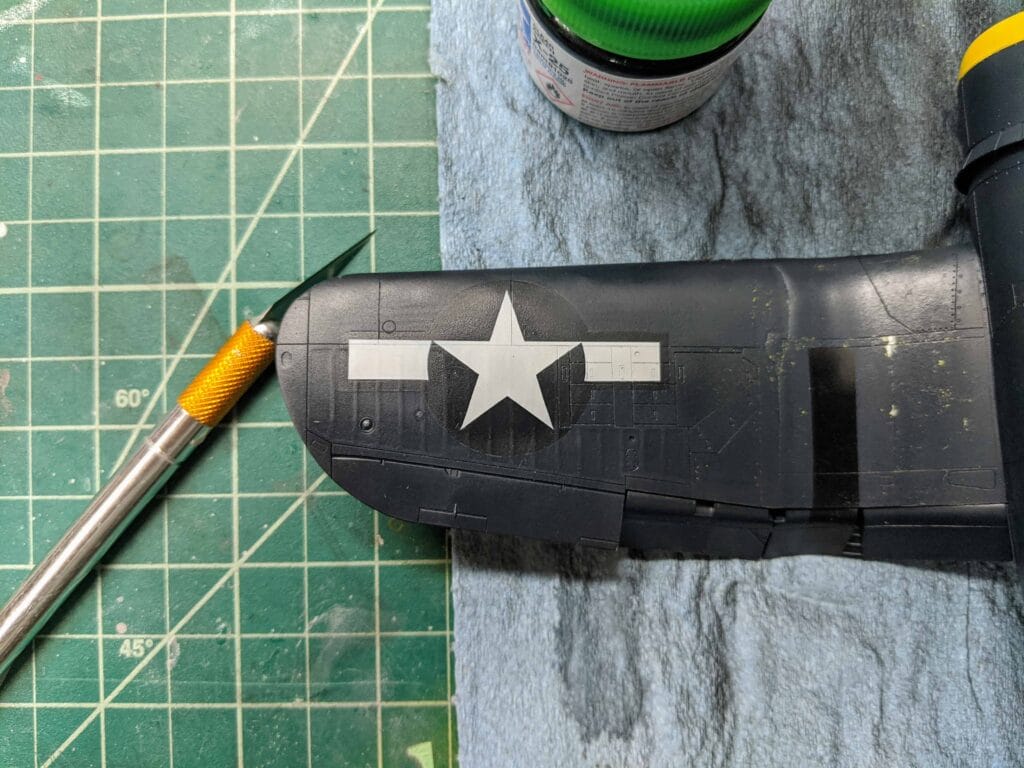
Who even needs decals, I’m painting those suckers on!
Stencil printed on oramask 810 using a Cricut. Exacto blade for scale.
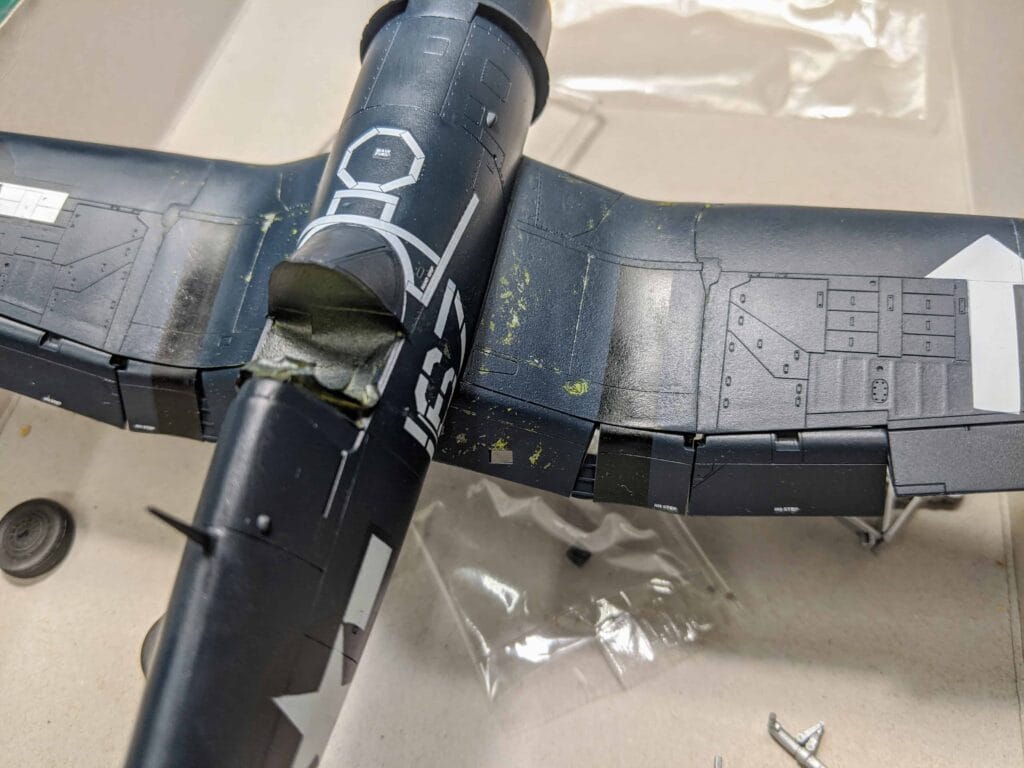
Painted up. A little bit of lifting on the arrow but I’ll leave it as it looks weathered.
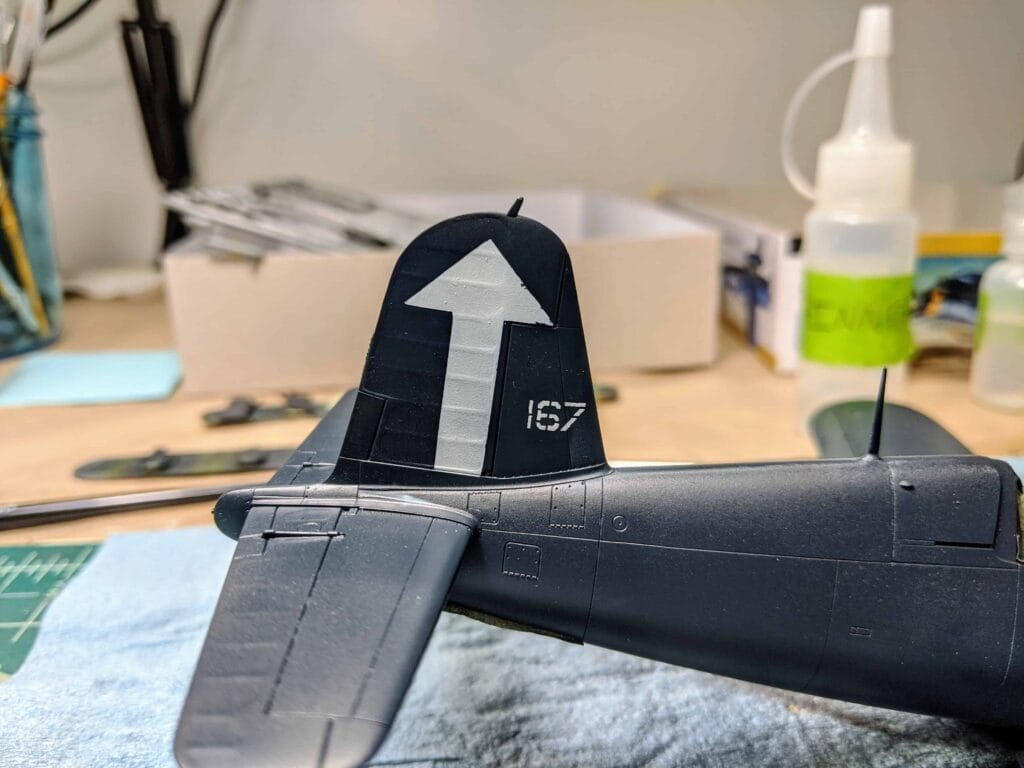
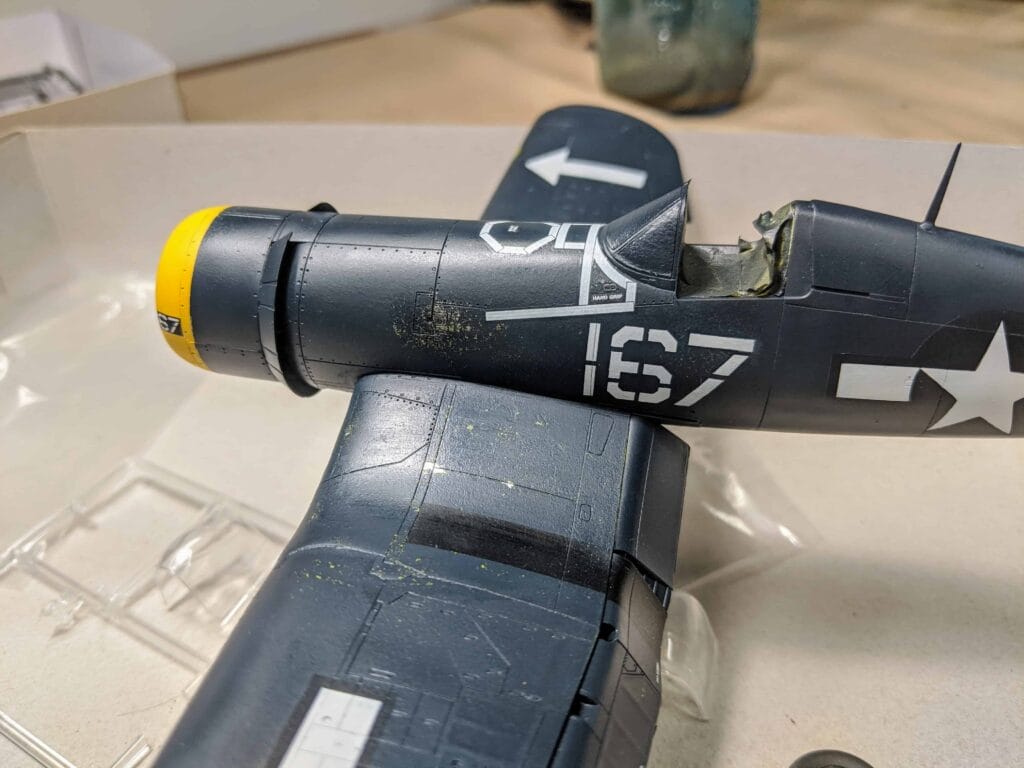
Squadron insignias on the wings and tail. Also applied the tape decal to front fuselage (not pictured) that late corsairs are famous for.
Takes longer than decals but definitely worth it. Next up is to apply US insignia and the remaining smaller decals that can’t be stenciled out.
Most stencils have been painted on. It looks really good. I will for sure not be going back to decals. Just need to do the side of the fuselage and then add the smaller decals that are too small to paint.
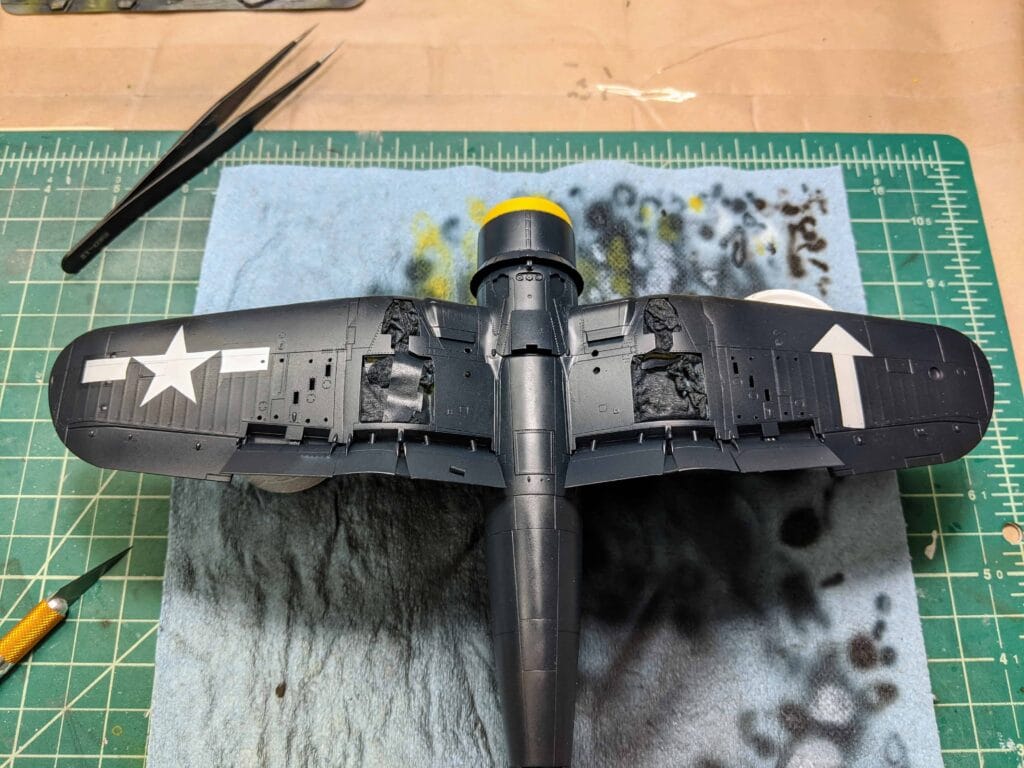
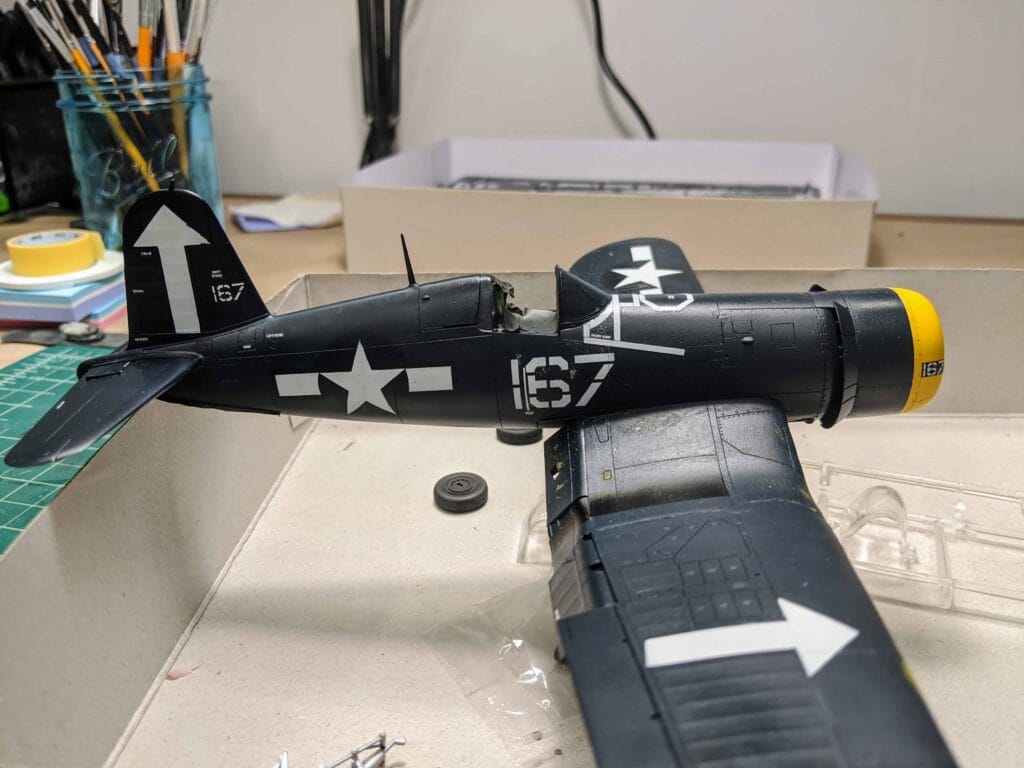
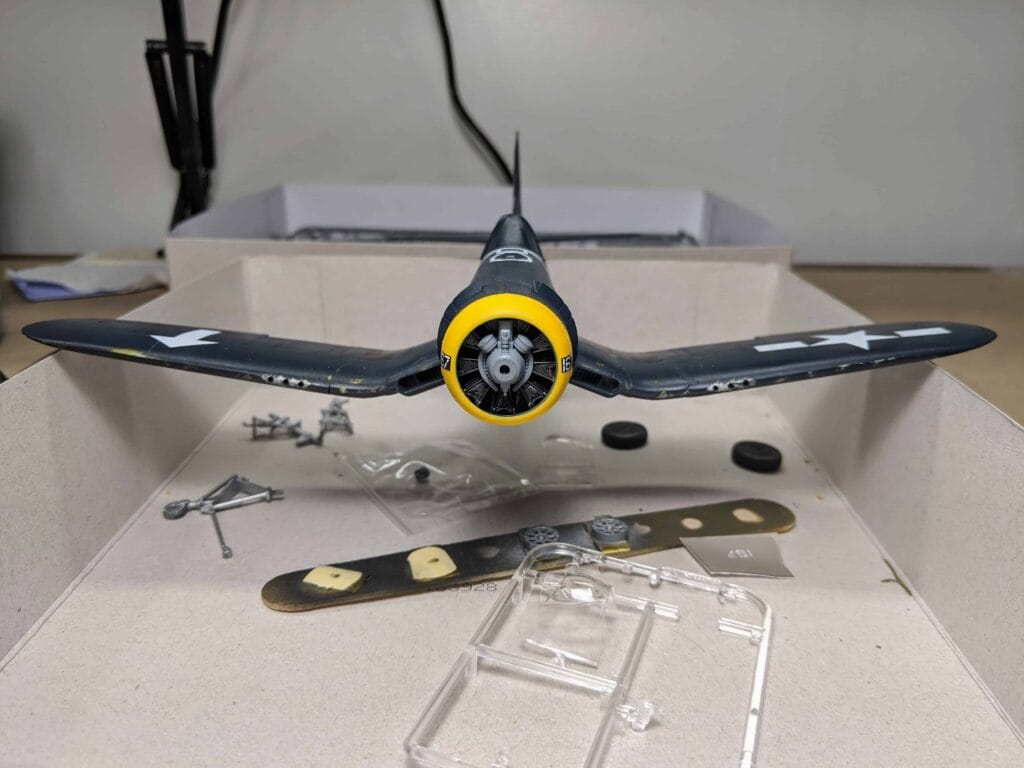
More progress on the Corsair. All stencils and decals have been applied. Just needs some minor painting on wheels, gear, etc., and assembly. Again, all insignia and squadron numbers/symbols have been masked and painted using a Cricut cutter. I had a few peel off paint that I had to redo but it turned out great.
Not entirely happy with the chipping overall but I do like how the chipping turned out on the leading edge. Also some of the small decals still show some thick film so I might brush on some aqua gloss and sand it back.
Because of the gloss sea blue paint from Model Master, a clear coat before weathering might not be needed. So barring some minor touch ups this should be ready to weather.
And that’s a wrap! You can check out the completed build HERE
Additionally, check out the full written review HERE