Introduction
“Life is too short to build bad kits.”
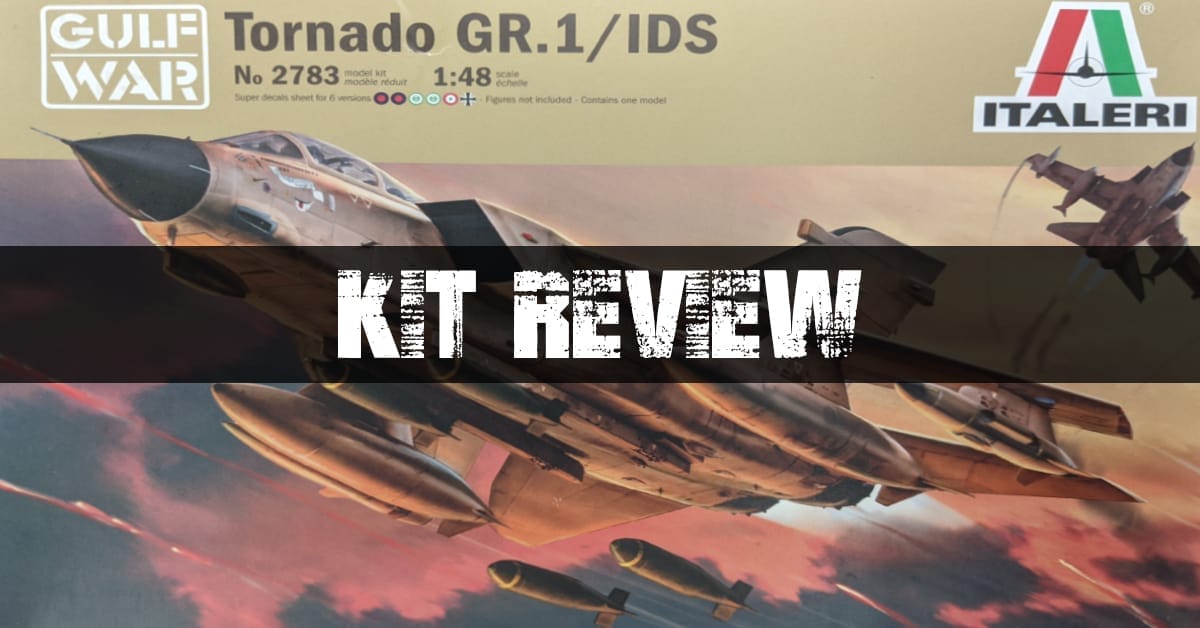
This is a common refrain on the Plastic Model Mojo podcast. Unfortunately, this rings true for the Italeri Tornado as soft detail, poor fit, and puzzling engineering decisions made this kit a real chore to complete. In the end it can be built up into an acceptable representation of a Panavia Tornado but not before multiple urges to throw it out the window are suppressed.
What’s fascinating here though is that this kit is a clear victim of a relatively new tool that reached it’s end of life by the time the boxing came out. Originally tooled in 1992, this kit has gone through 10 reboxings culminating in the 2018 boxing this review is based on. Over time and after thousands of injection molds the tools see a lot of wear and tear. Details aren’t as crisp. Geometry of parts lose their shape. Flash begins to accumulate. It’s how two people can build different boxings of the exact same tooled kit at the exact same time and see wildly different results. The kits were produced at different times in the tooling’s life cycle.
With that being said, the Panavia Tornado is one of the more fascinating aircraft out there. Its most recognizable feature being the oversized vertical stabilizer that’s essentially a 3rd wing. As a 2-seater, variable “swing wing” aircraft, the Tornado shares a lot of similarities to the venerable F-14 Tomcat.
Brought into service in 1979, the Tornado has seen action with Germany, Italy, UK, and Saudi Arabia. Some of its notable conflicts include Desert Storm, Kosovo, and Iraq War. Several variants have been produced including electronic warfare, reconnaissance, fighter, and bomber.
The Kit
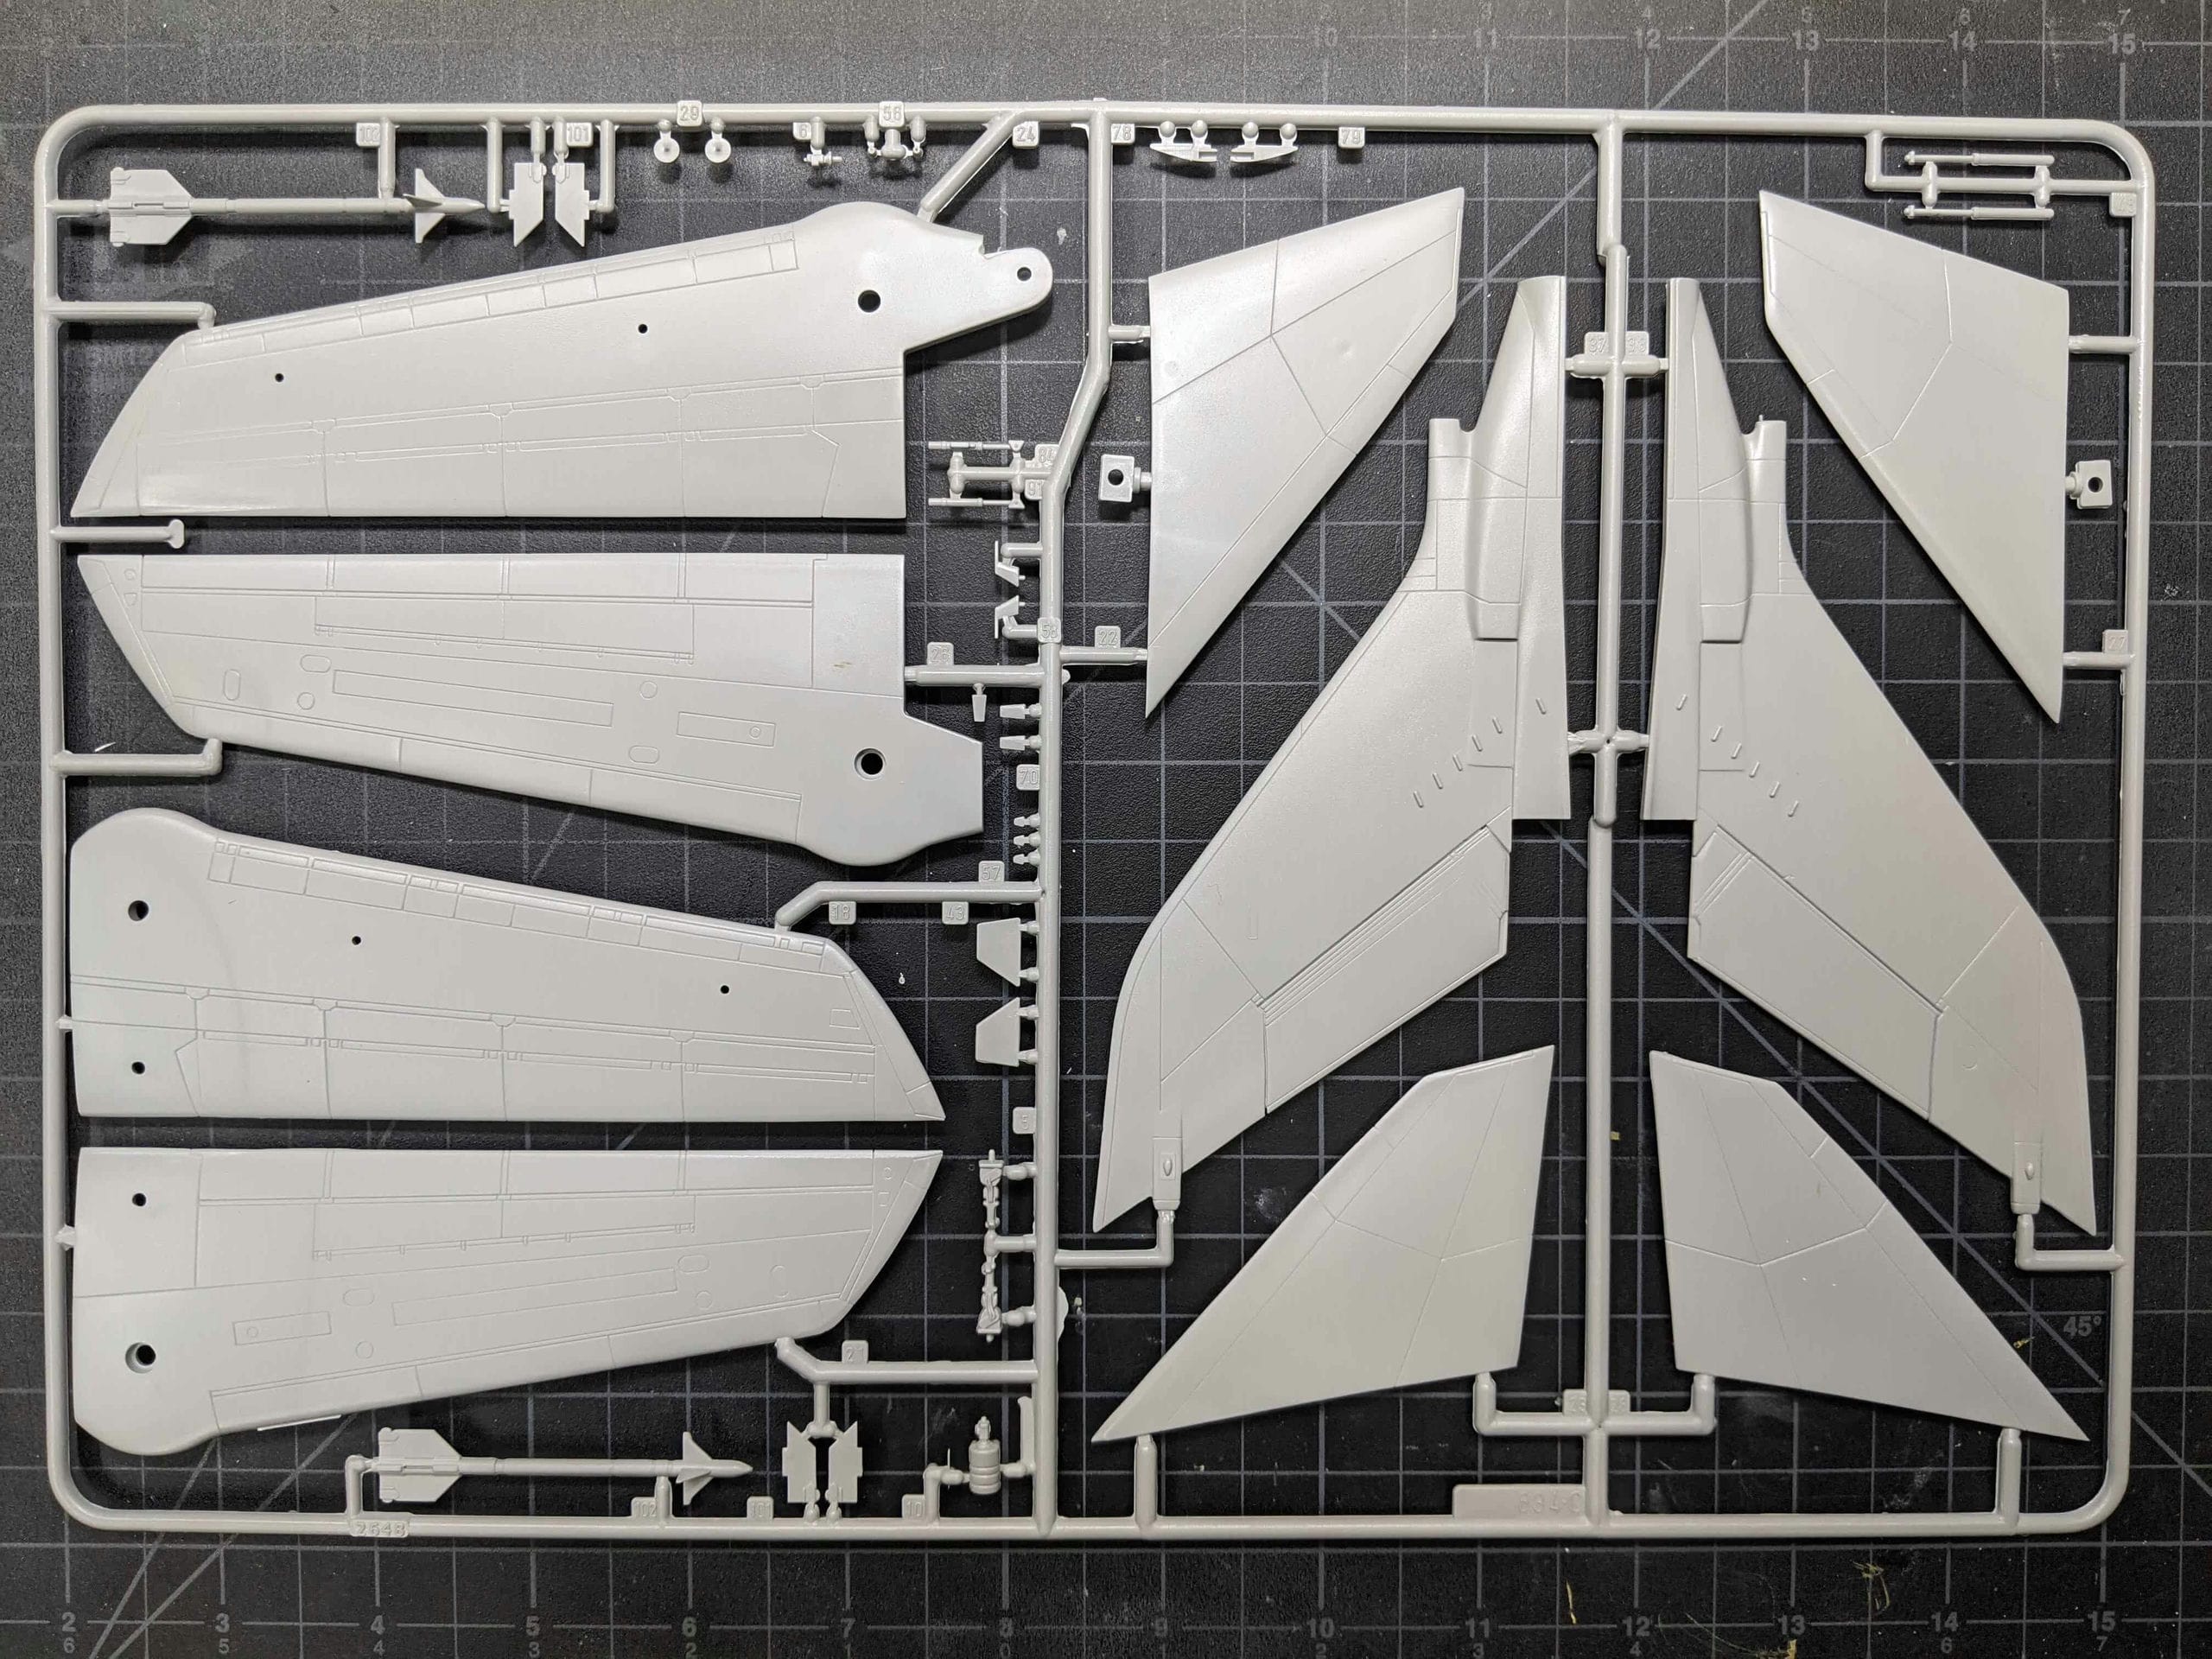
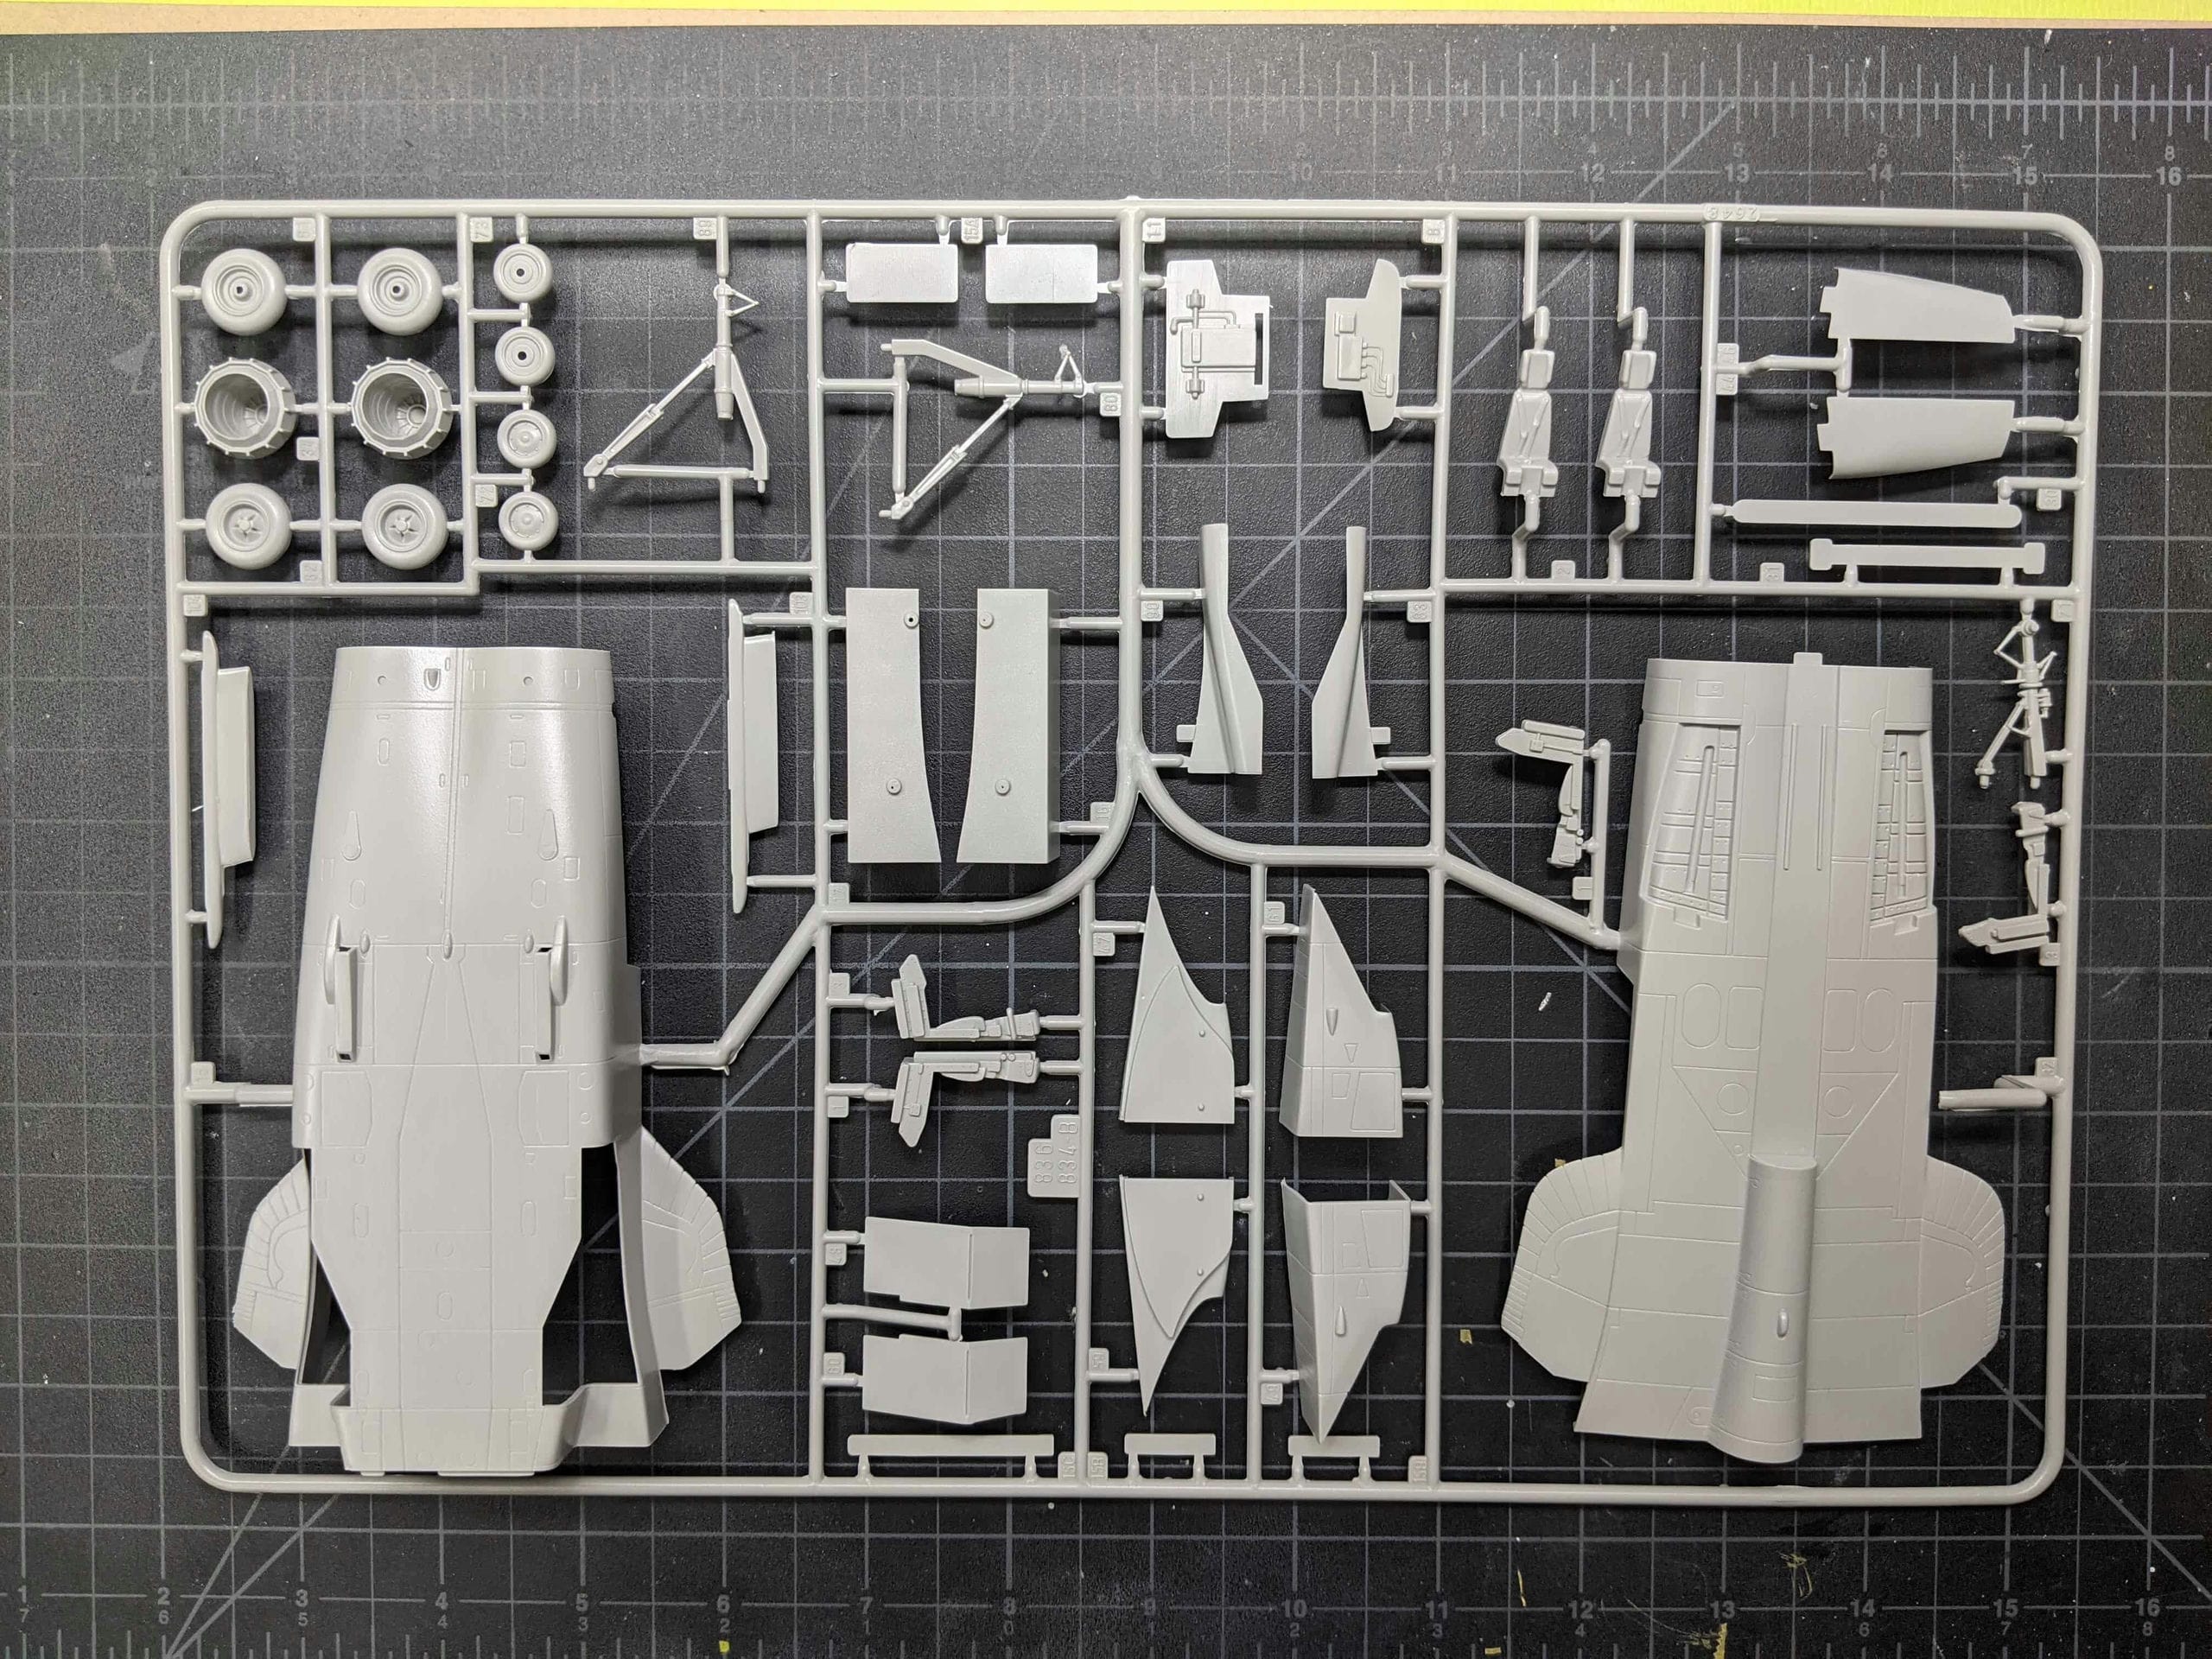
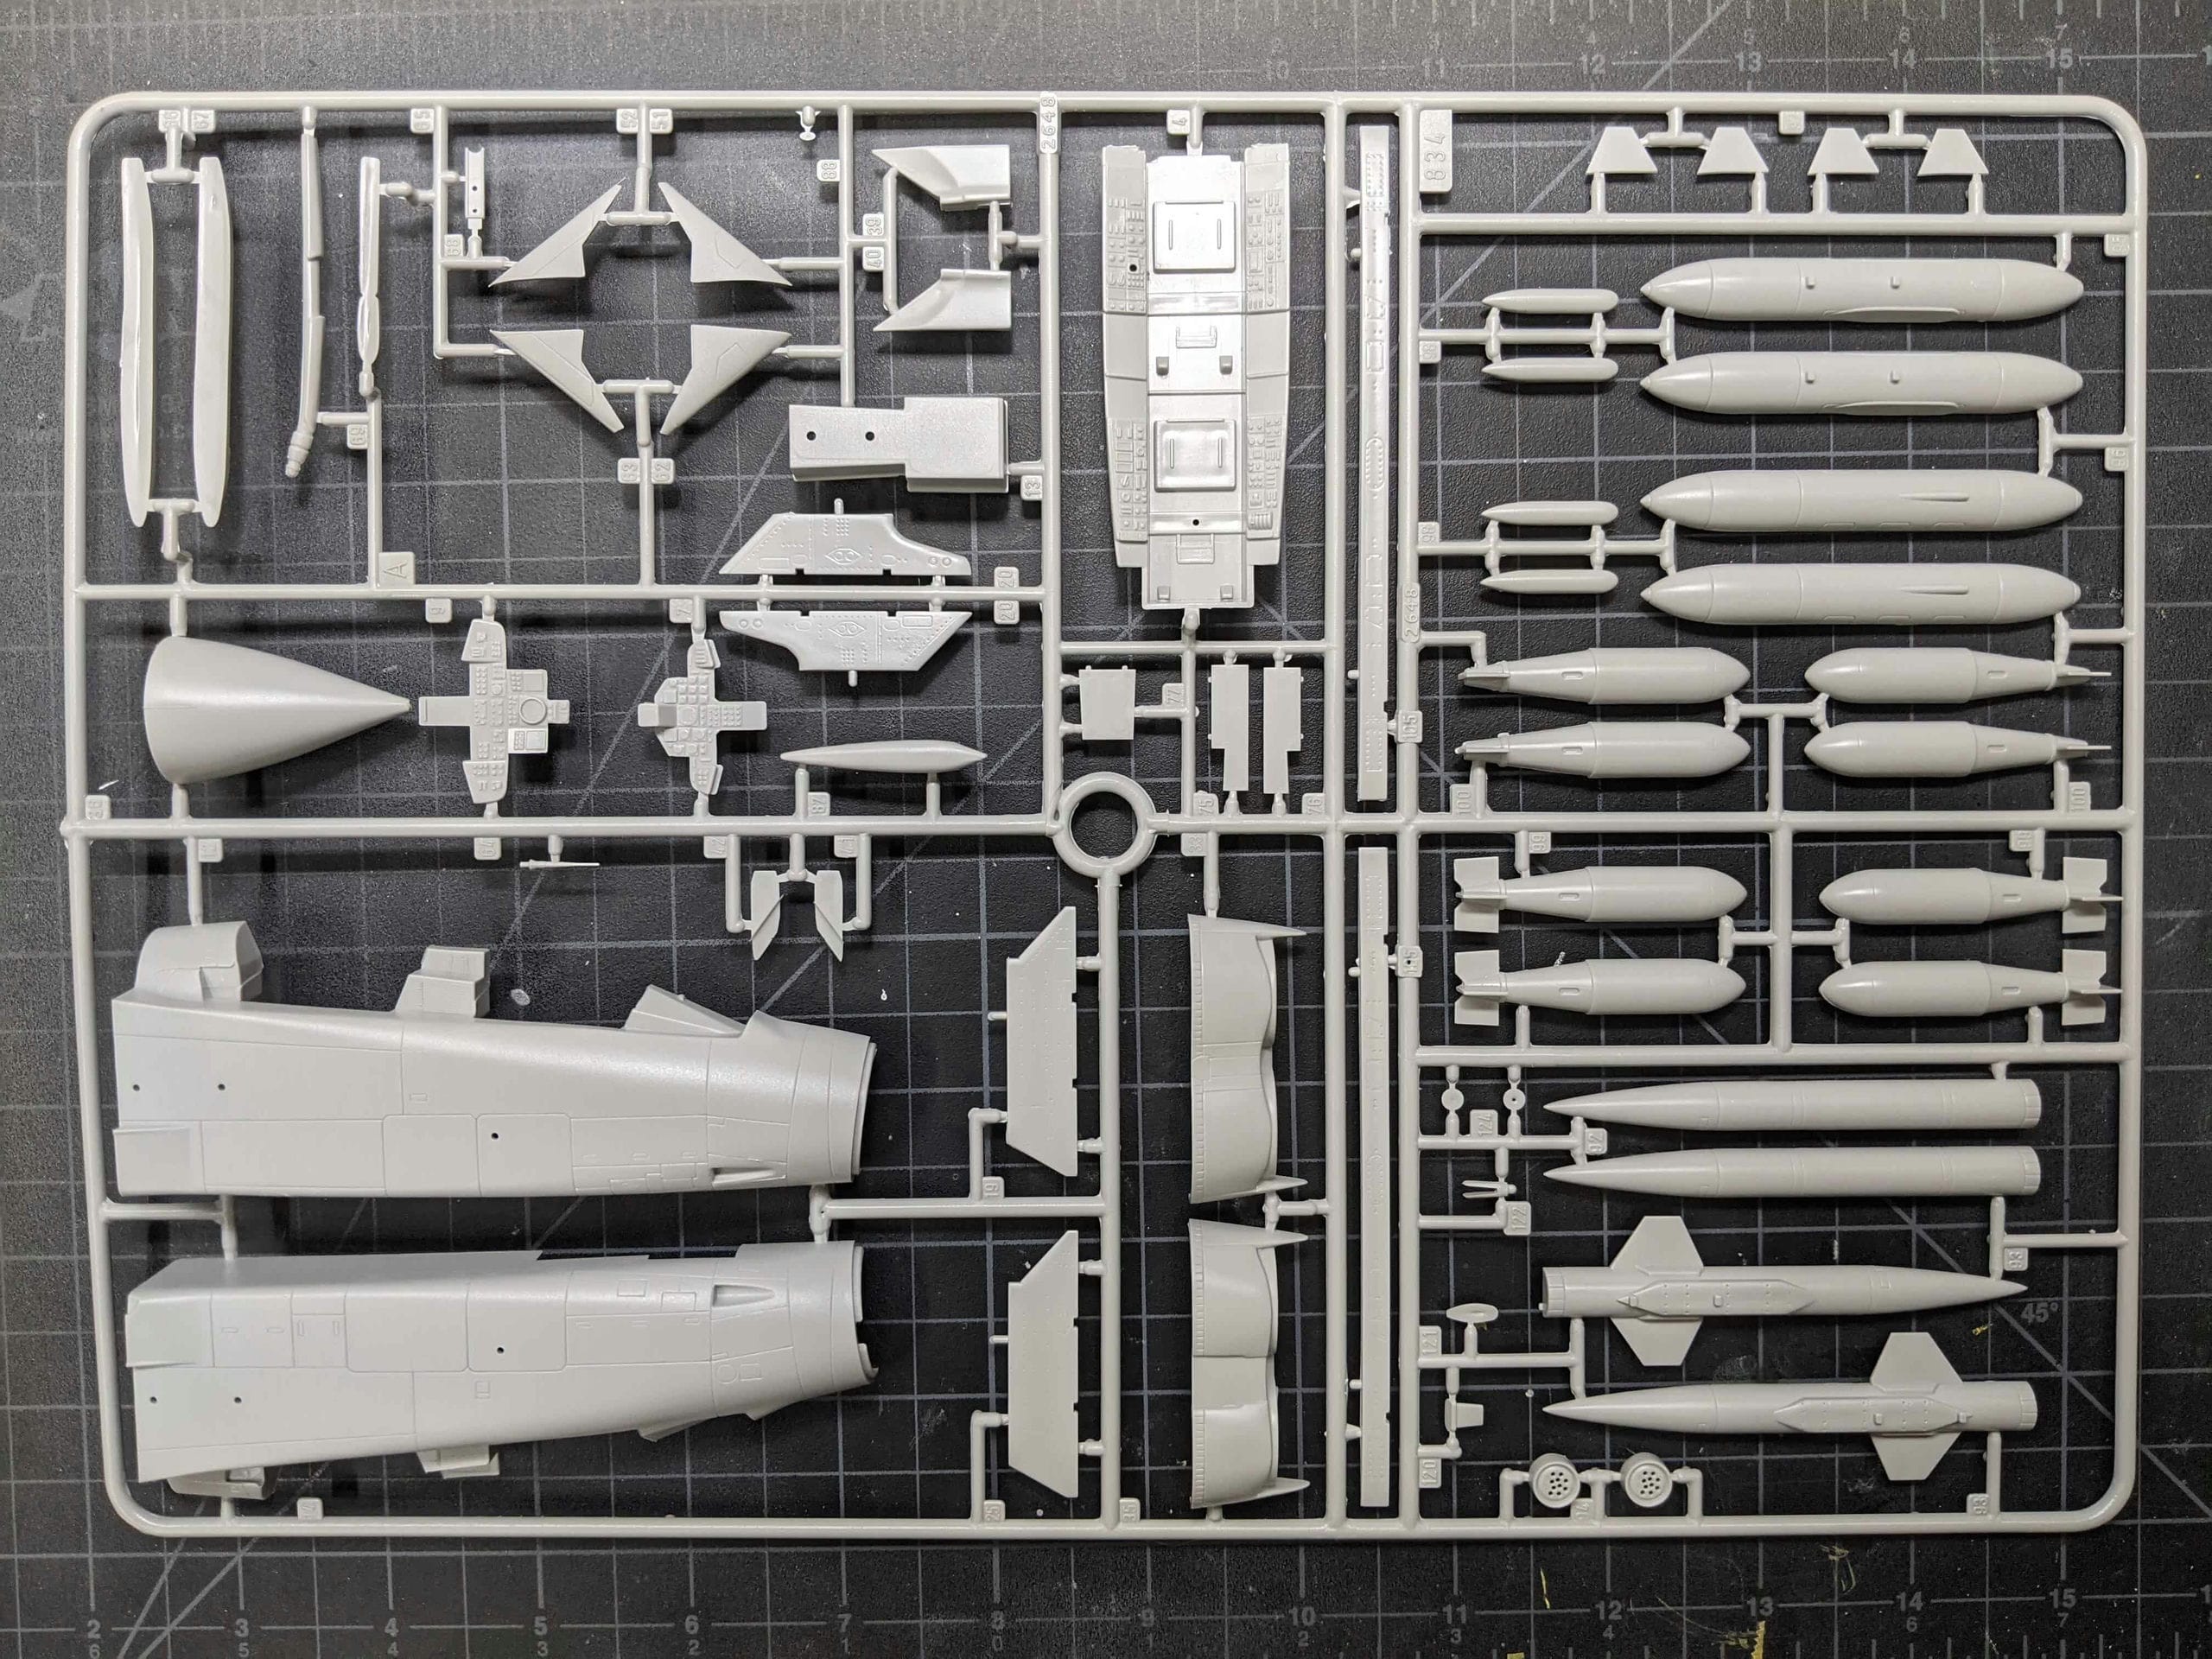
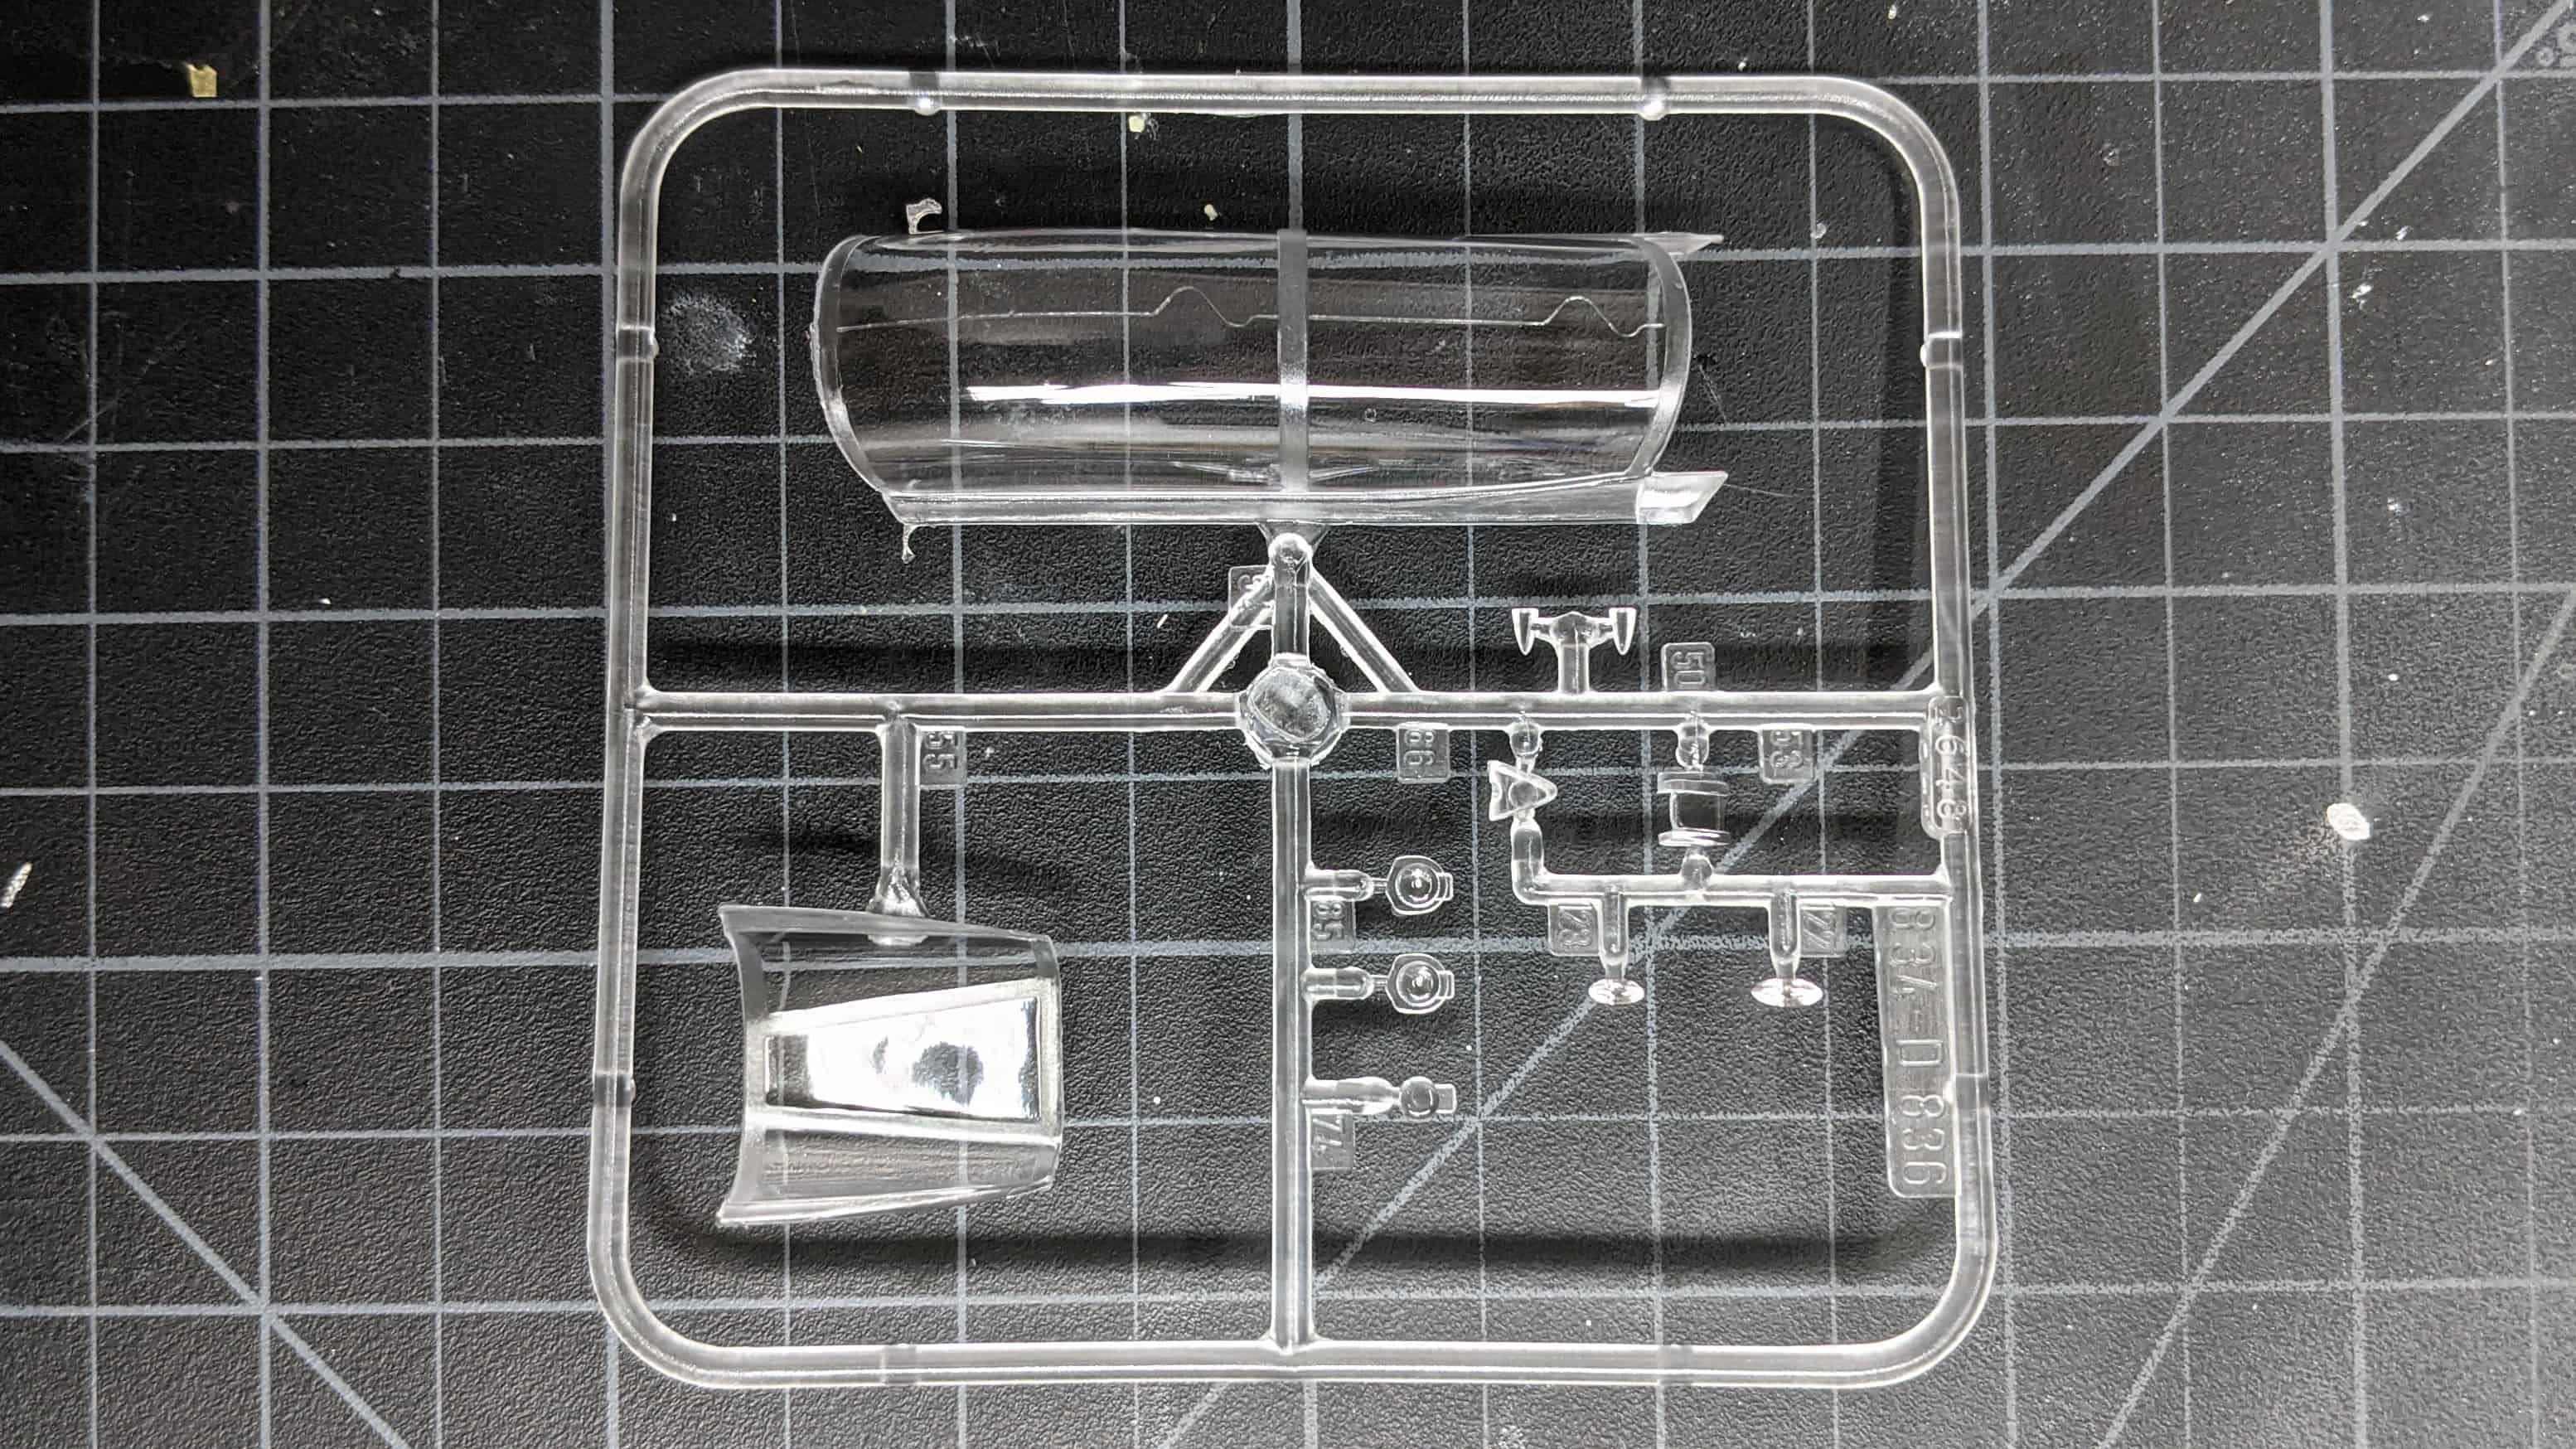
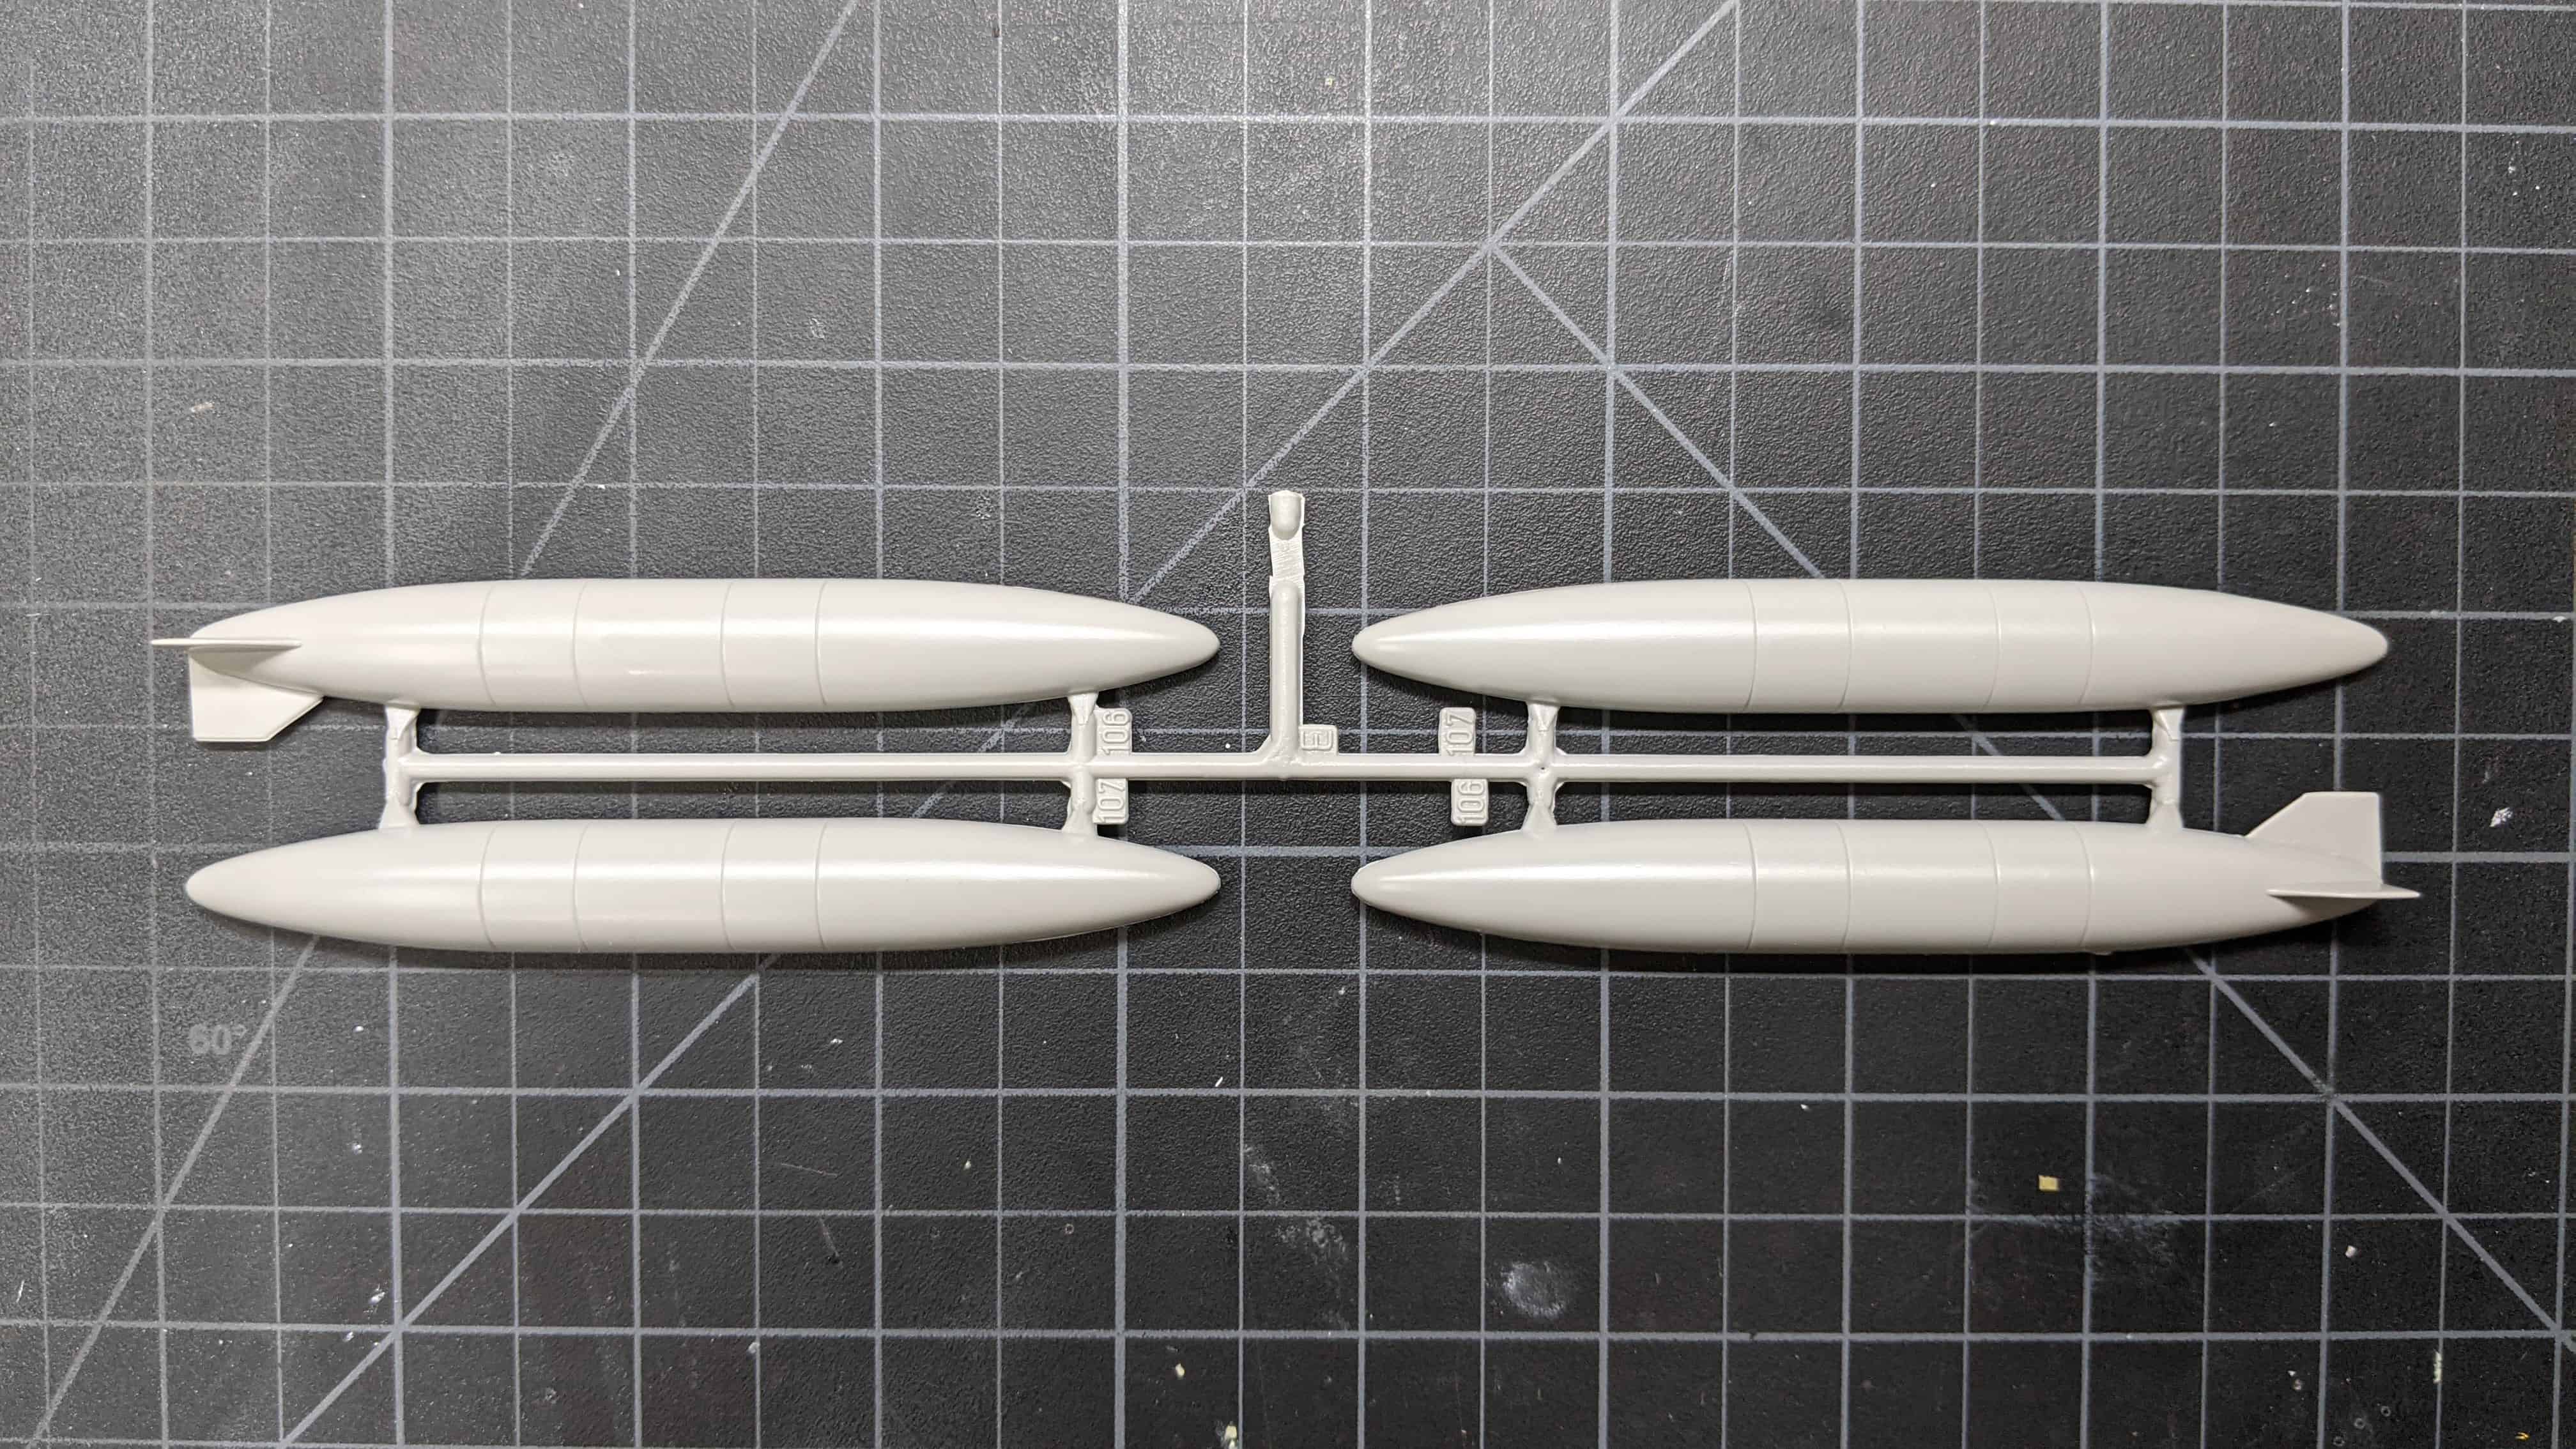
The kit is molded on 3 sprues with an additional clear sprue. In my boxing, the gate holding the fuel tanks was snapped off but luckily with no damage to the parts.
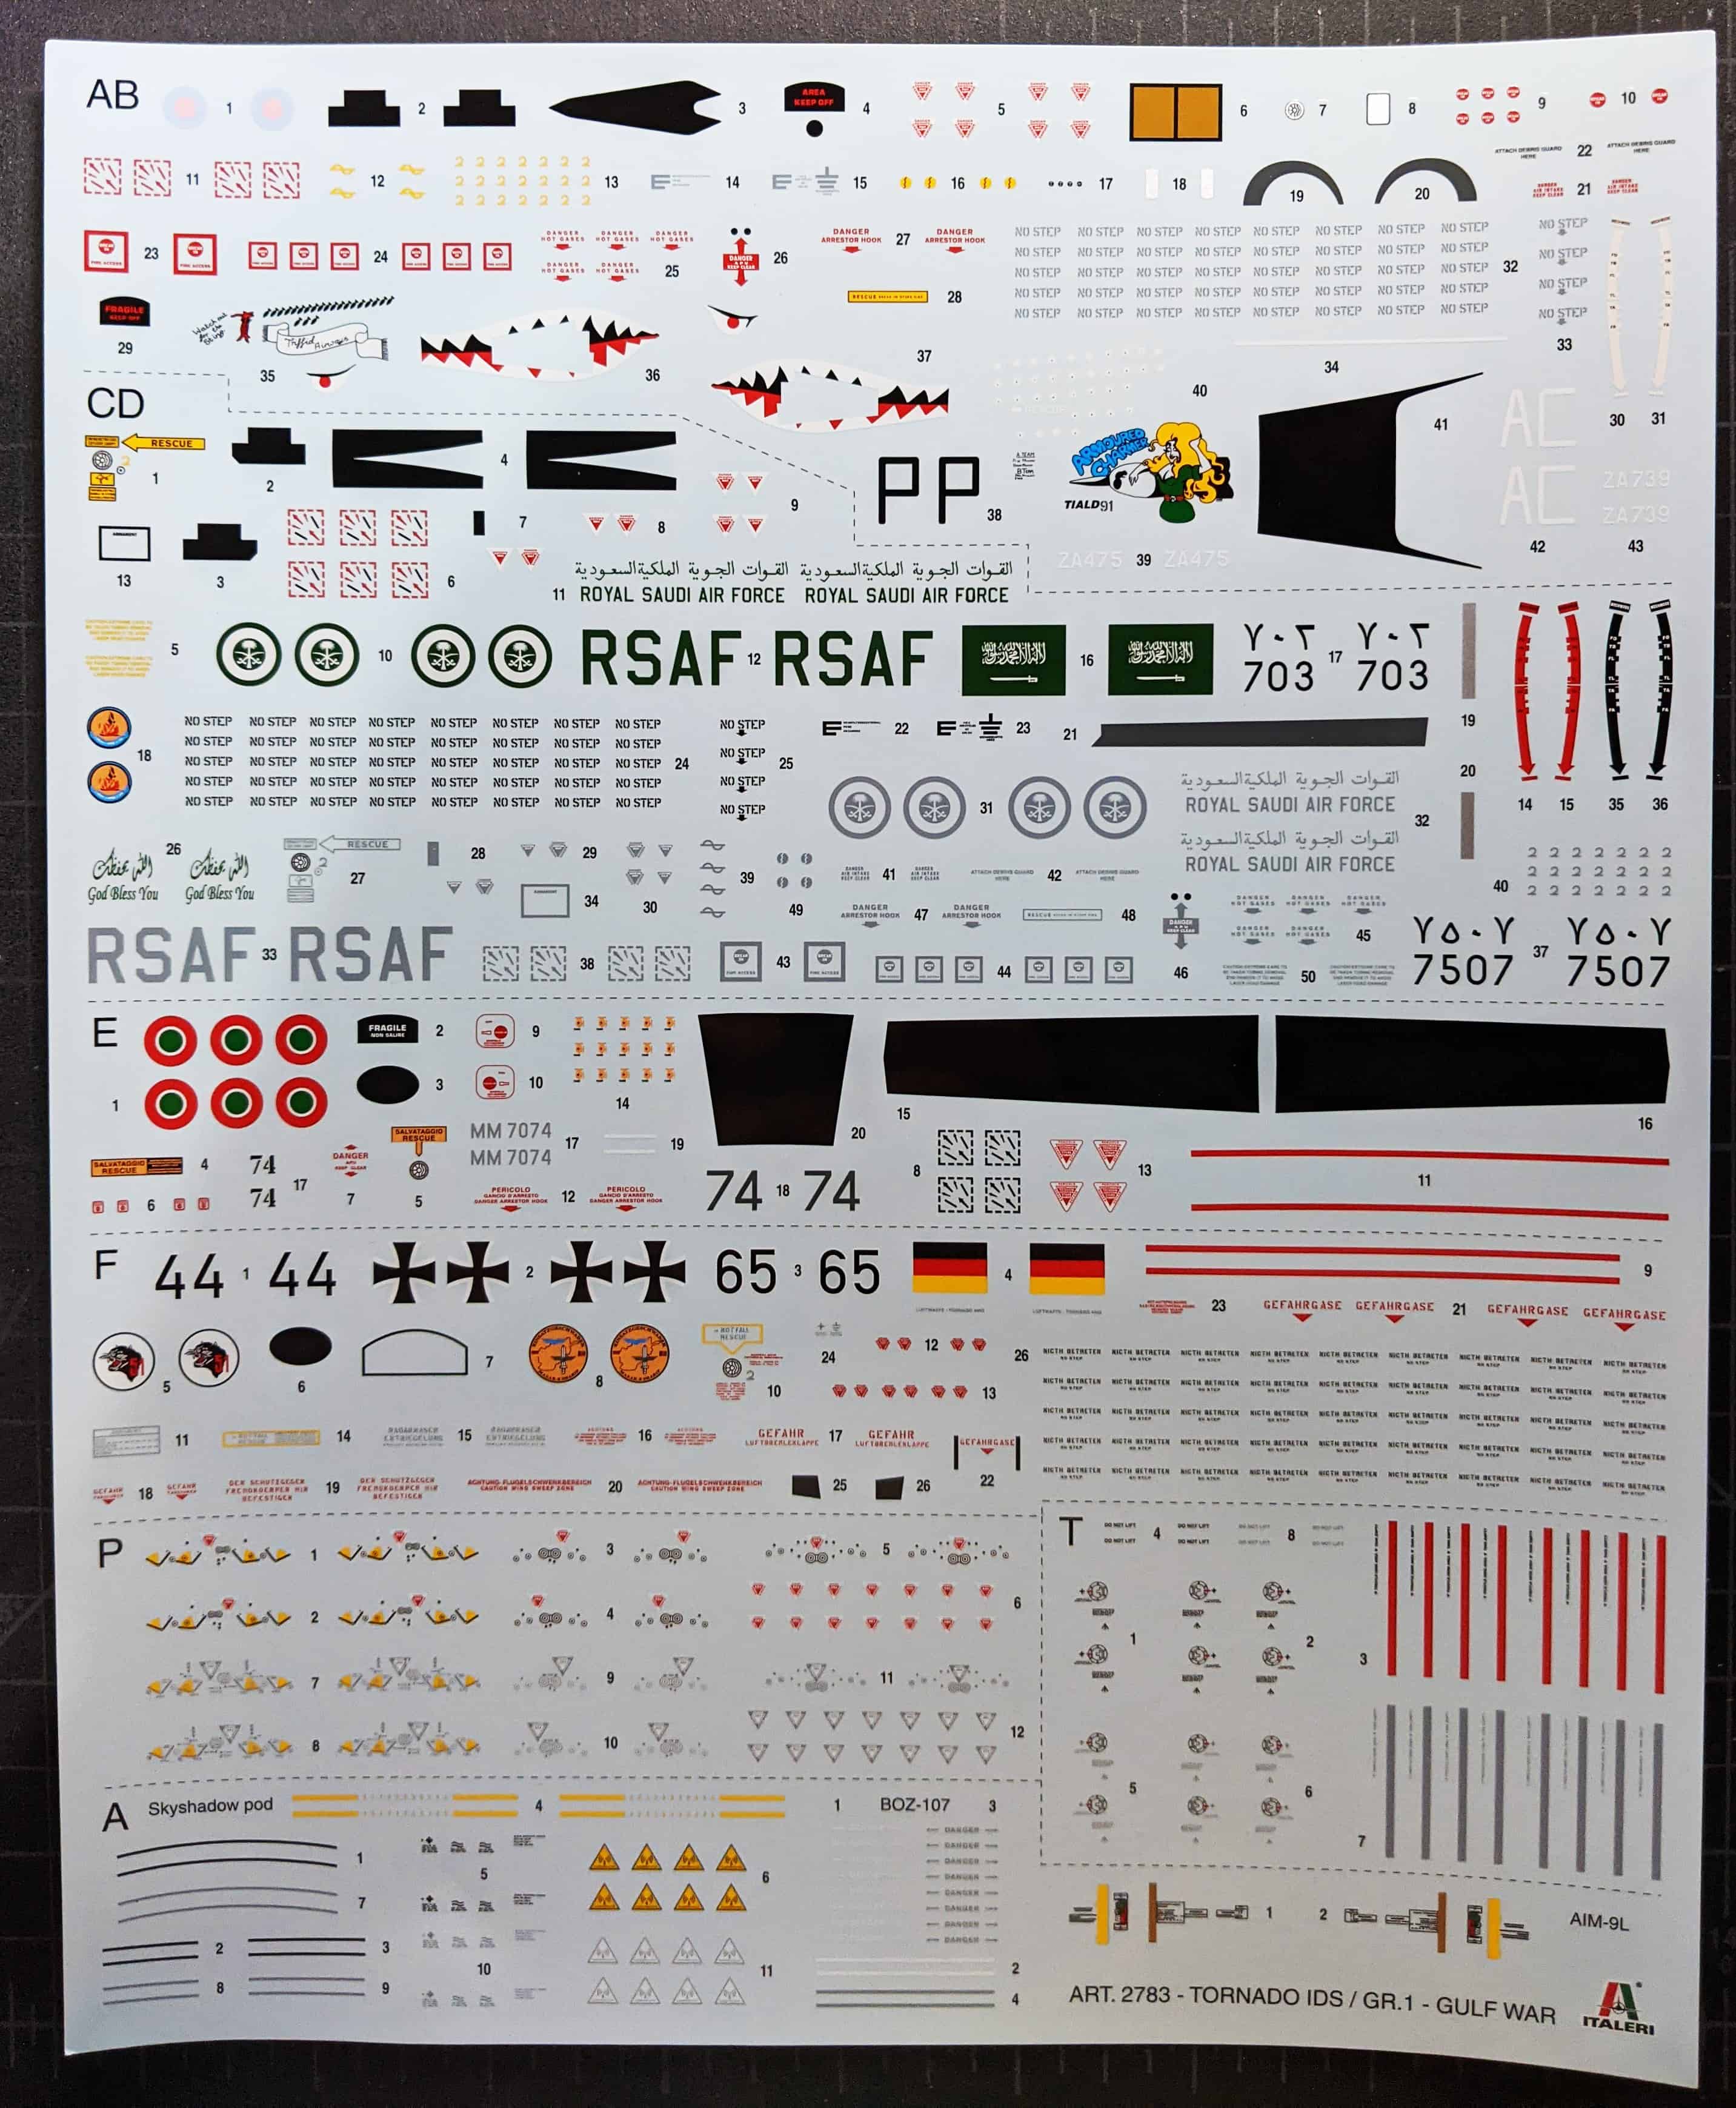
The included instruction sheet provides clear instructions as well as a colorized painting guide for 6 different schemes encompassing 4 different nations. It’s a generous variety of options to choose from and a fantastic Cartograf decal sheet to accompany them. My only critique of the instructions is that the painting guide does not provide a clear representation of some of the smaller, more detailed, decals such as the “No Step” stencils. It can be hard to tell which direction they should face when applied.
The detail of sprues is hit or miss. Again, this is part of the tool showing it’s age. In some areas the panel lines and details are deep and crisp but in some areas tend to fade away as you move along the part. Some panel lines you can follow down the fuselage and it’s puzzling why it’s defined in one area and light in another. This required considerable rescribing to even them out. Despite this, flash on the sprues was minimal.
View in the Model Showcase
Construction
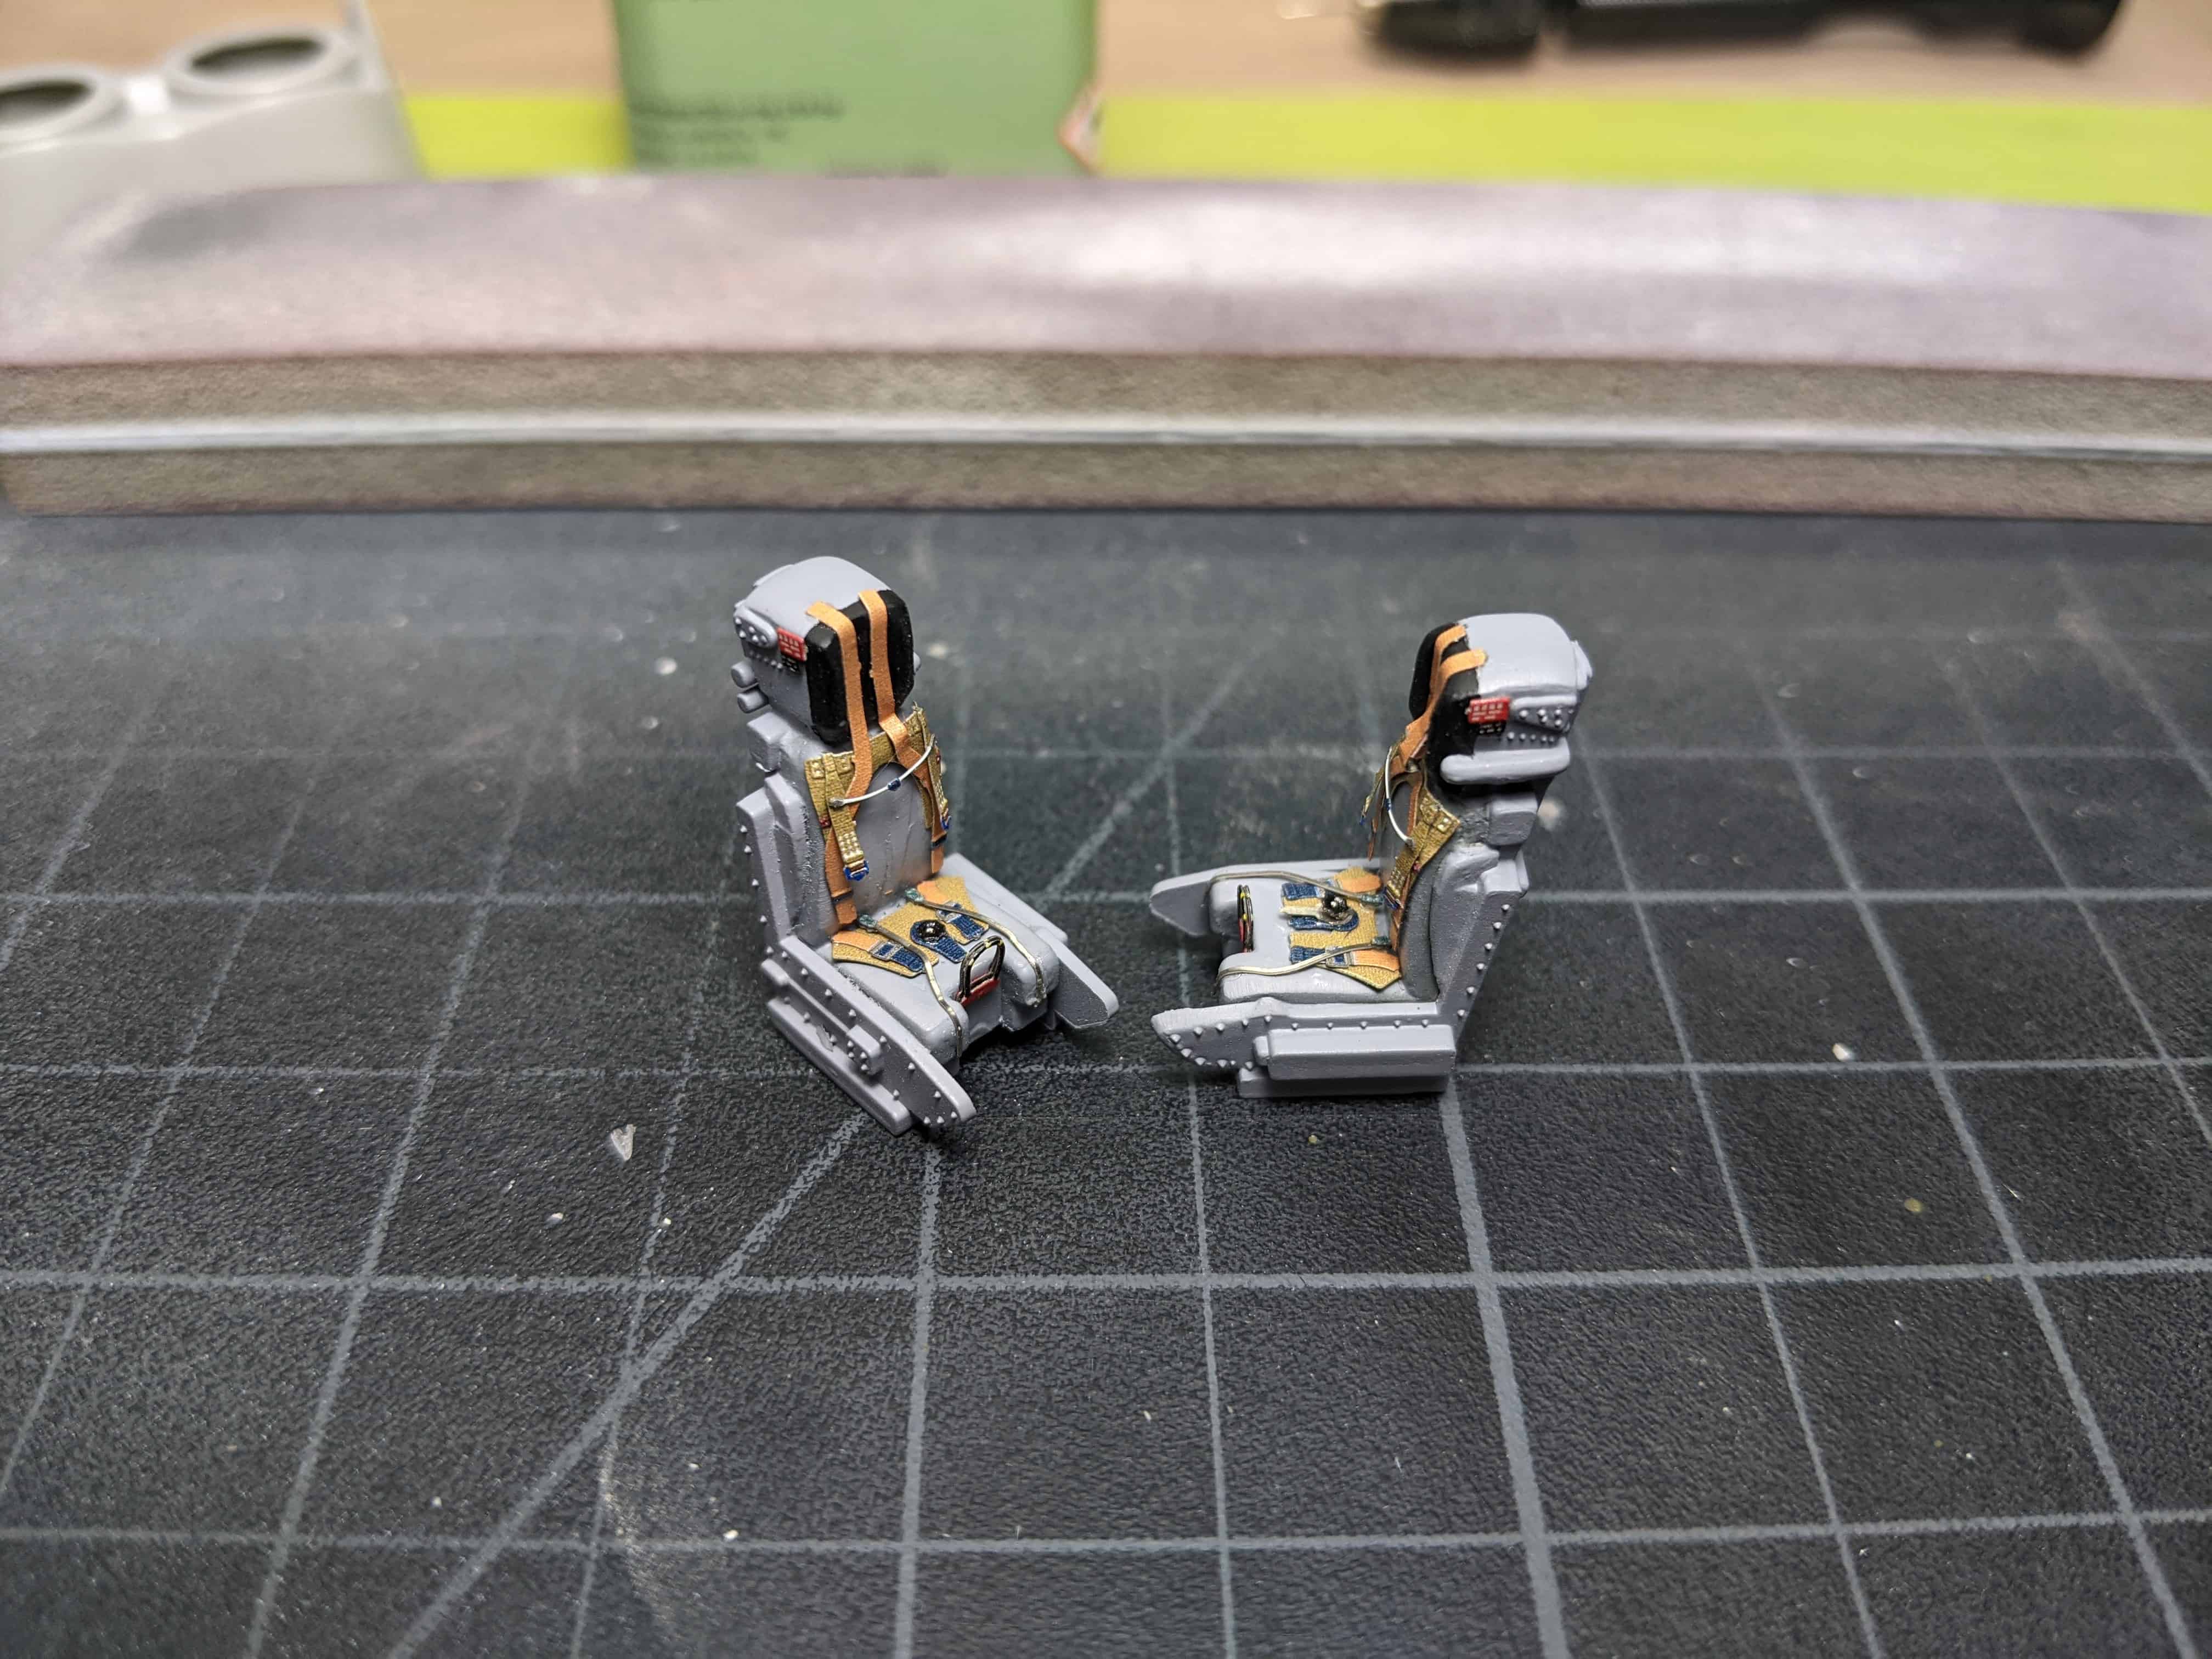
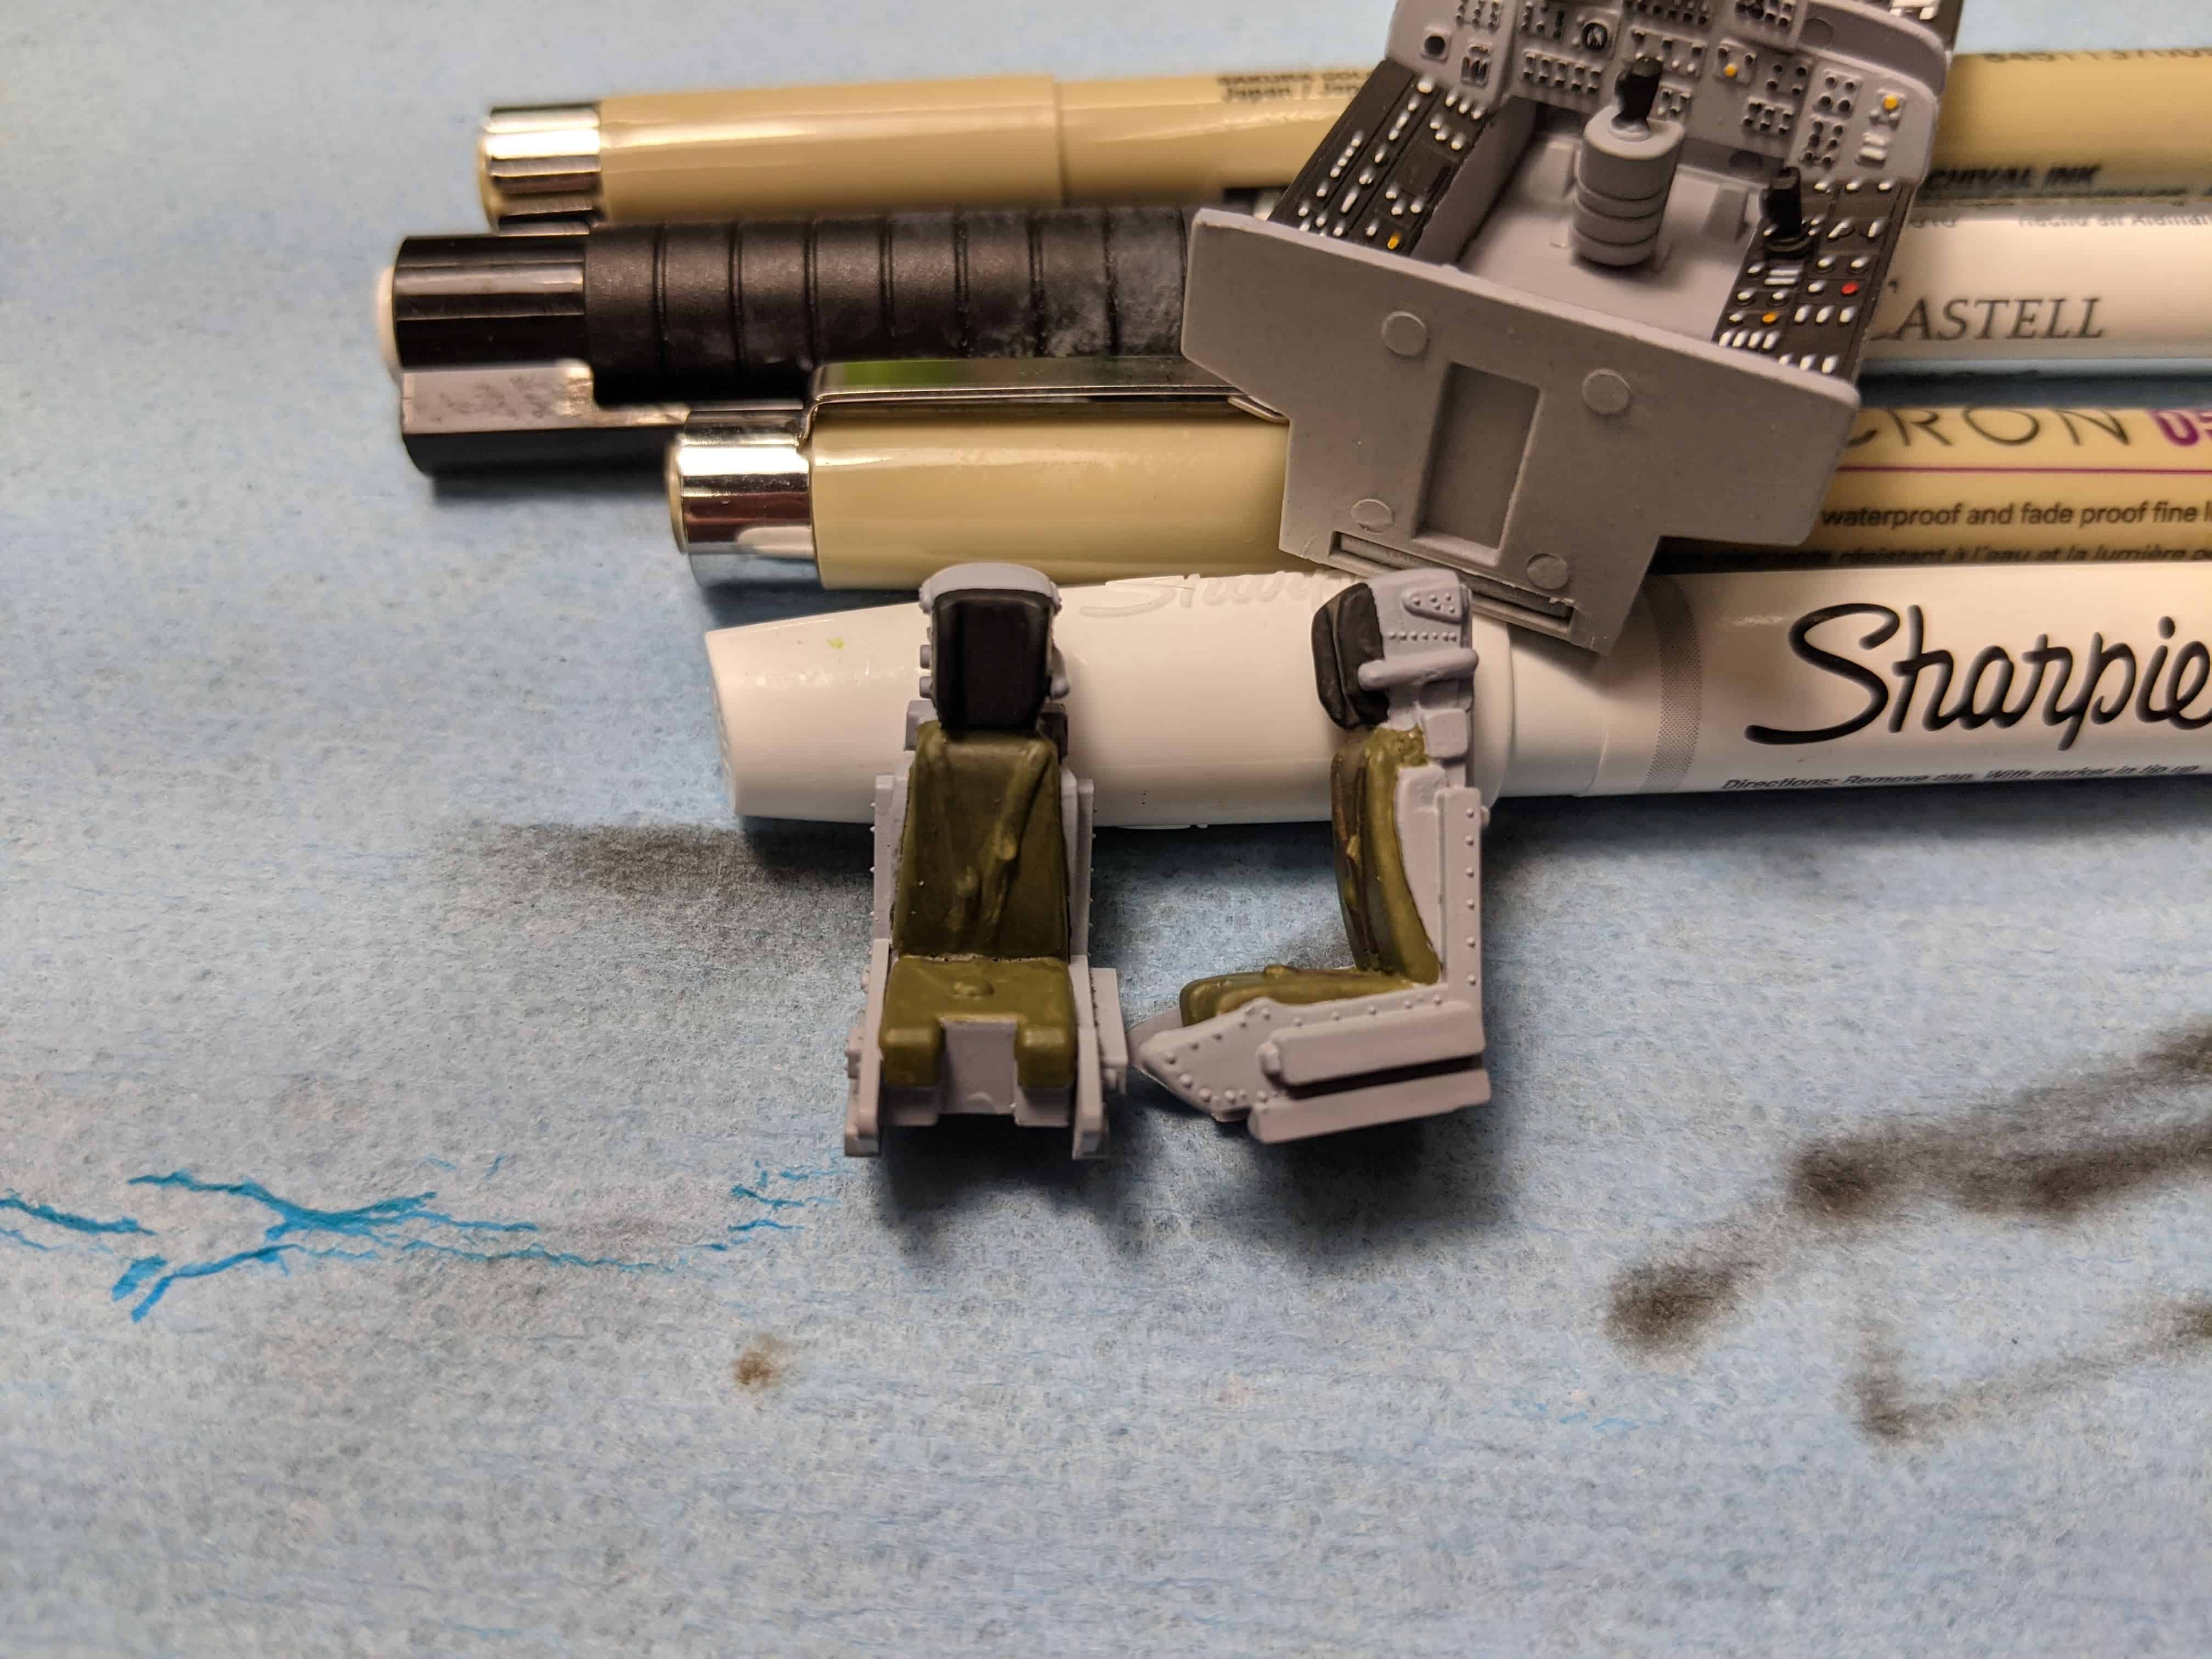
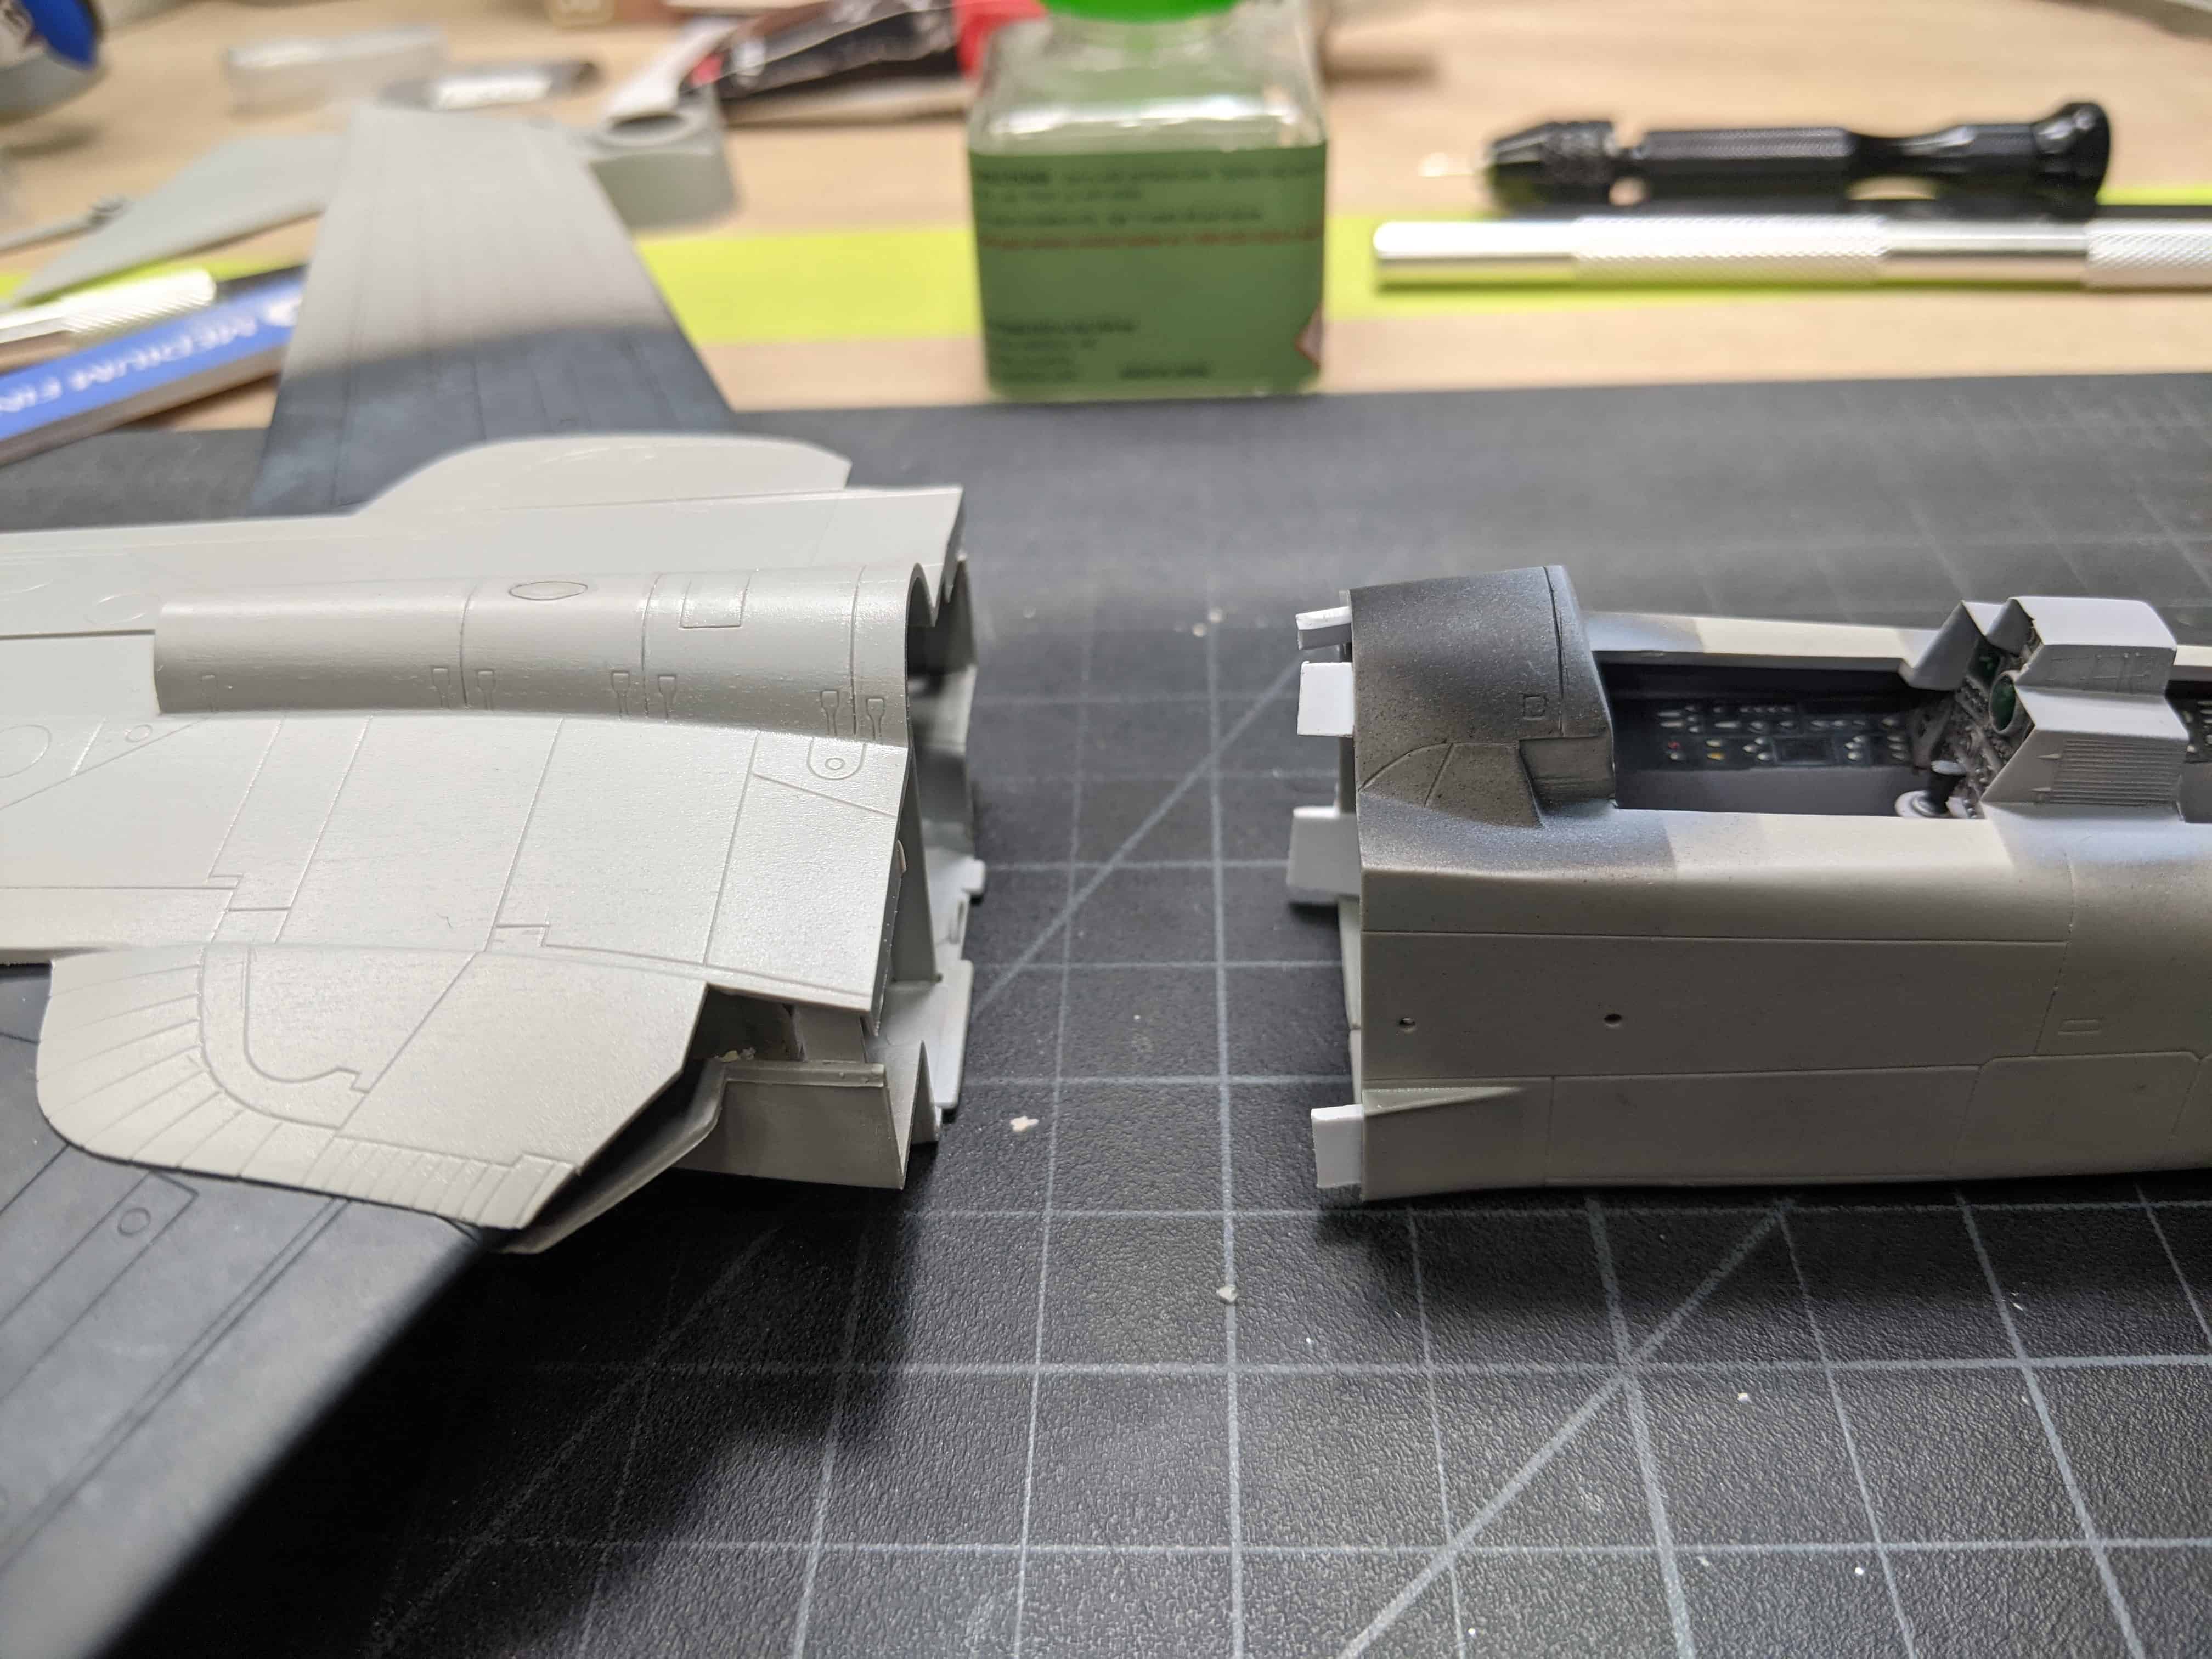
The kit begins with construction of the cockpit. The included seats are very pedestrian and I would recommend upgrading with either resin or photoetch. In my case I found a cheap eduard set for a IDS tornado for the Hobby Boss kit. There were minor fit issues but it looks much better. Below is a comparison.
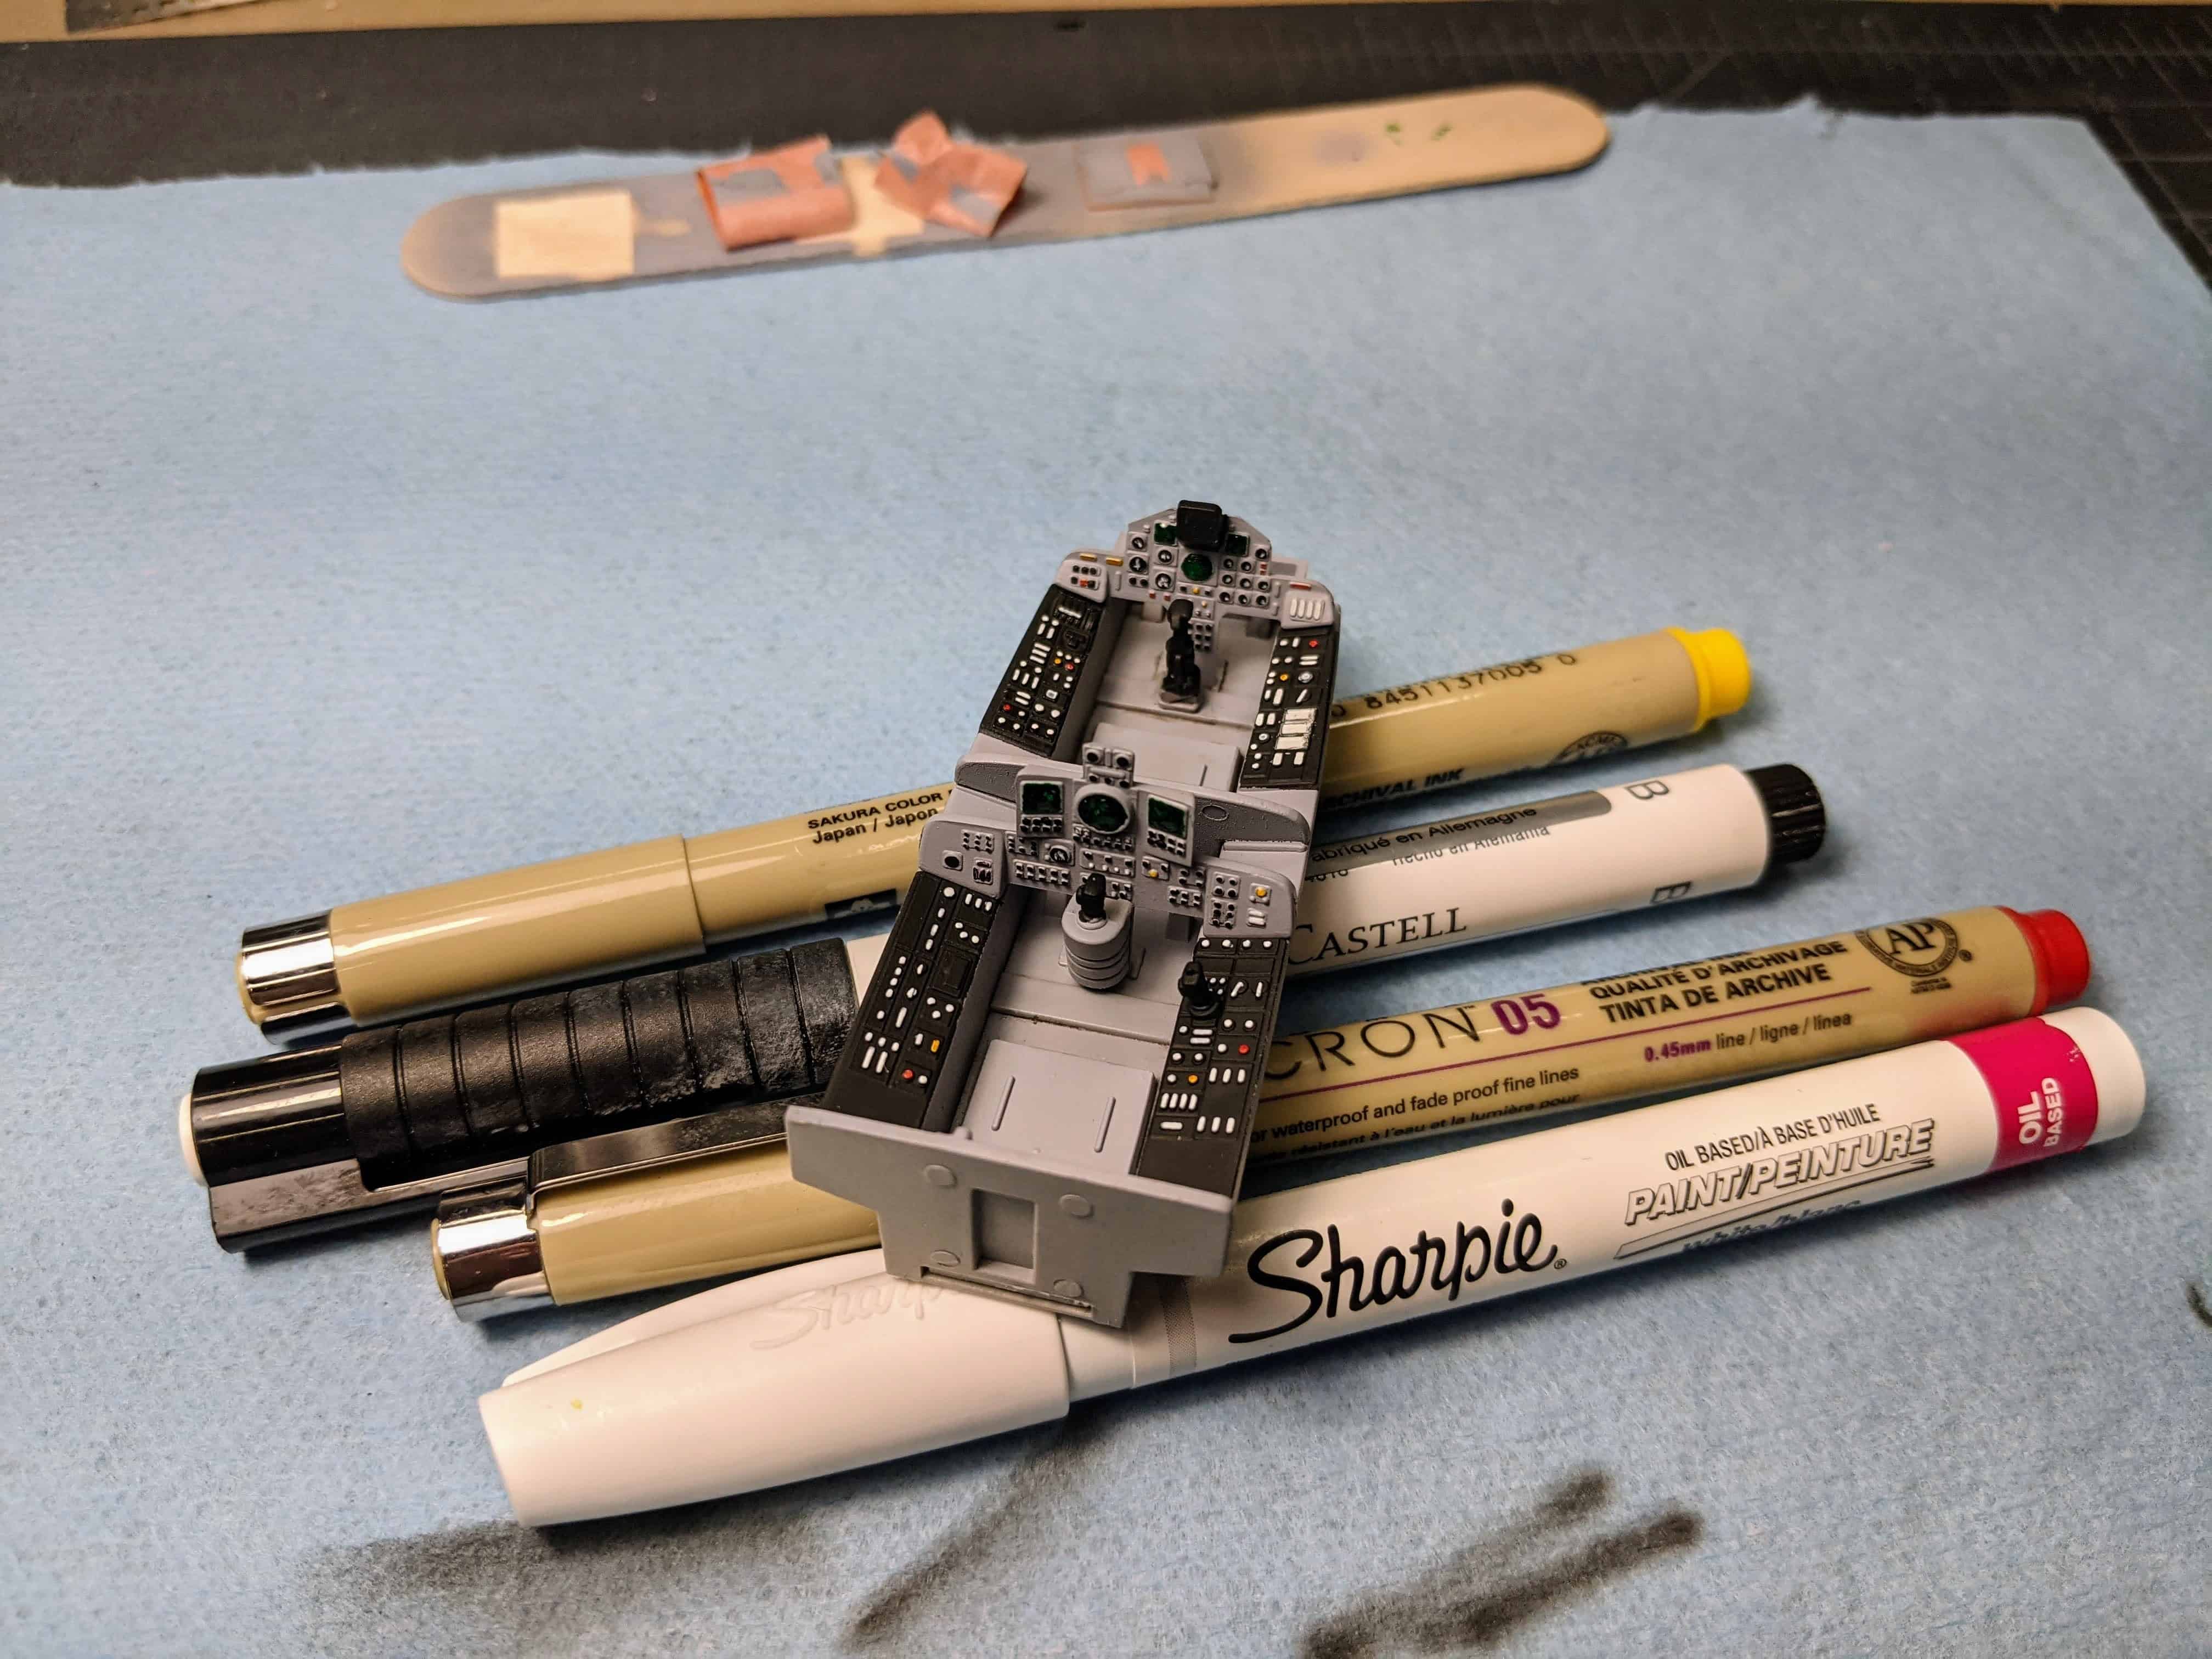
The cockpit tub is fairly standard for two seat aircraft. You get separate instrument panels, control sticks and blocking that separate the forward and aft compartments. The detail is nice with raised dials and switches for both the instrument panel and the side consoles. Note that there are no decals are provided for these areas so be prepared to paint the details.
To paint the cockpit I first used Gull Gray for the tub and IPs followed by black for the consoles. For the details I used a mixture of Faber-Castell, Micron, and Sharpie enamel pens. These come with very fine tips and have great color opacity. For the displays I used Tamiya clear green with a drop of Mod Podge on each one to give it a glaze.
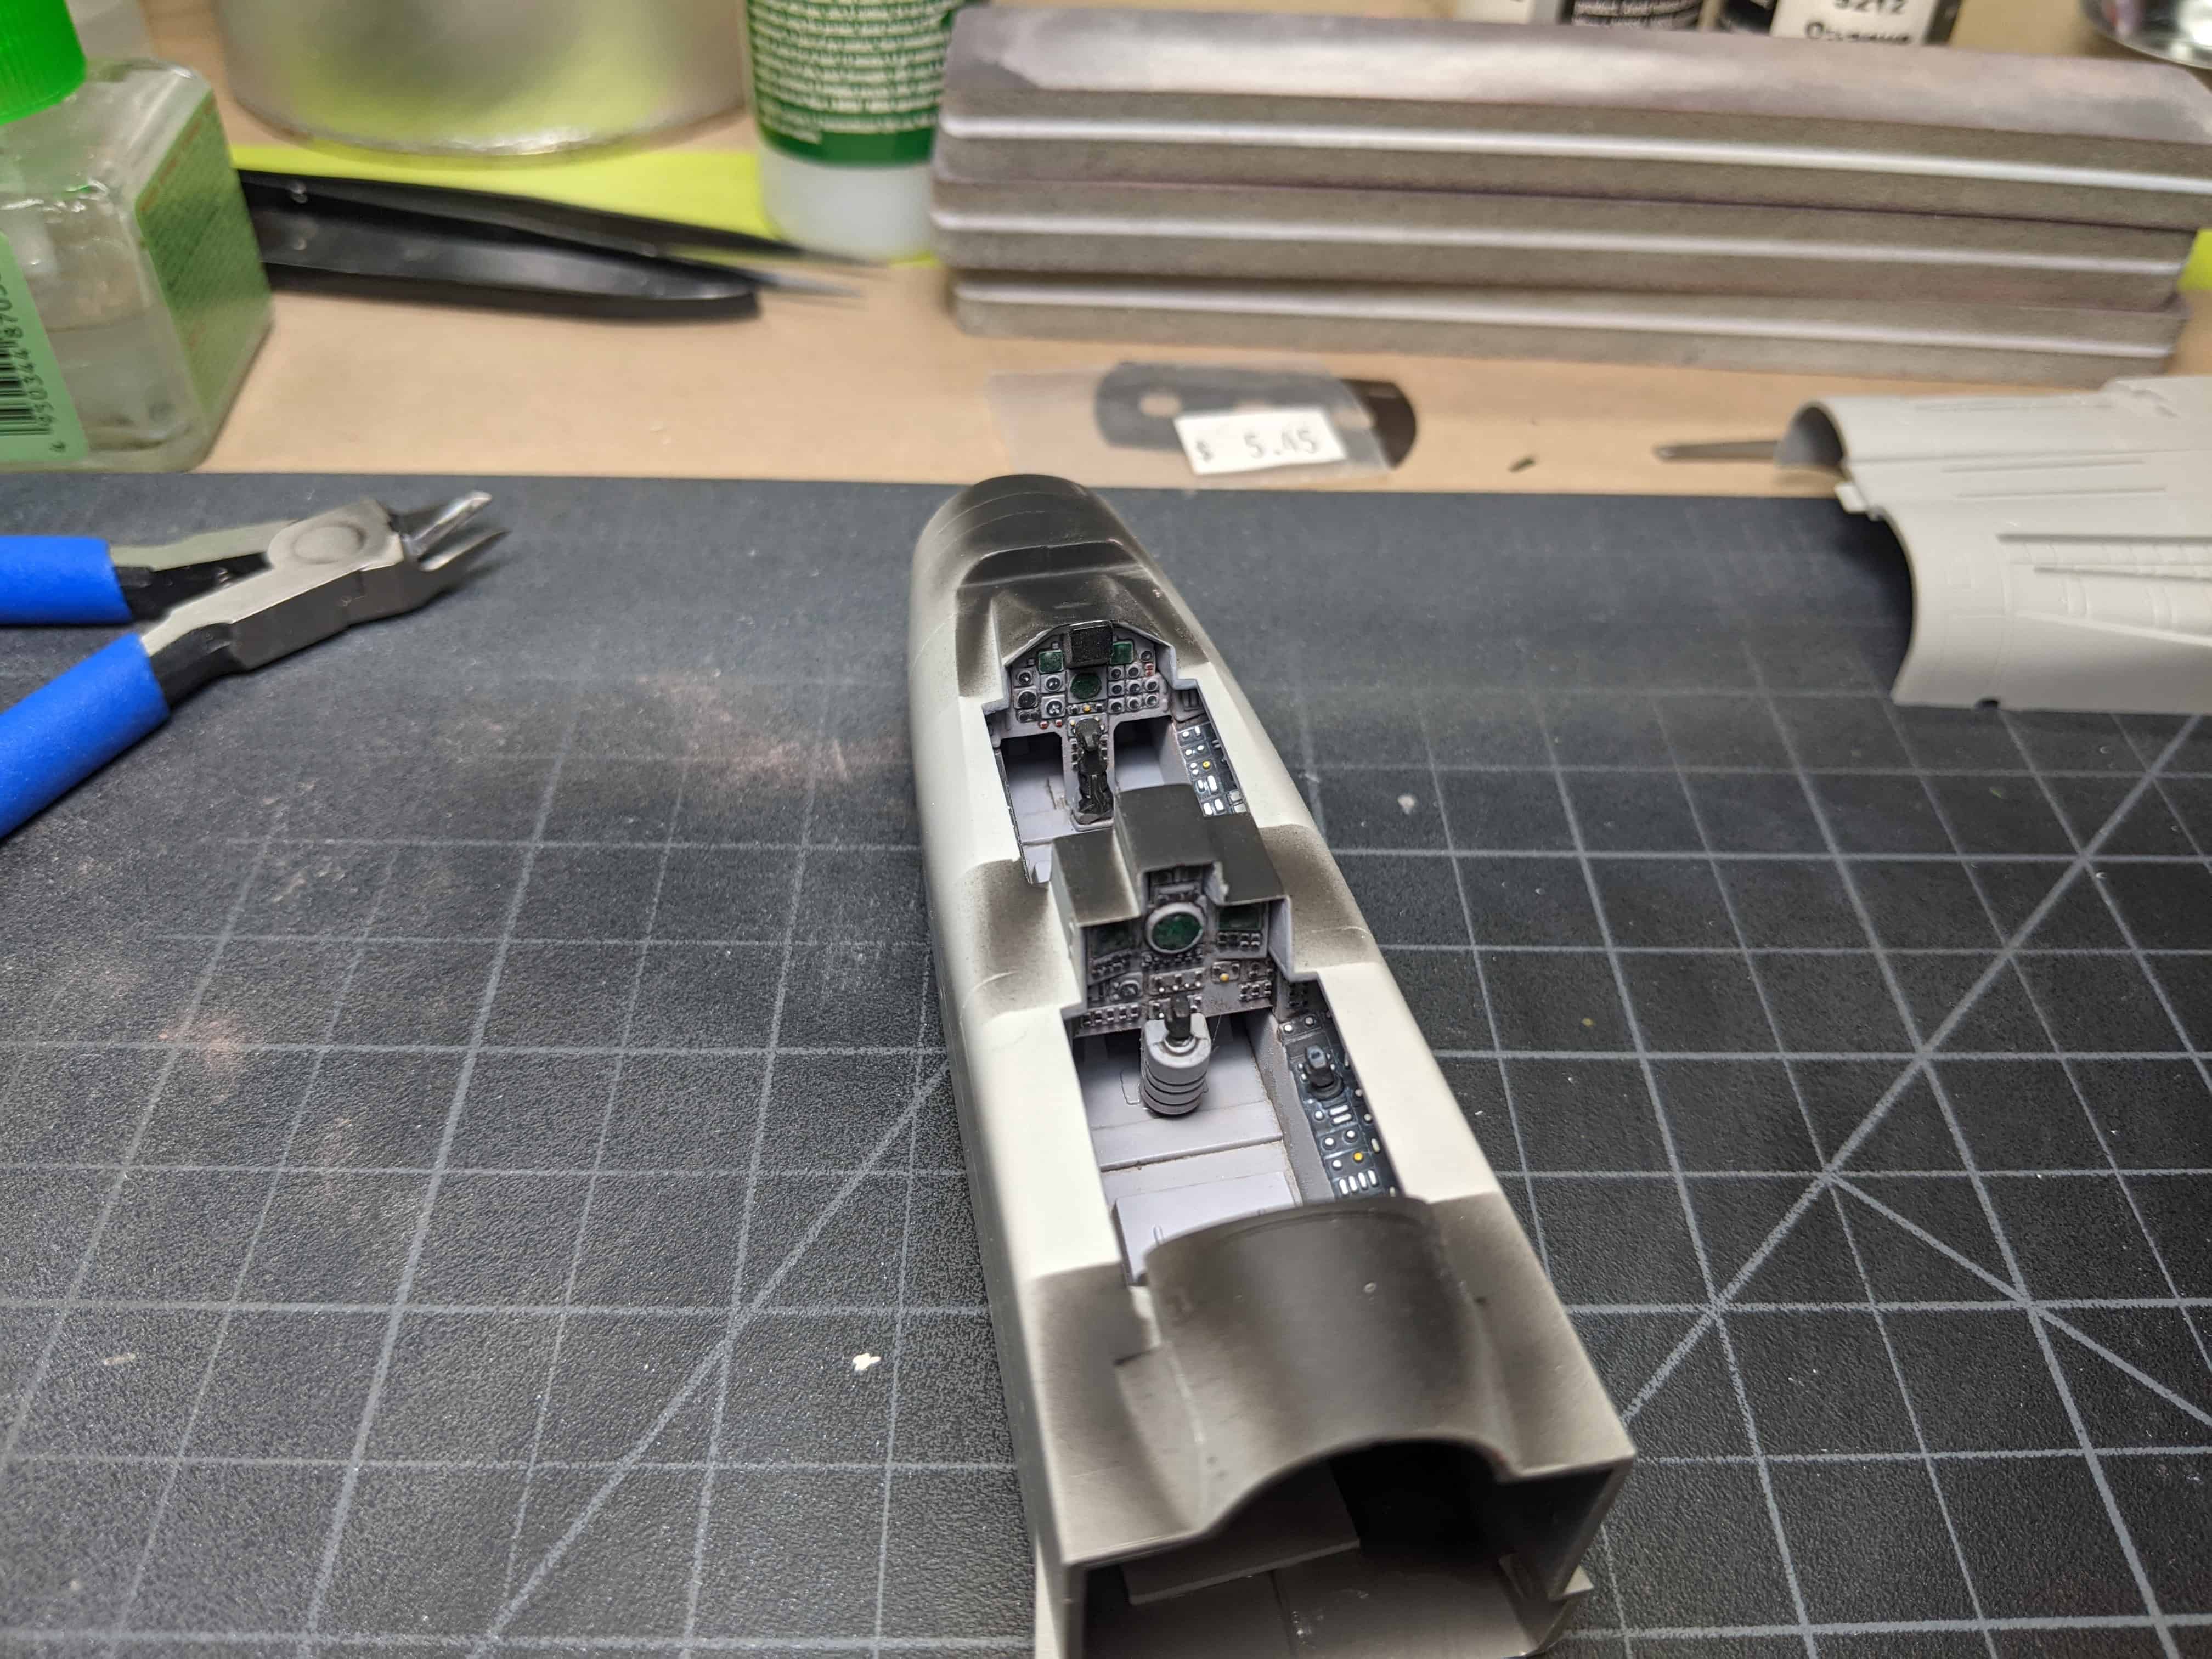
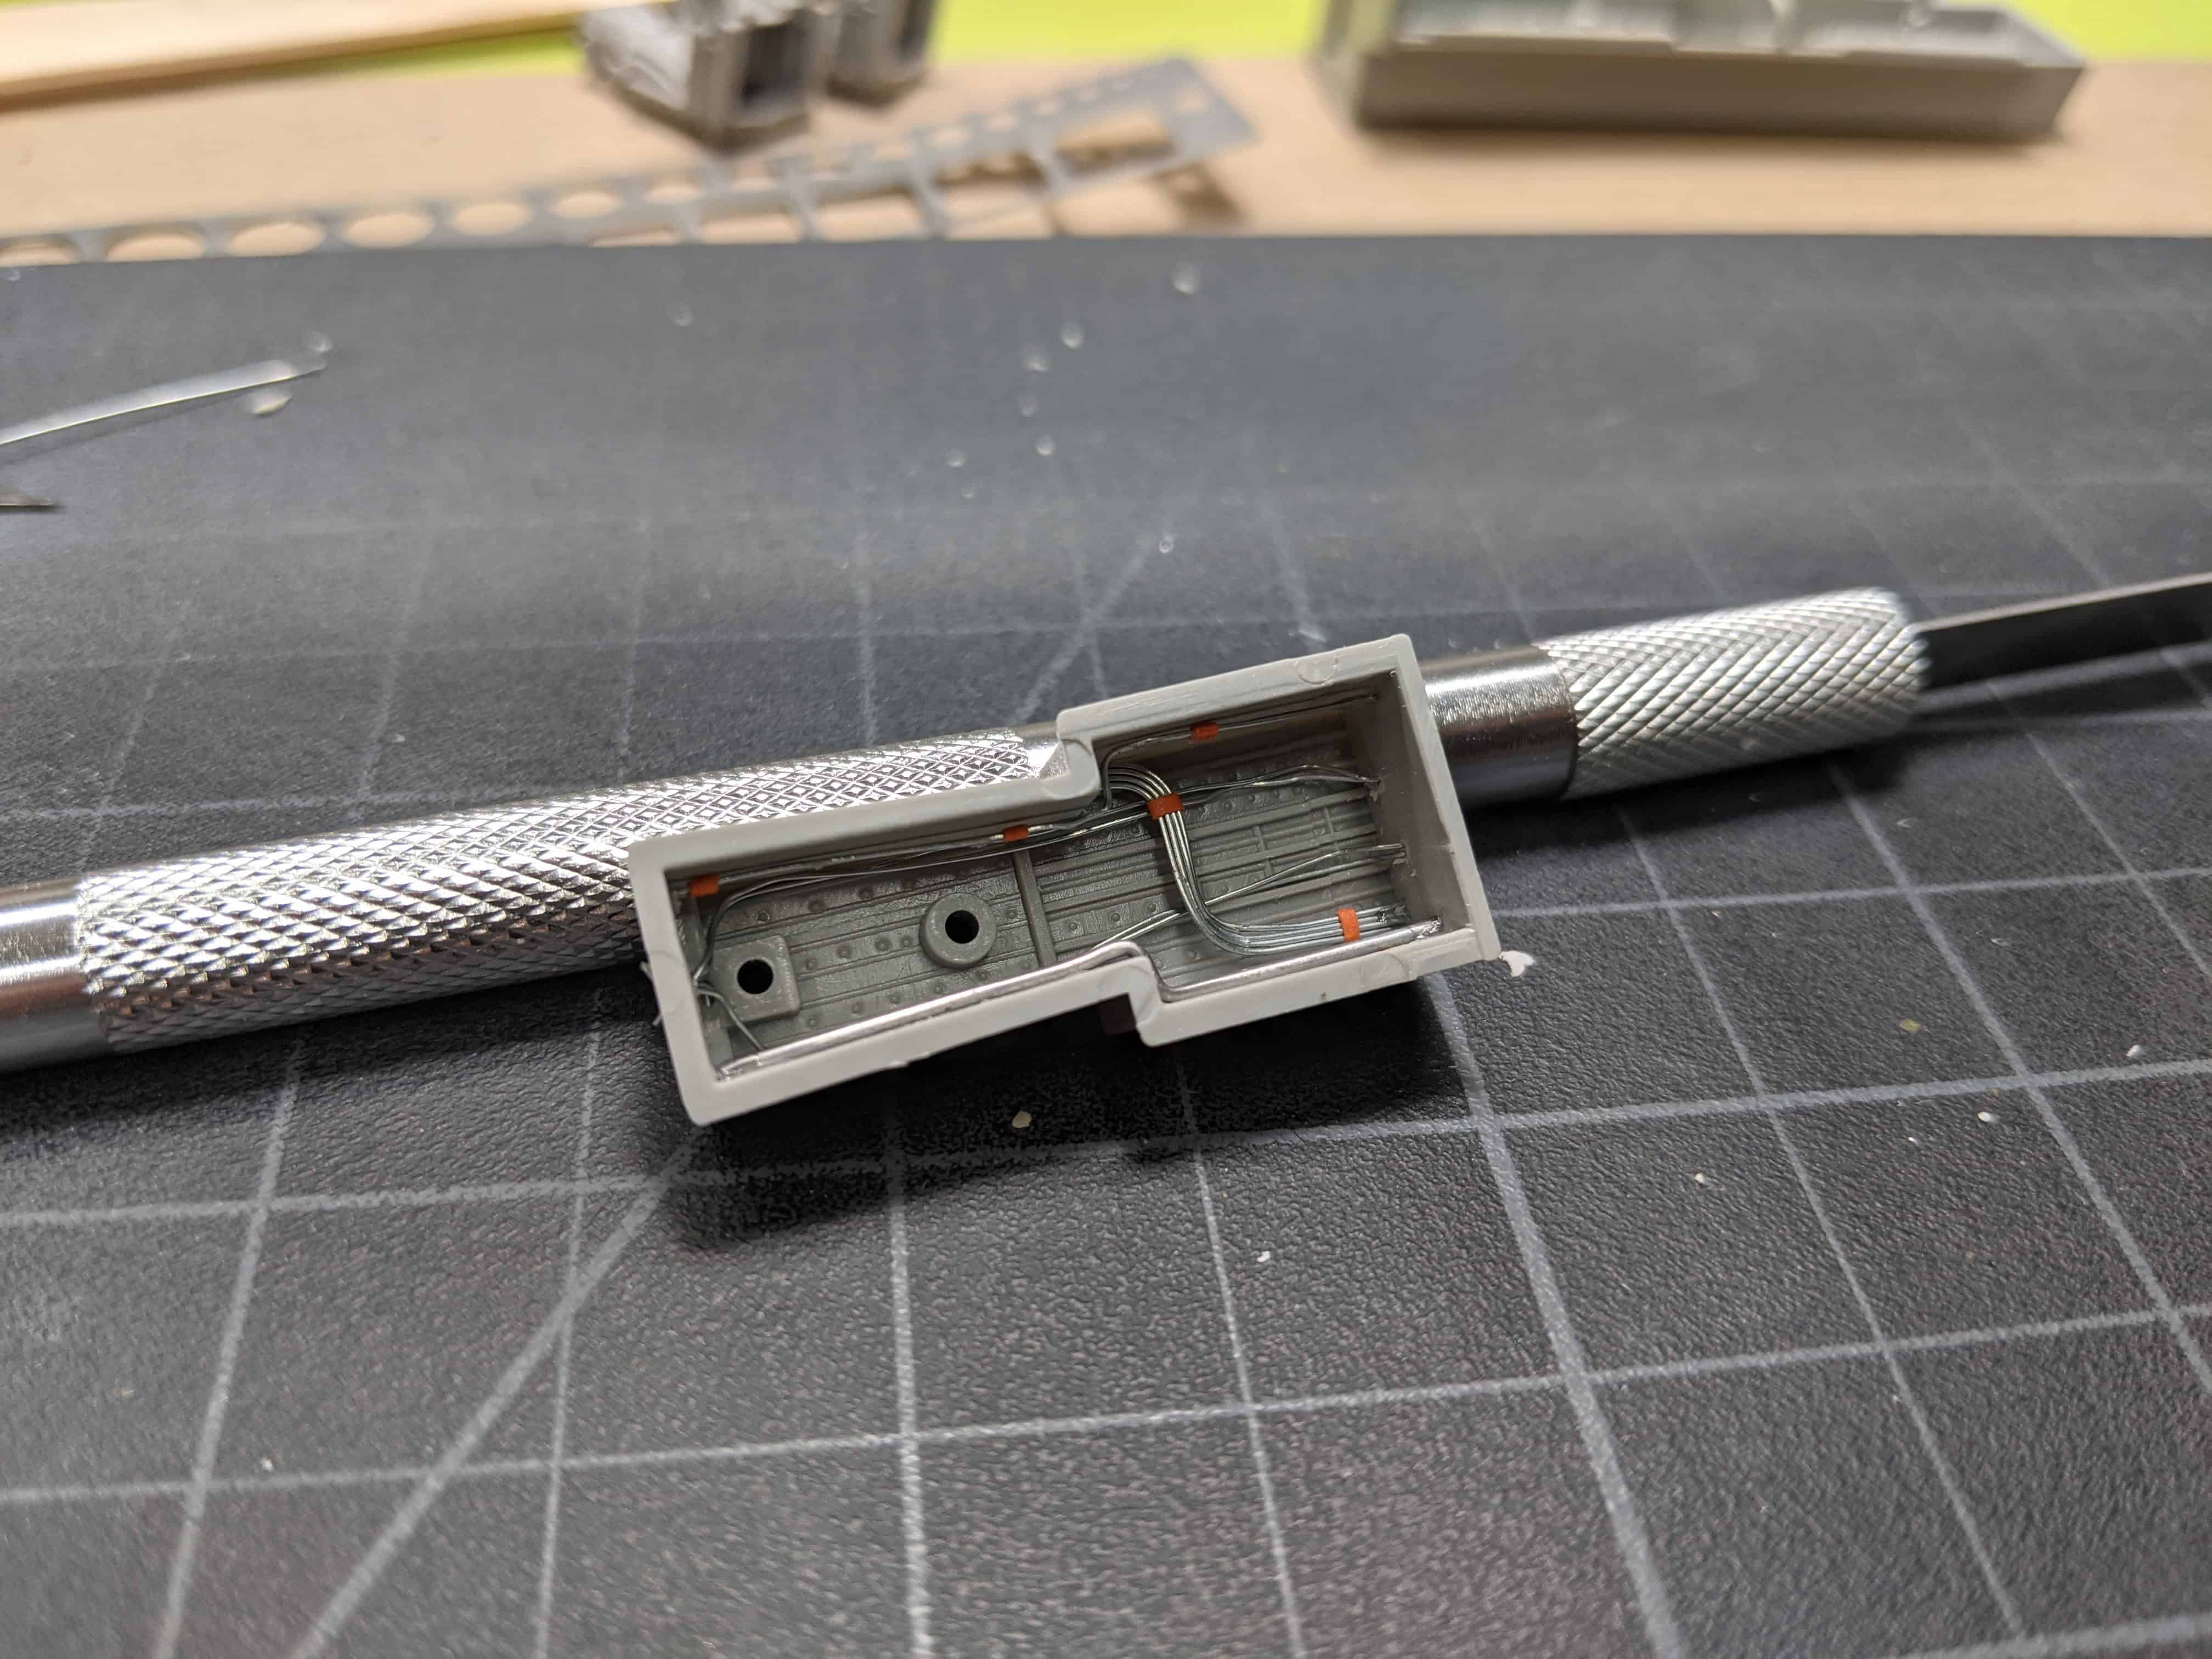
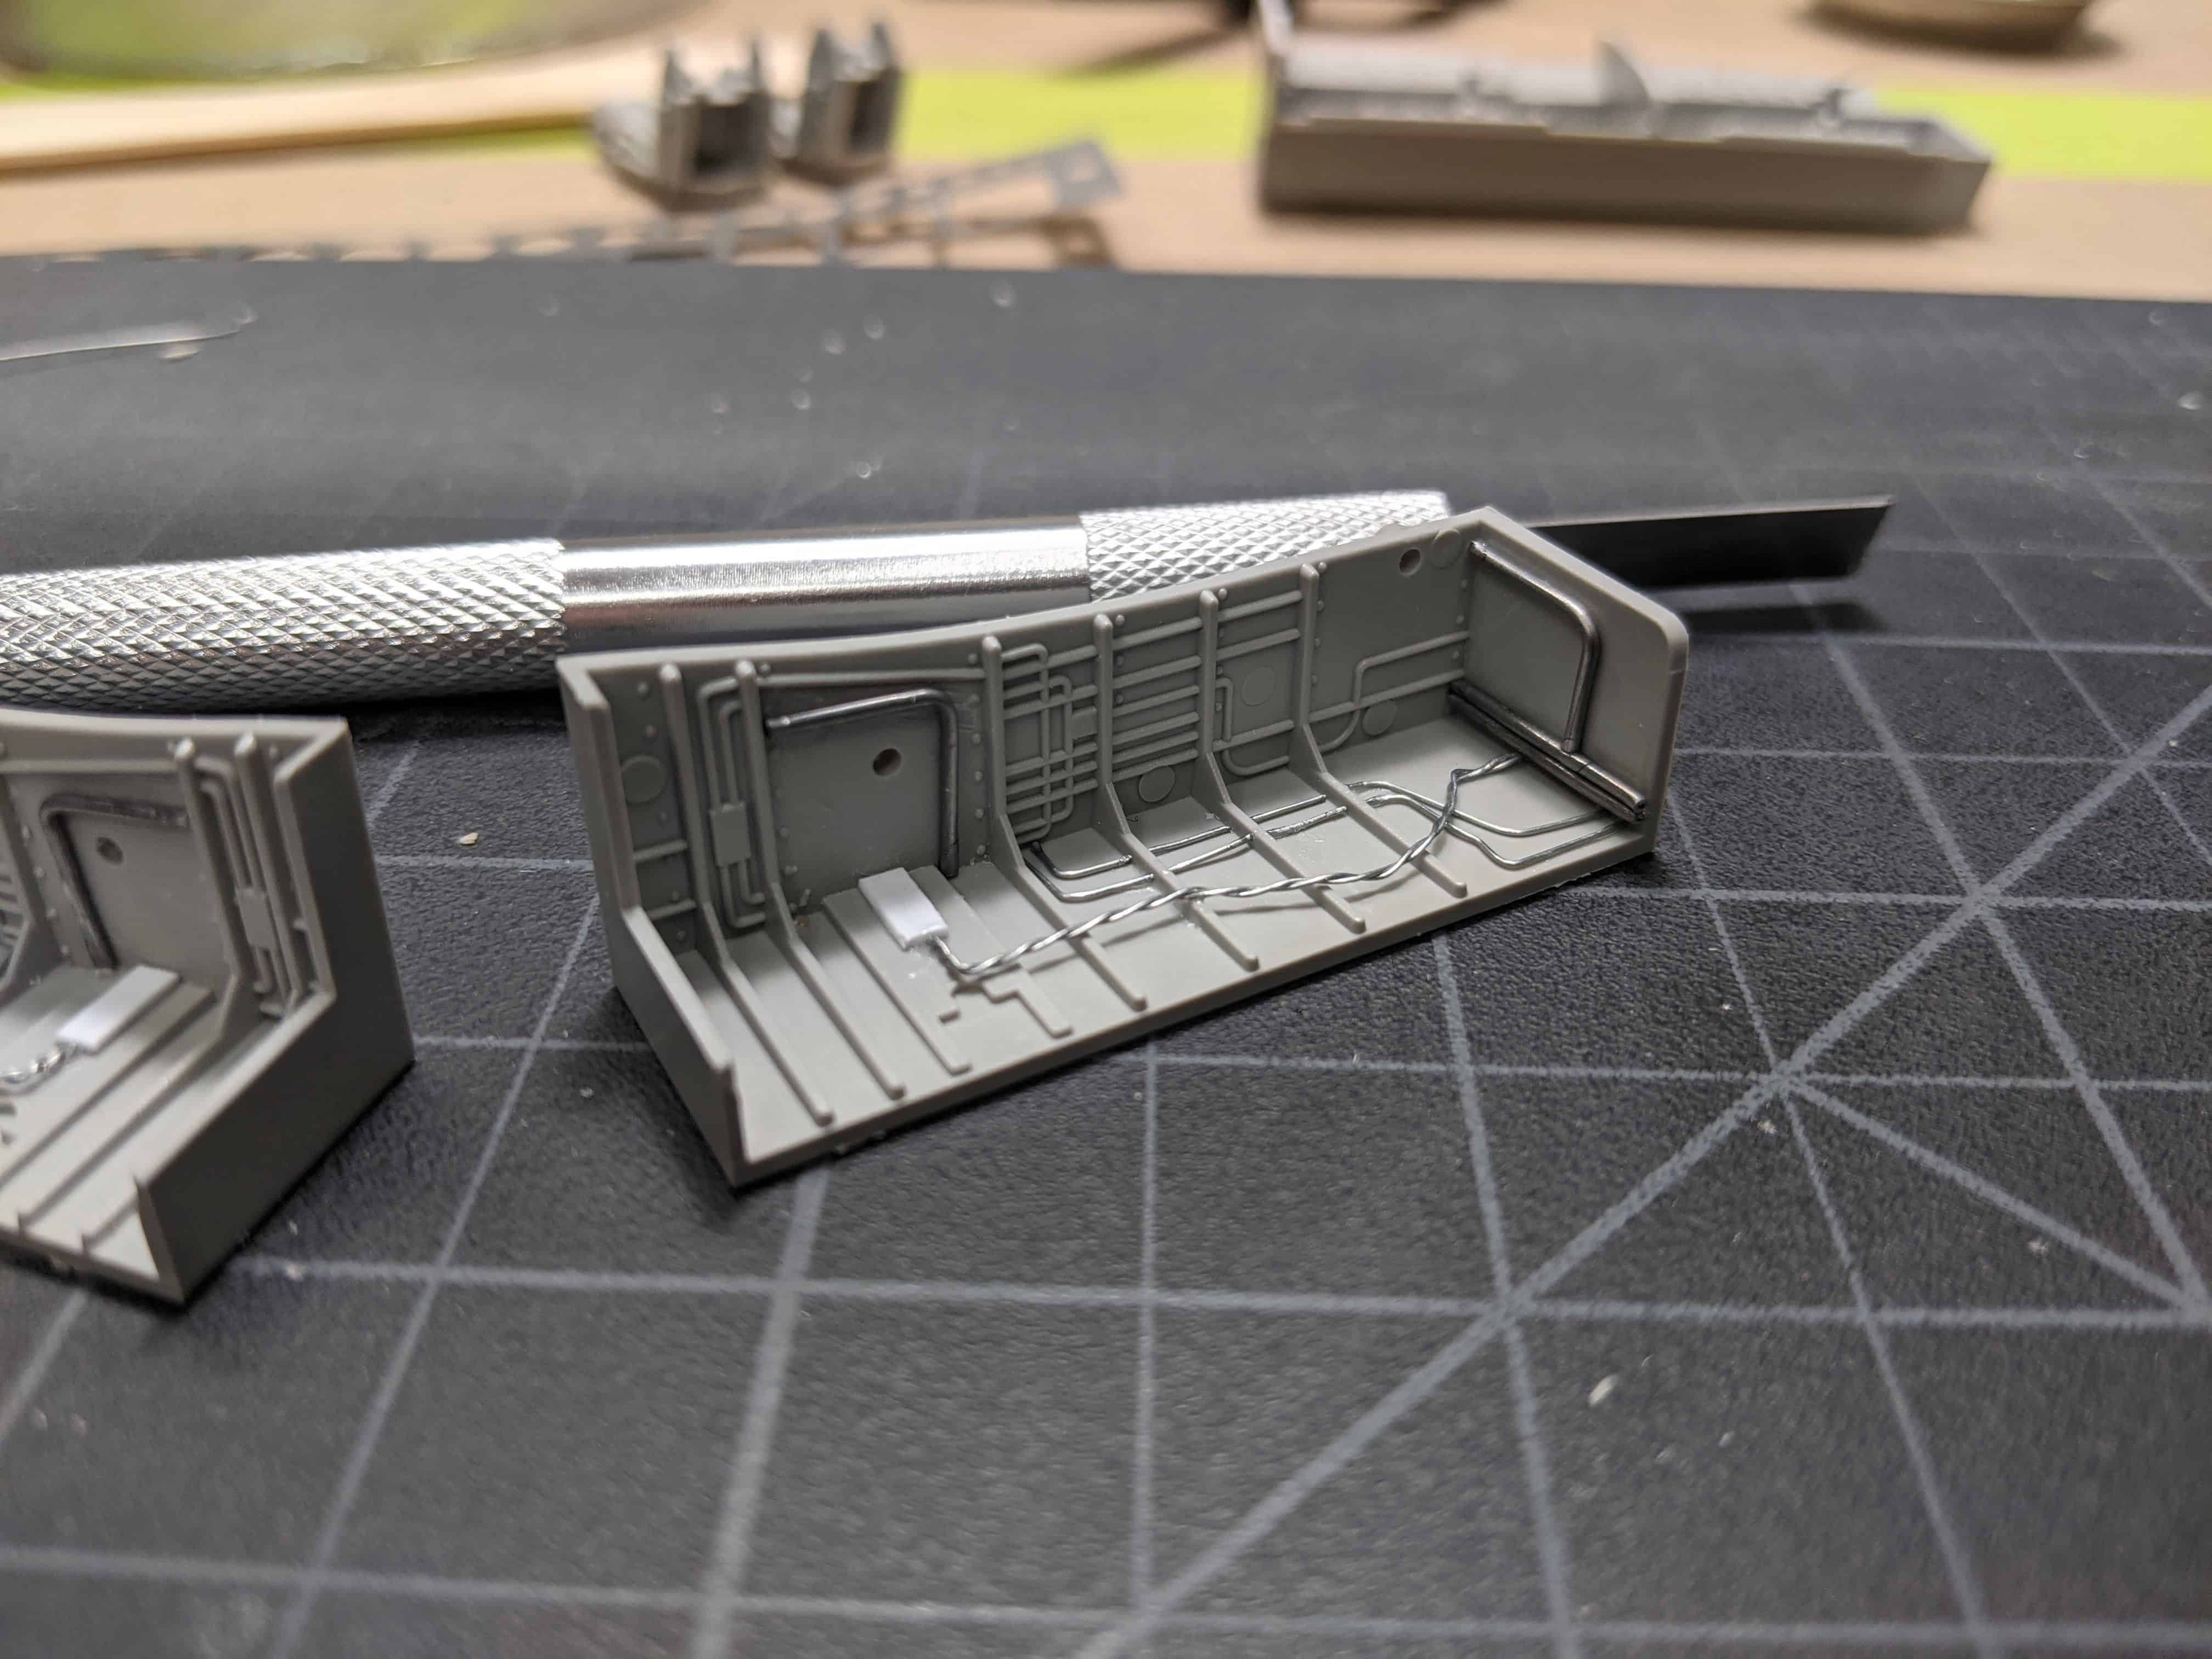
Next, you can simply install the forward gear bay and button up the forward fuselage. The aft fuselage also gets the gear bays installed along with blocking to reinforce the fit. This is where I decided to deck out the gear bays with various gauge wires. The bays were then painted white and the wiring was hand painted. It really adds nice detail to what is a sparsely detailed gear bay out of the box.


The wings are assembled next and only consist of an upper and lower half. Holes are drilled for the pylons and instructions call for “melting” the pylons in place. This is an old school trick but necessary. Why? This is because the swing wing on the Tornado also has swinging pylons! So by “melting” the pylon in place you can swivel them side to side based on the angle of the wing! I recommend following the instructions here until the kit is put together, then you can decide if you want to glue the pylons more securely in place.
The instructions also call for the same method to be used on the horizontal stabilizers. This can be ignored – I waiting until after painting to glue them in place. The fit is just fine.
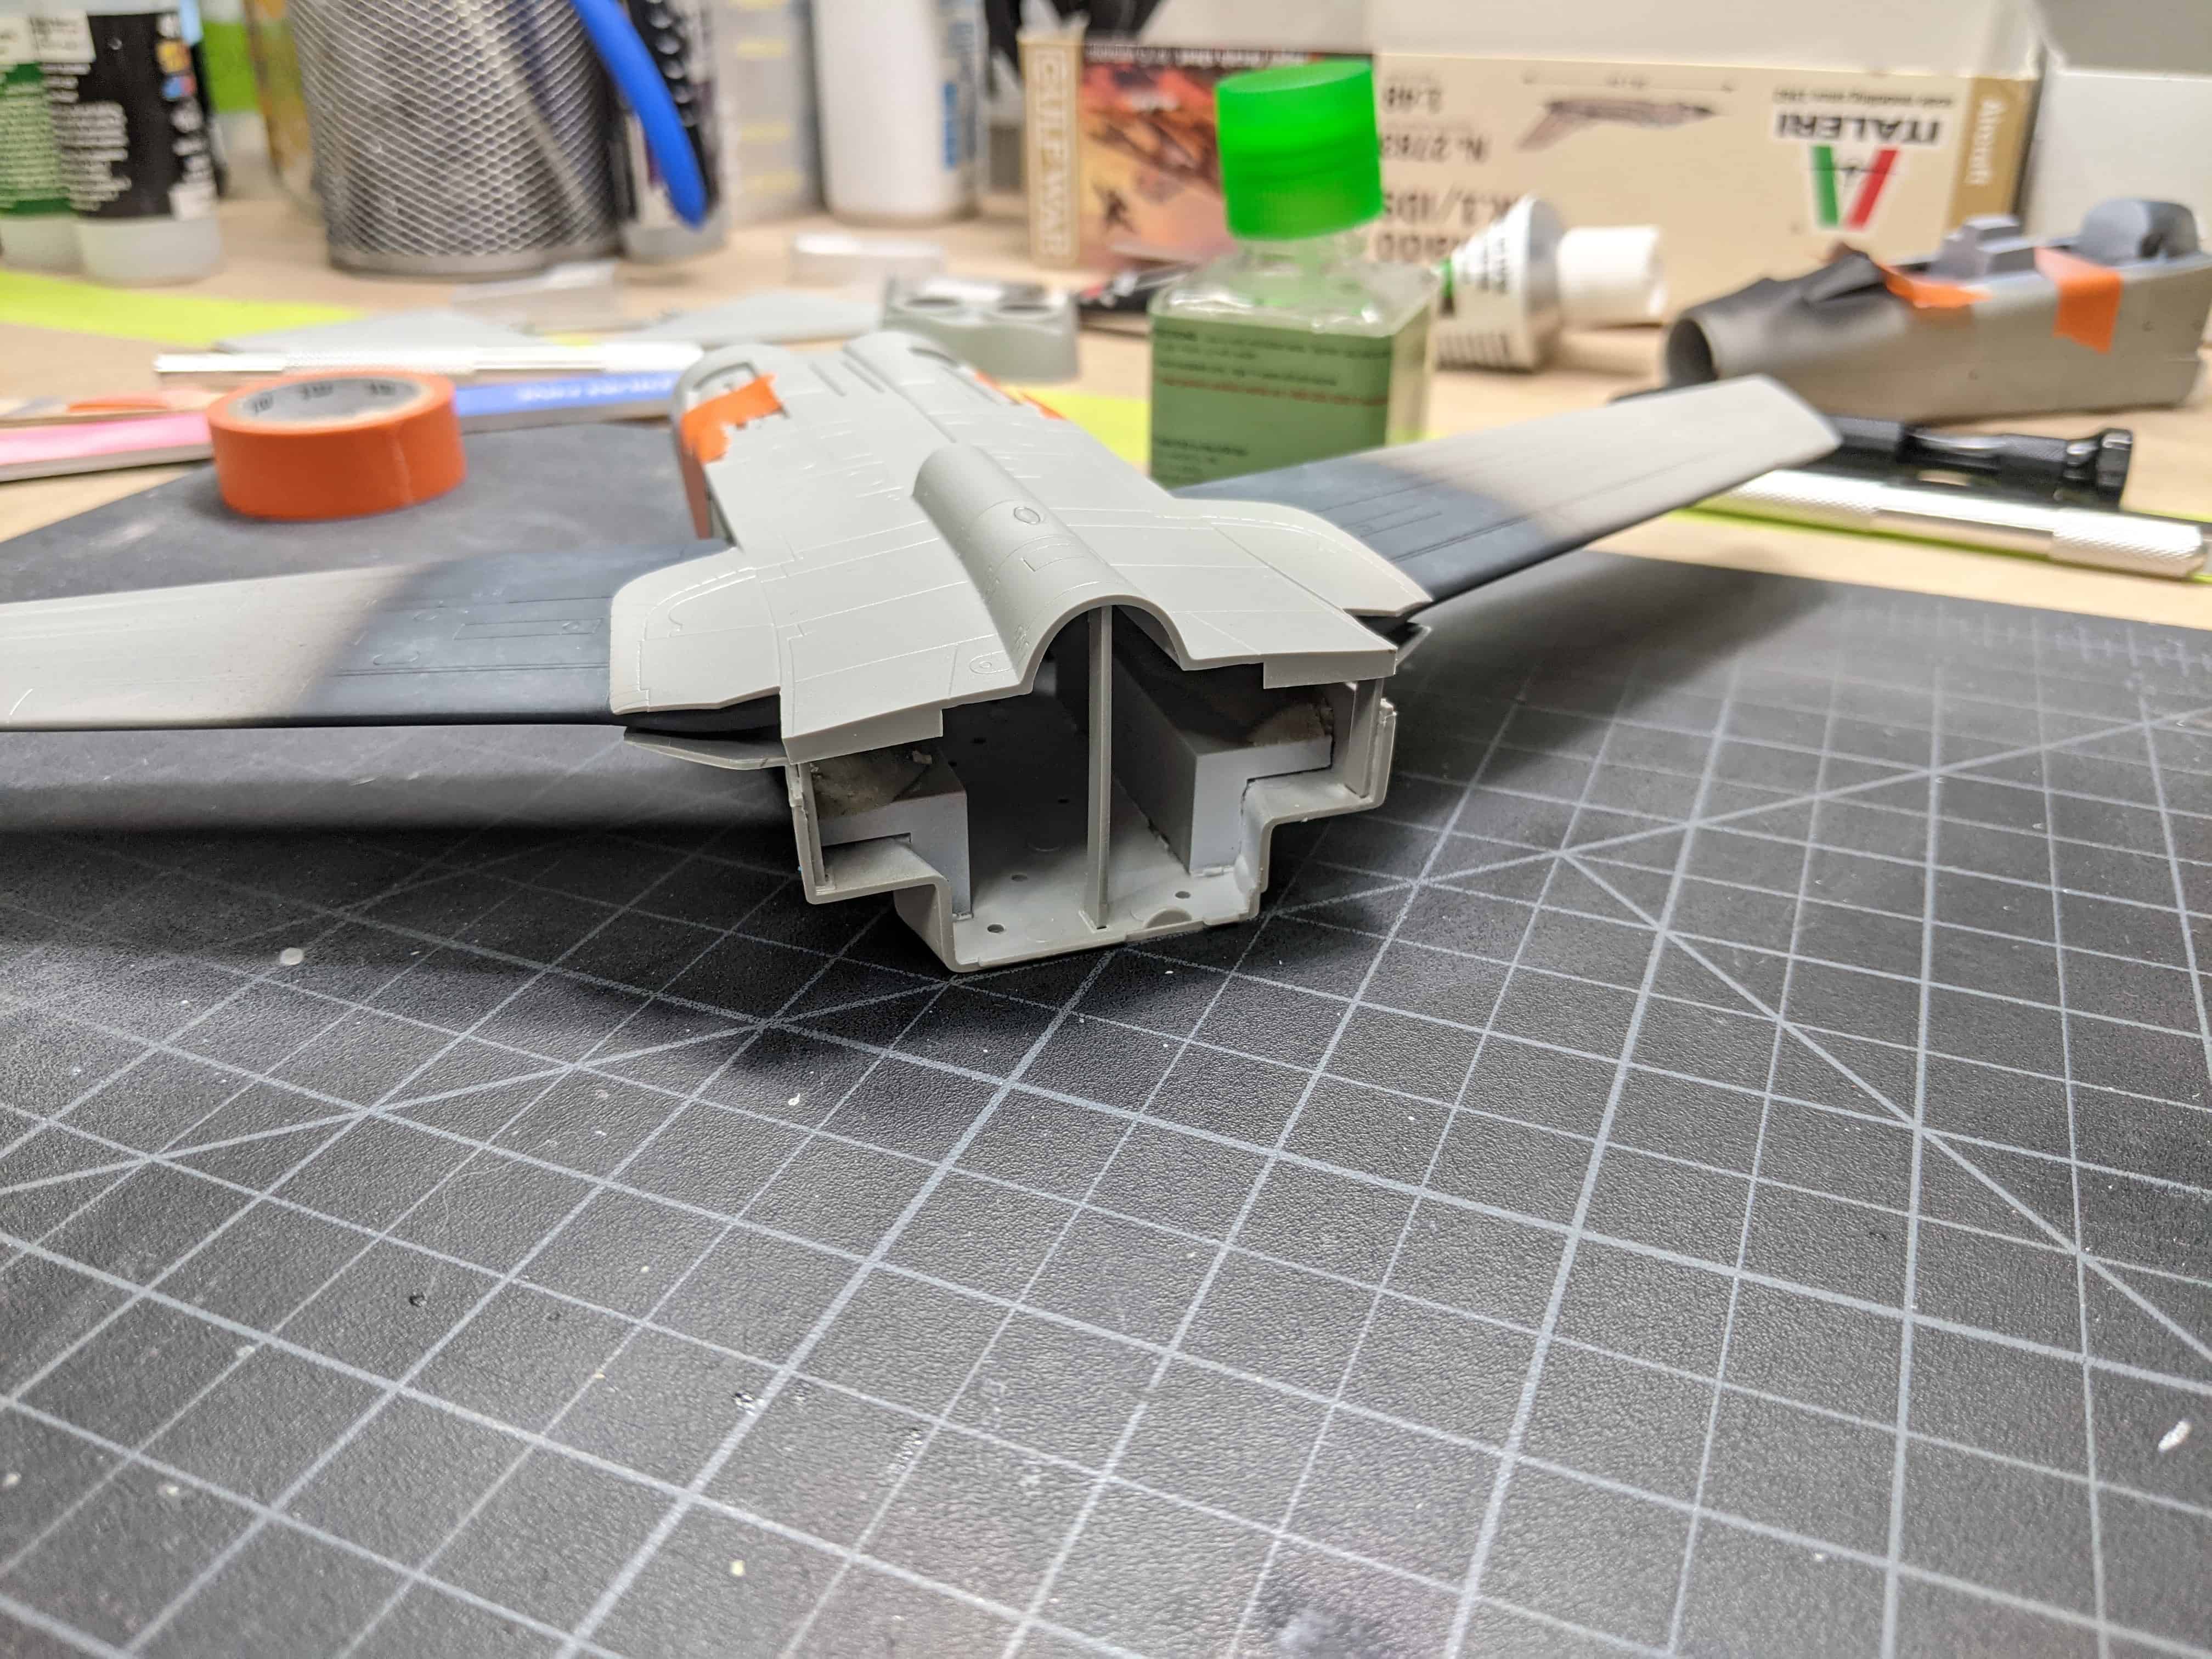
A real tricky part is installing the upper and lower fuselage halves together. The instructions call for using beams of plastic to reinforce it in place. It doesn’t snap in – it’s two razor thin bodies of plastic aligning on top of each other. Italeri relies on a lot of blocking to get things to sit right and at the end of the day they don’t. Be prepared to fiddle here. Also expect to do a lot of sanding and filling along the aft wing portion of the fuselage. Luckily this area is a straight line where the horizontal stabilizers will go so about 75% of it will be covered.
Finally, the wings are installed using a few plastic braces to allow a swinging motion. They do not use the typical “gear” system used by a lot of other manufactures. This is fine, but the fit once the fuselage halves are attached allow the wings to sit way too loose.
The only part in this process that fit like an absolute glove was the forward fuselage half into the rear half. Perfect fit right on a panel line. I applaud Italeri for this as it could have been a nightmare.
Feel free to also install the engine shell at this point but leave the engines out. They can be painted separately and drop right in without issue. The engine shell also fits perfectly.
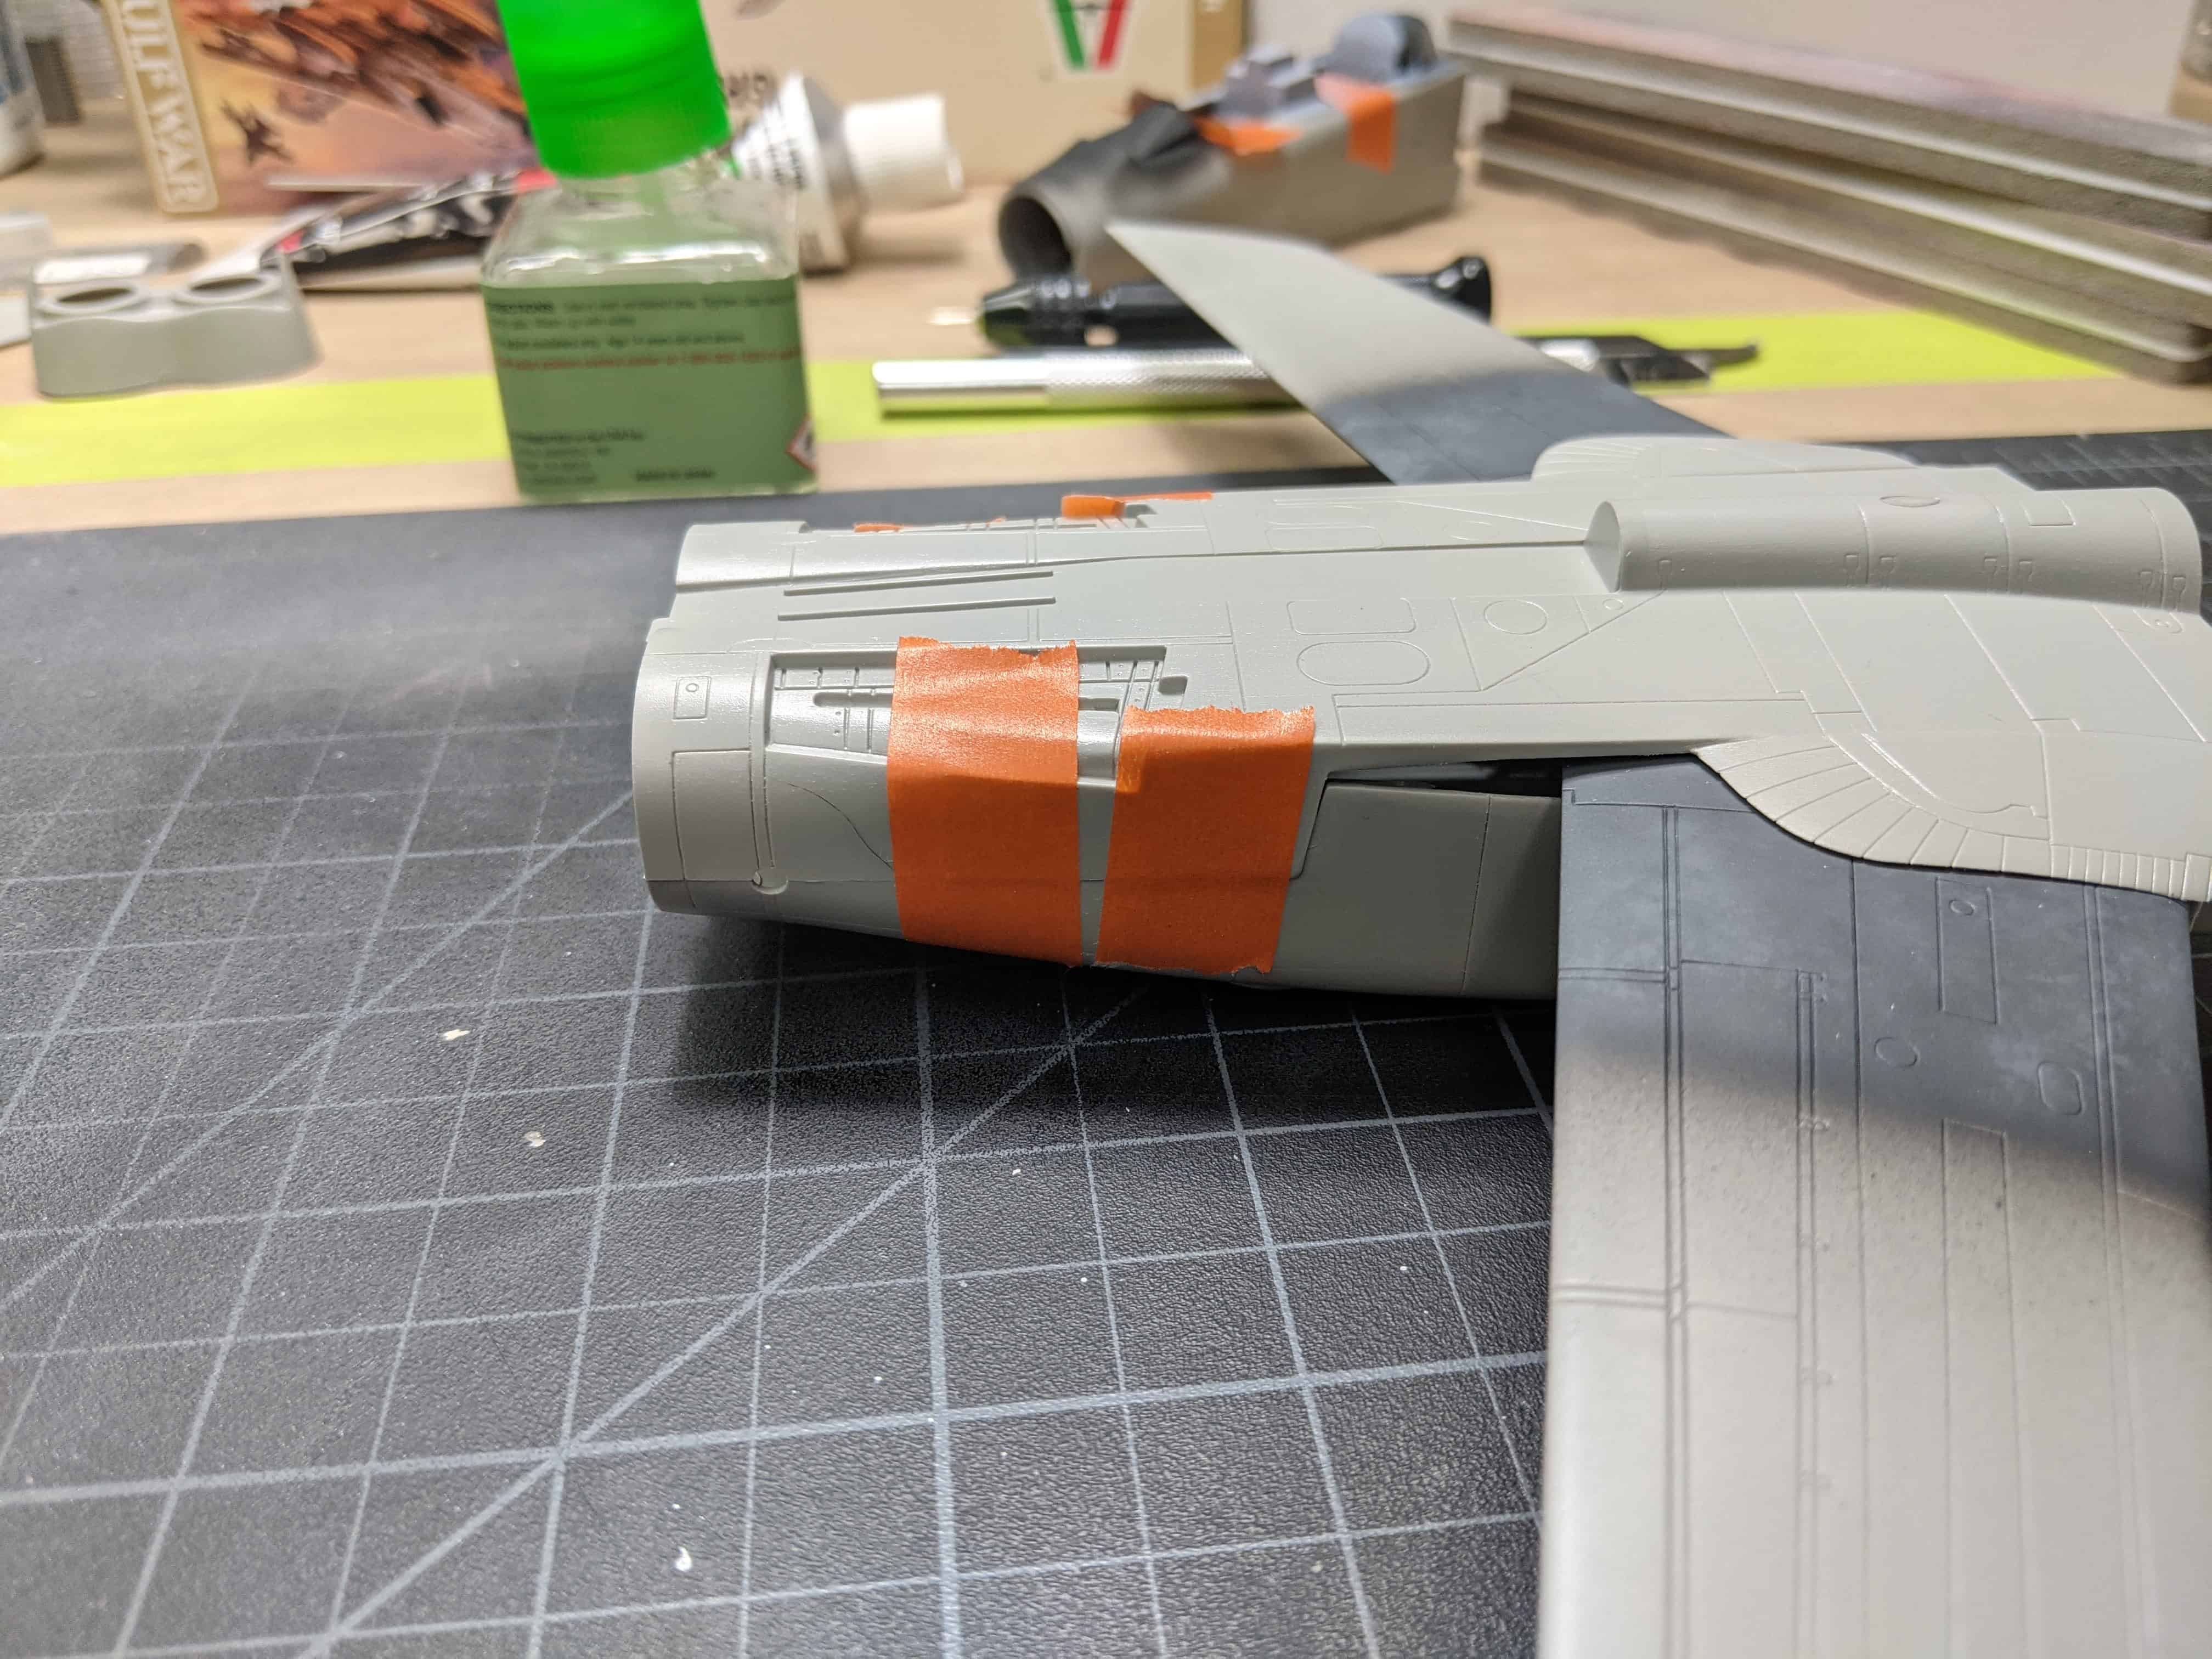
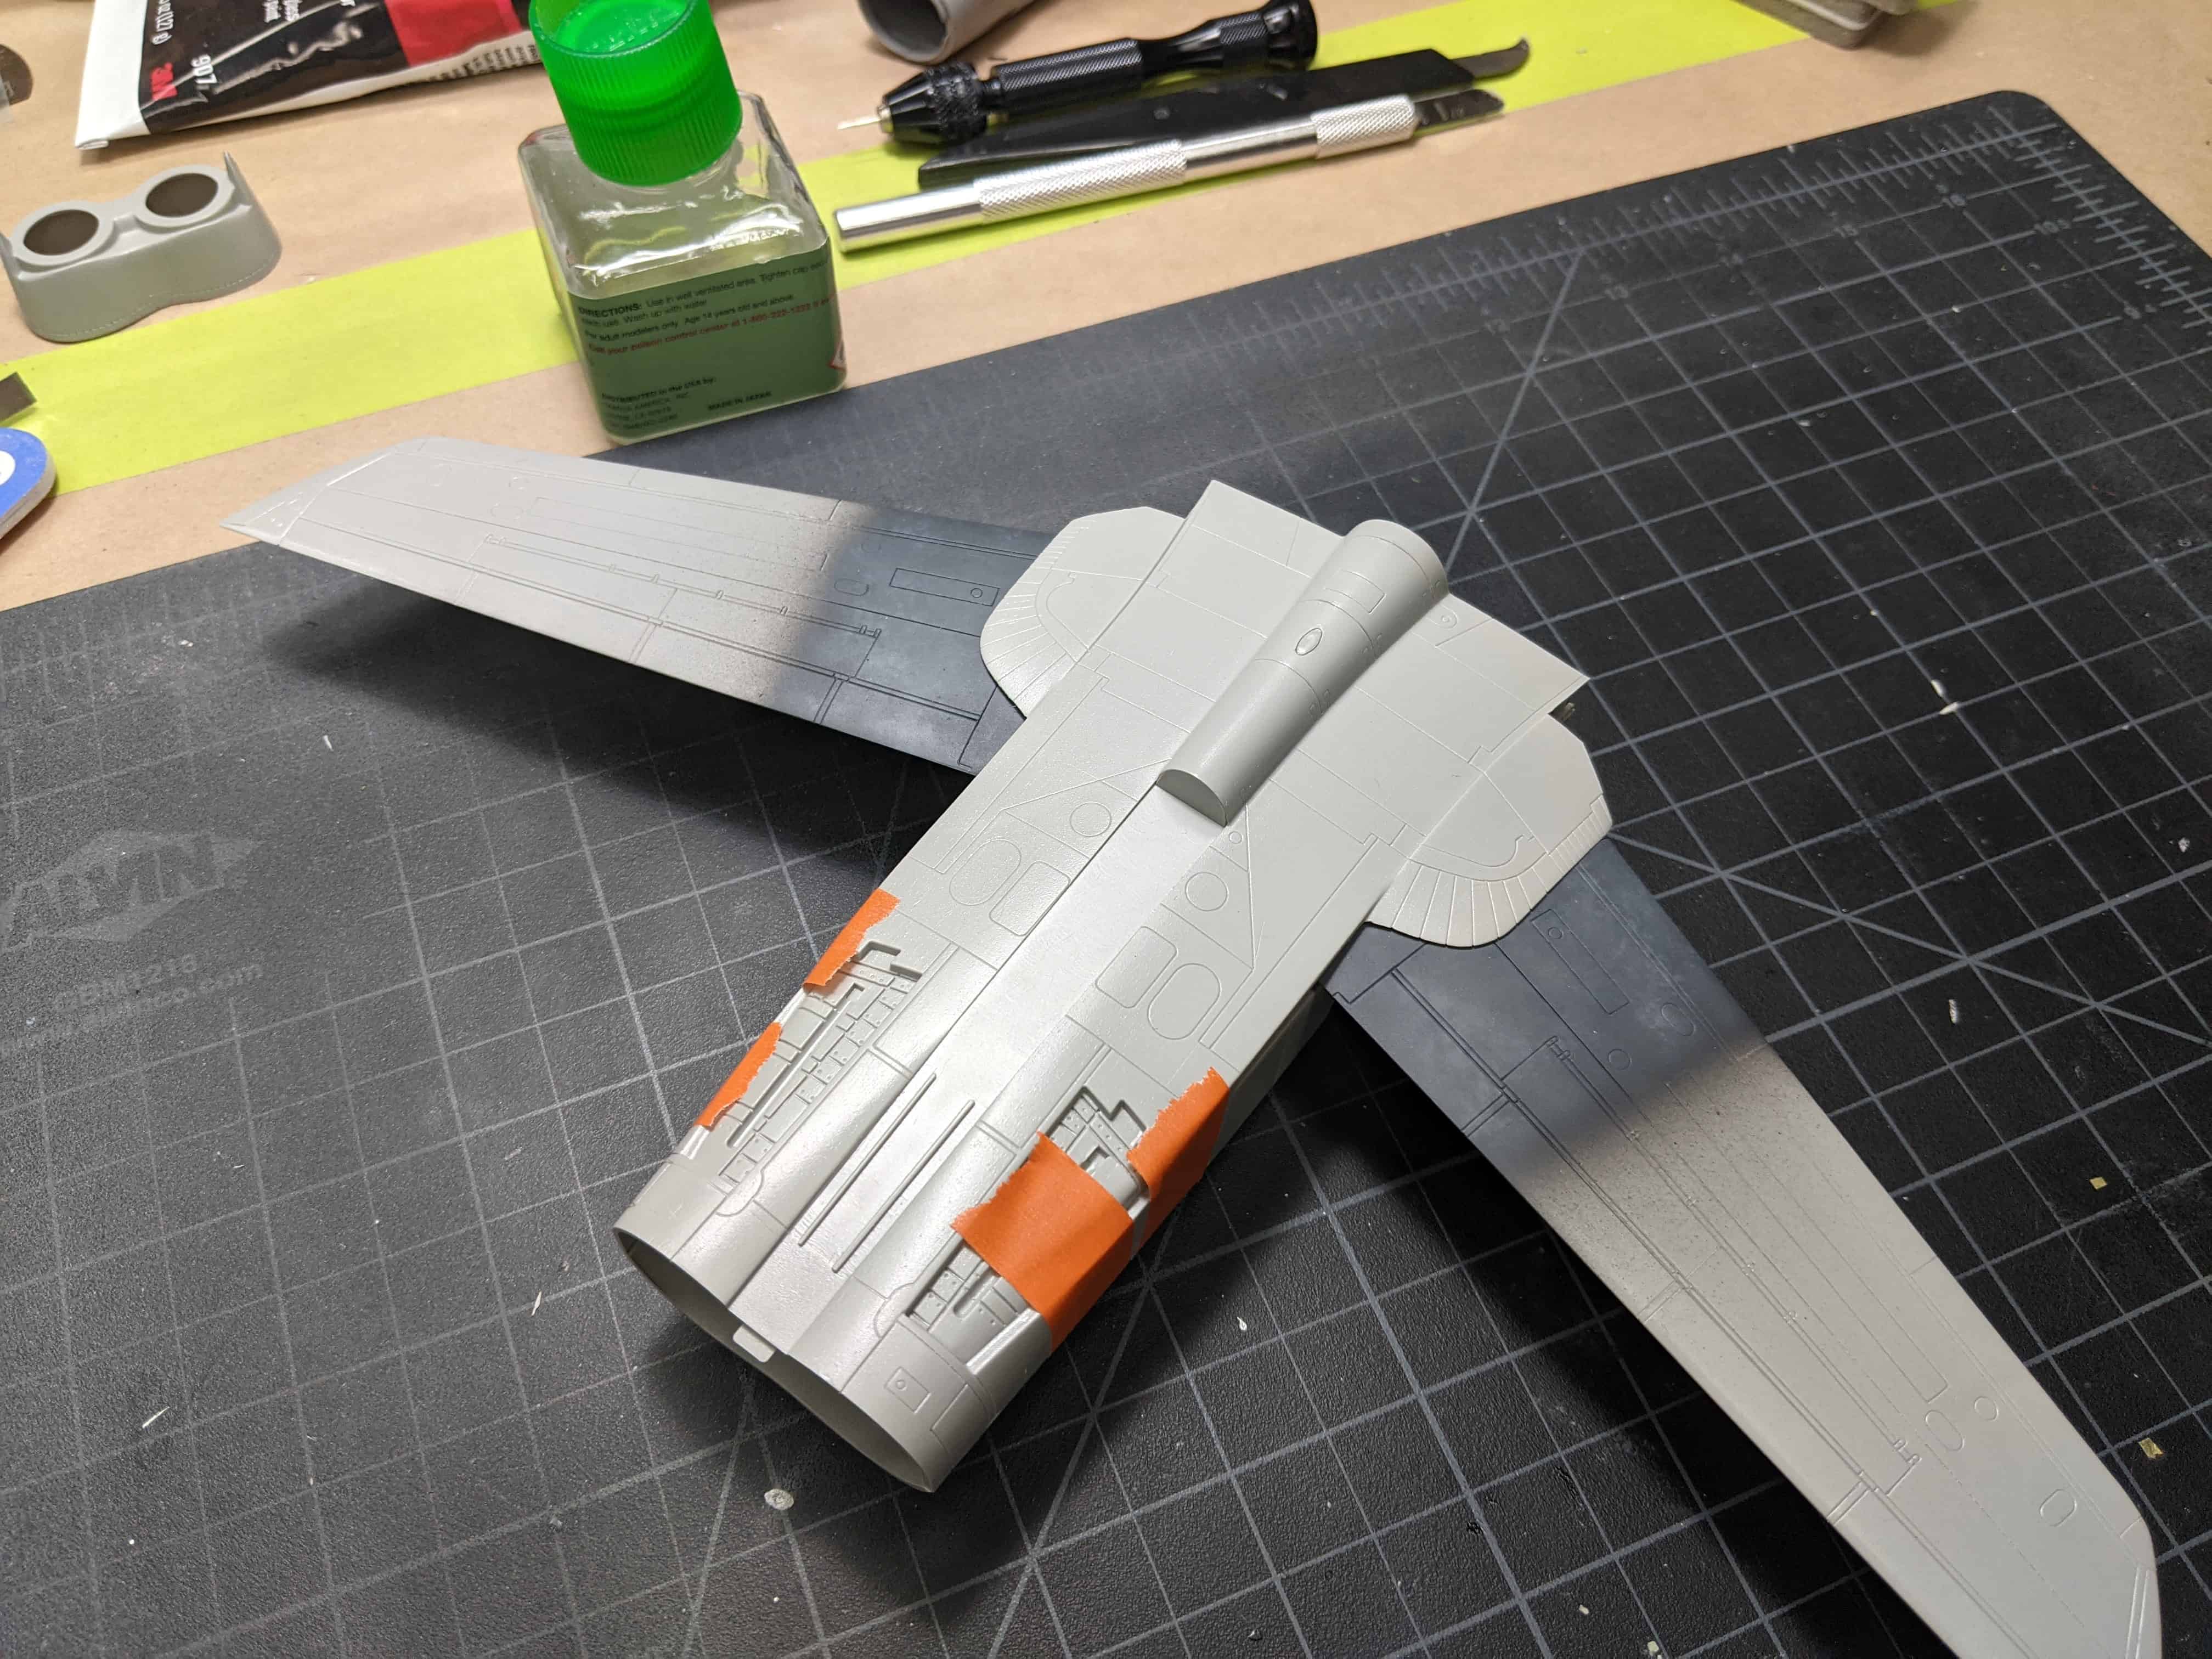
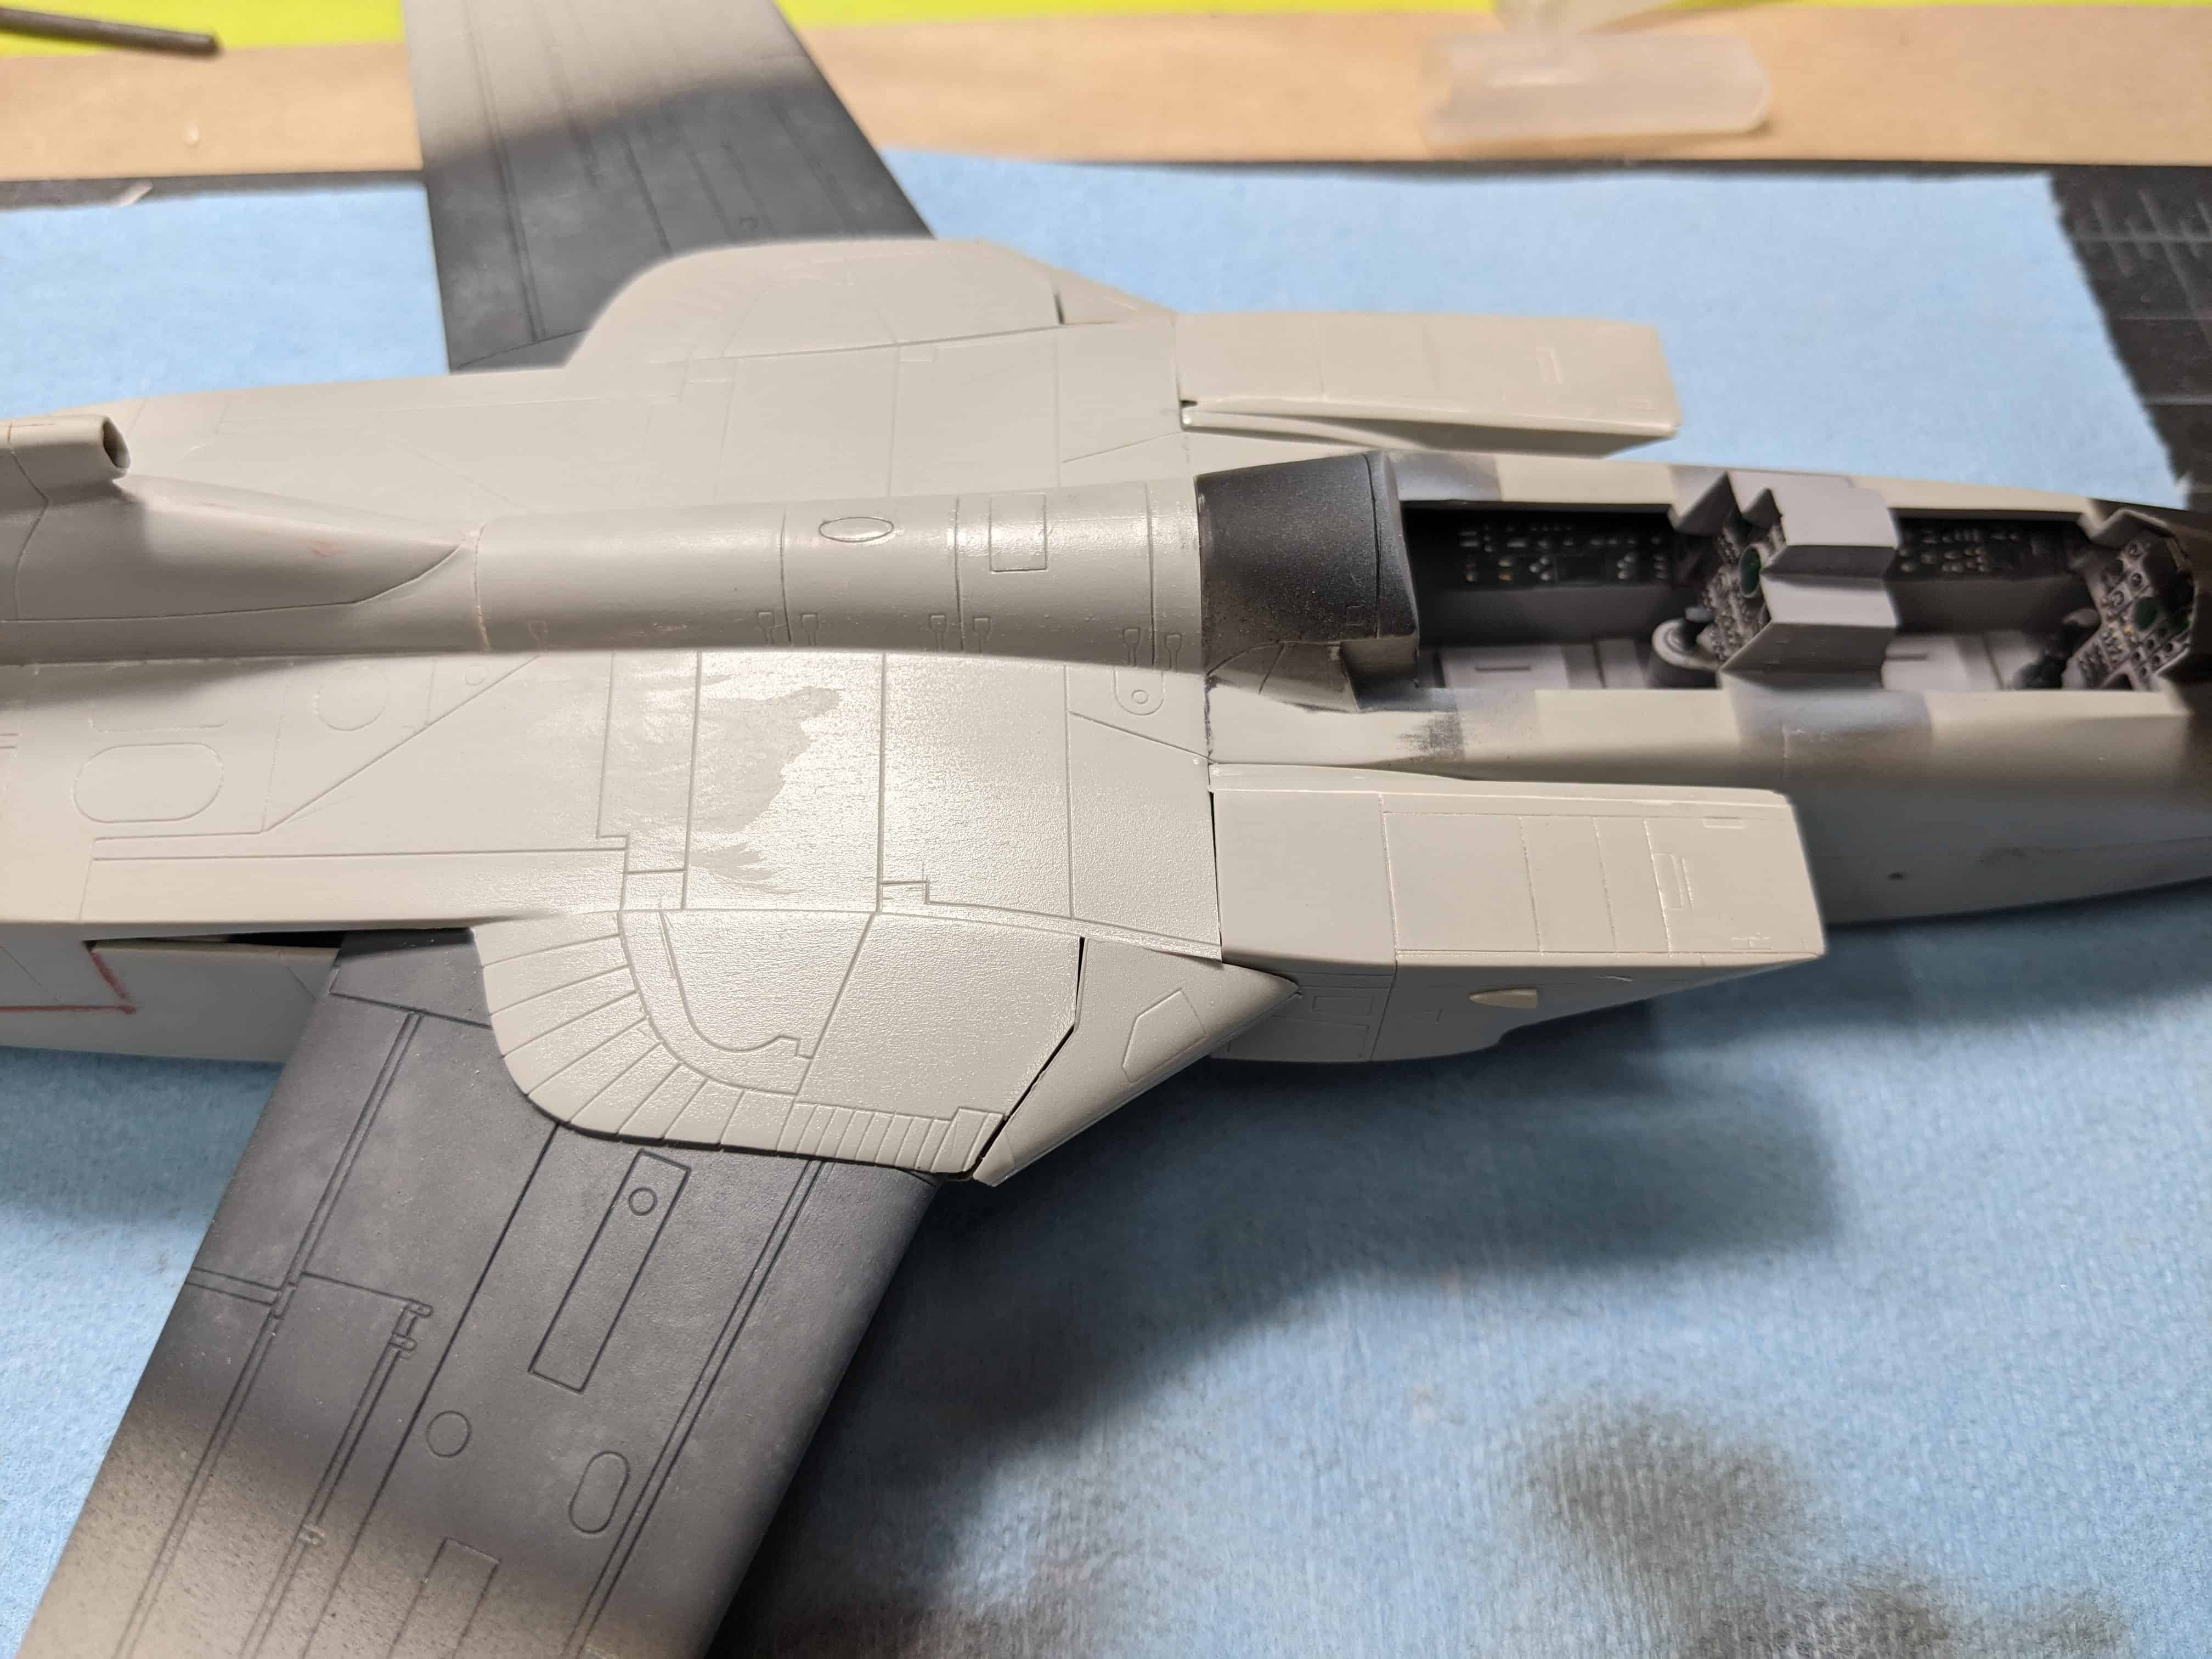
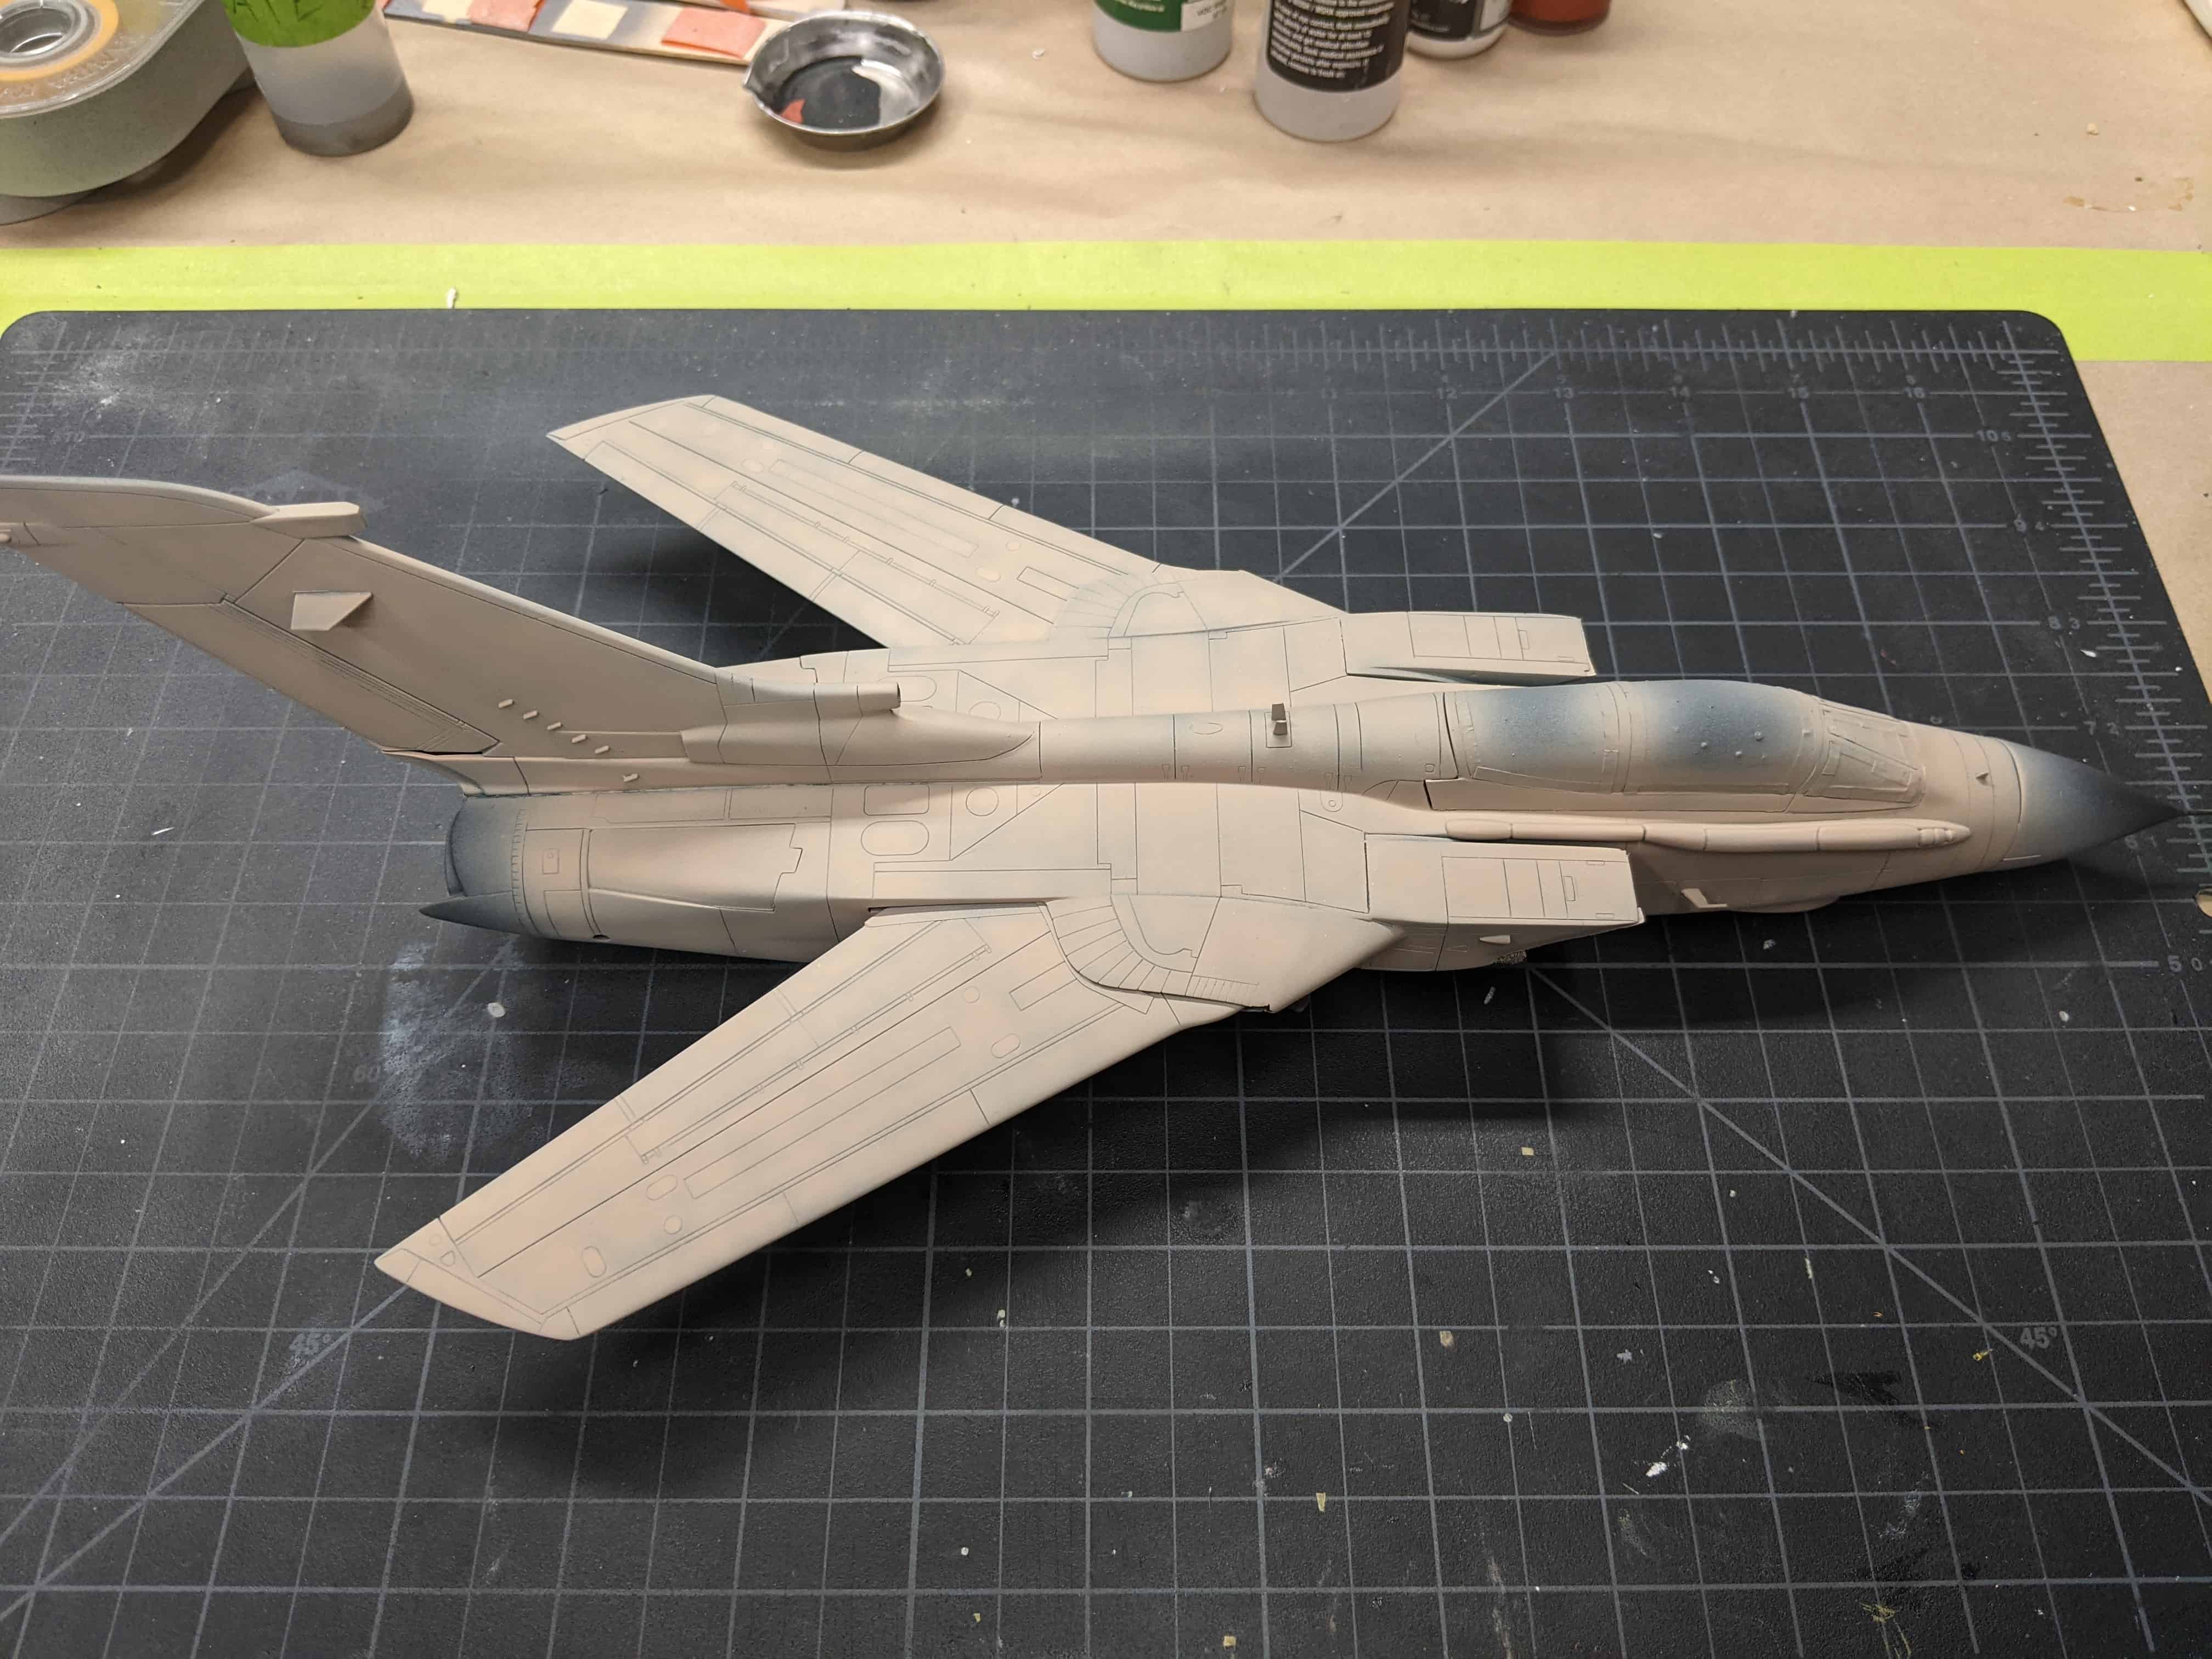
The real nightmare though is the engine intakes. This builds up in three pieces with no locator pins. So there’s no easy way to glue it together without it falling apart. You need to tape sections at a time to hold it in place then glue it. Once that’s done you need to attach a leading edge that’s half on the intake and half on the engine. Once again no locator pins or indentations to snap it together. You may have better luck closing your eyes and praying it fits – and even then it doesn’t. Almost half my time with this kit was sanding and filling this area by engines. The pic above captioned “Fuselage fit together” shows how bad the gaps and fit are.
Getting past that, the tail builds up well without issue and comes with several different options depending on which version you’re building. So pay attention to the instructions here. A lot of minor bits are also attached without issue such as the guns, probes, and various antennas. The forward canopy sections fits fine as does the main canopy. There might be a slight gap depending on how much you sanded away at the lip the front canopy sits on. The framing is well defined and you won’t have any issues masking.
Once your done painting, the gear, gear doors, wheels all assemble just fine without much fuss. Alignment isn’t really an issue either.
Weapons and Equipment
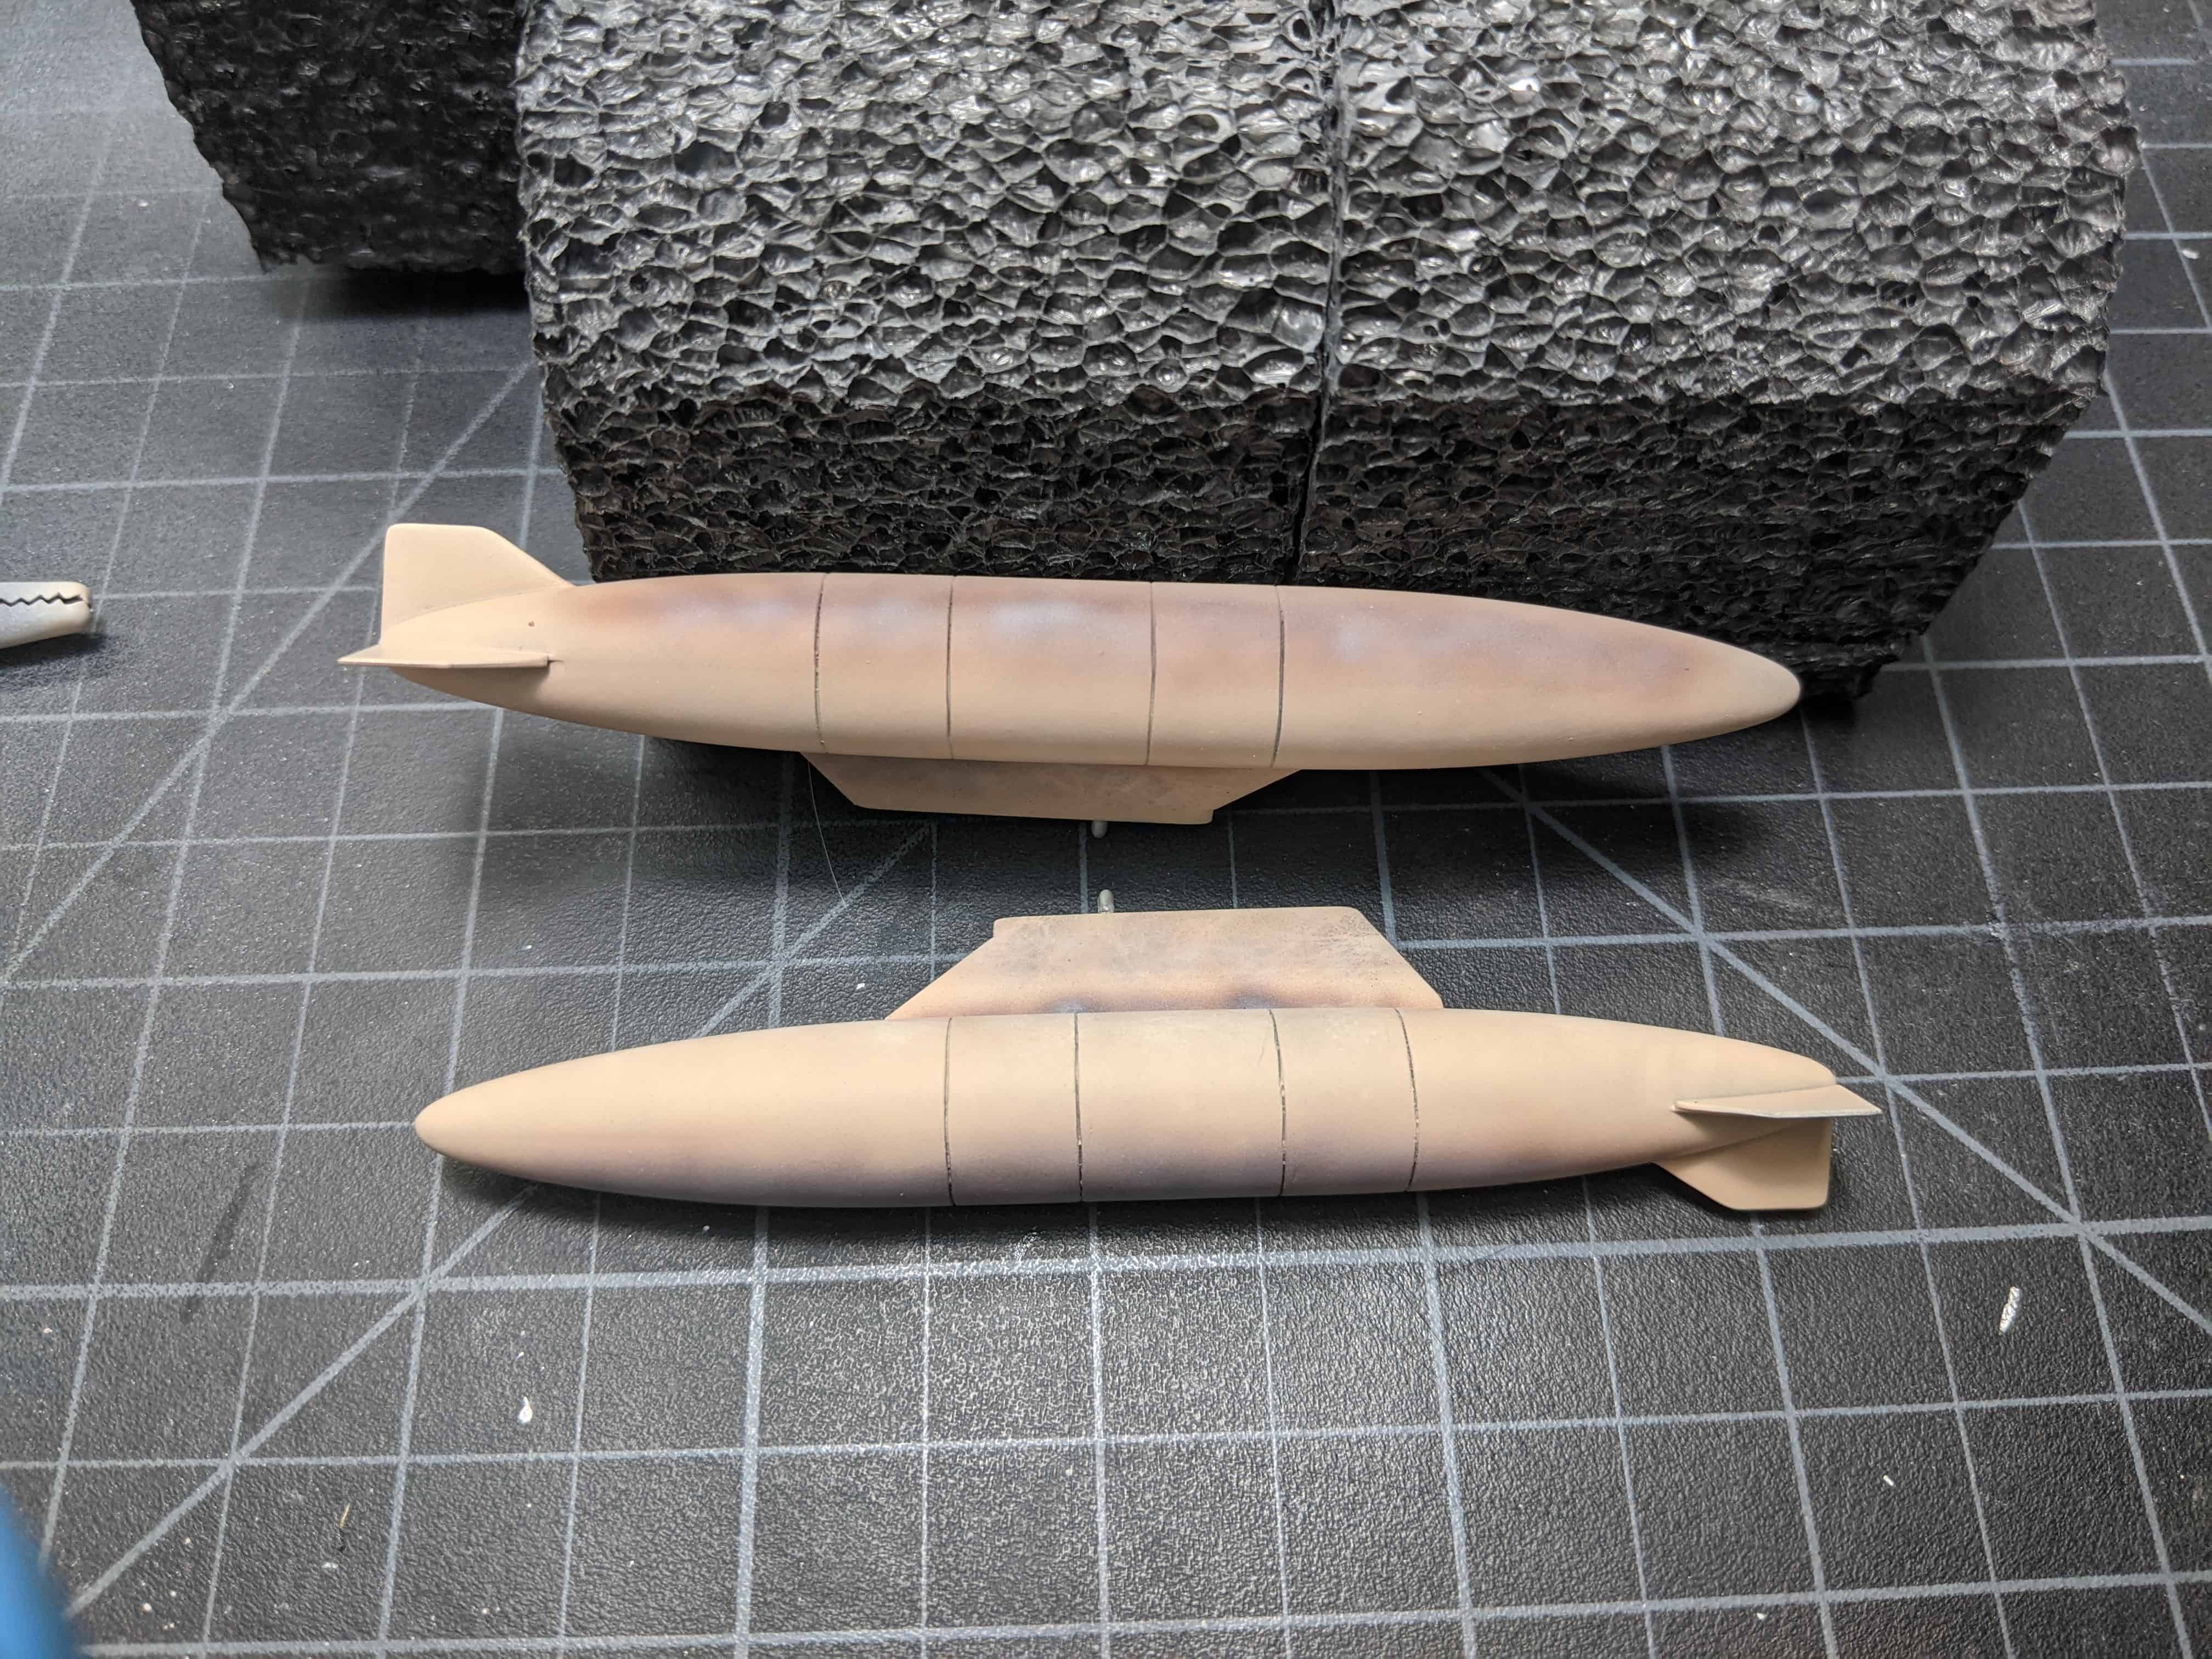
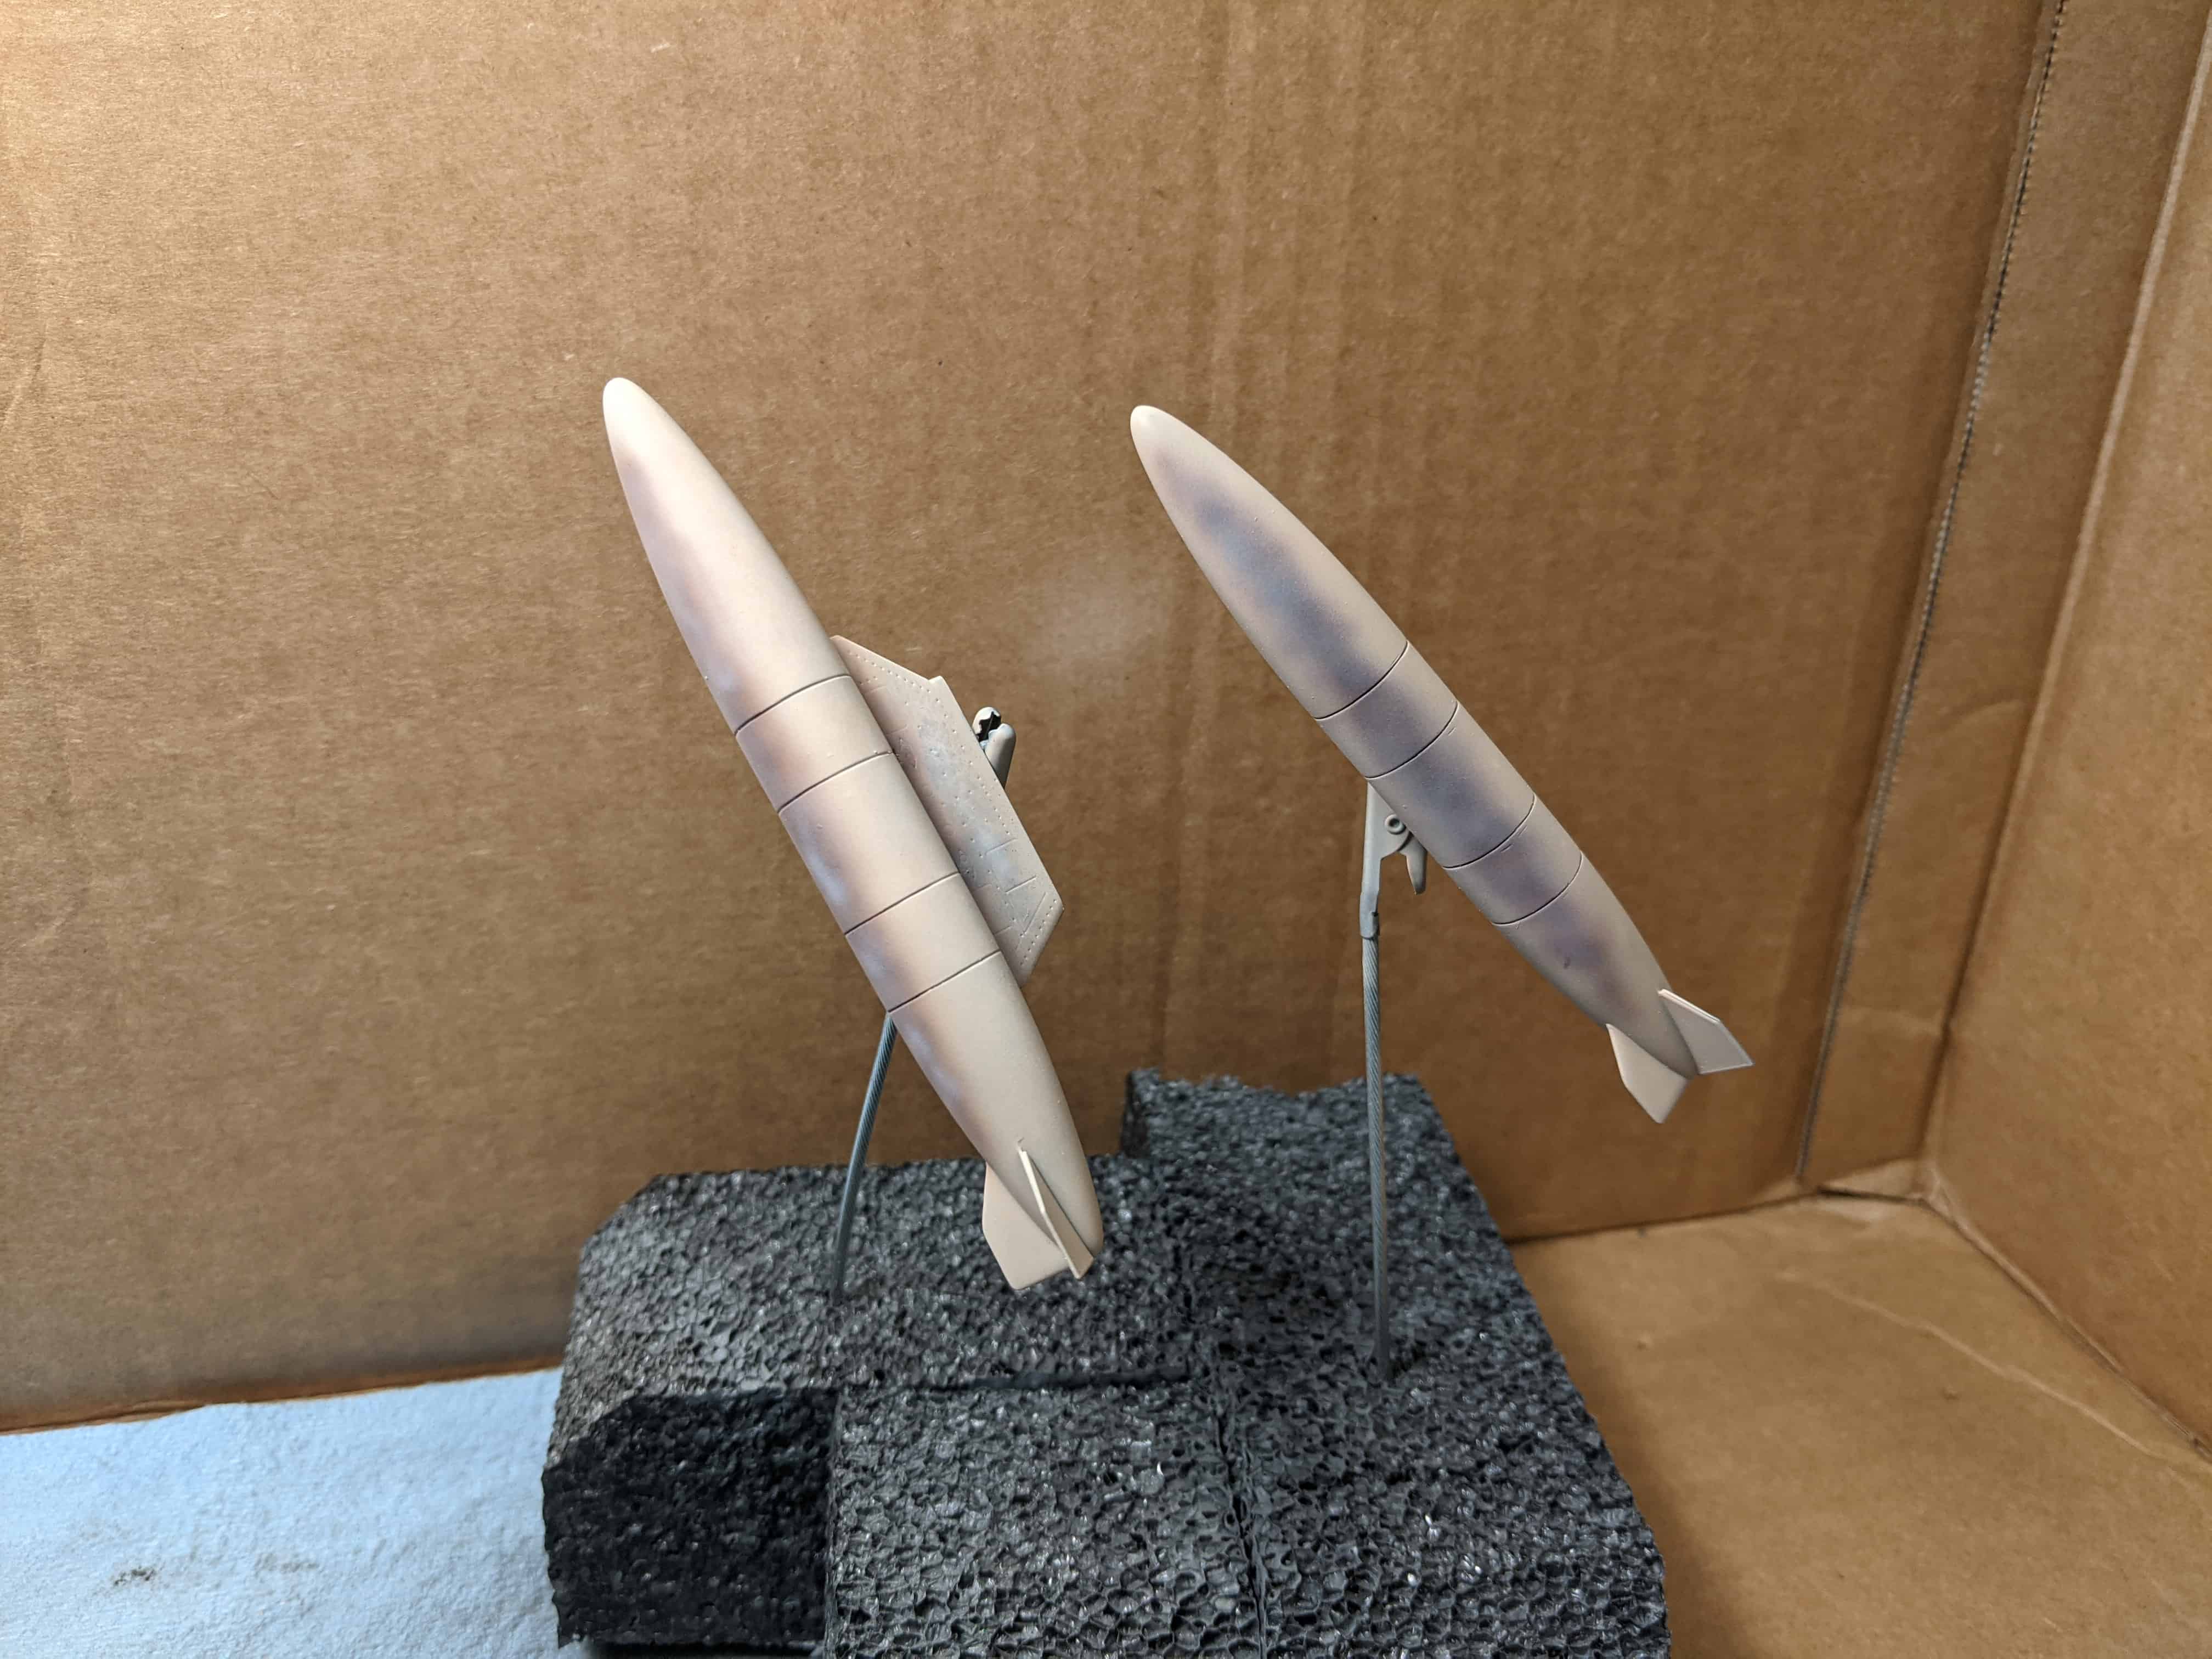
The kit includes a lot of interesting weapons and equipment. You get 2x BOZ ECM Pods, 2x Sky Shadow Pods, 2x AIM-9 Sidewinders, 4x cluster bombs and 2x fuel tanks. The missiles and bombs can be installed in all configurations but you must choose between the BOZ pods or the Sky Shadows. You could always do 1 and 1 but I’m not sure what the real life loadout would look like. Either way you can really rig it up for war.
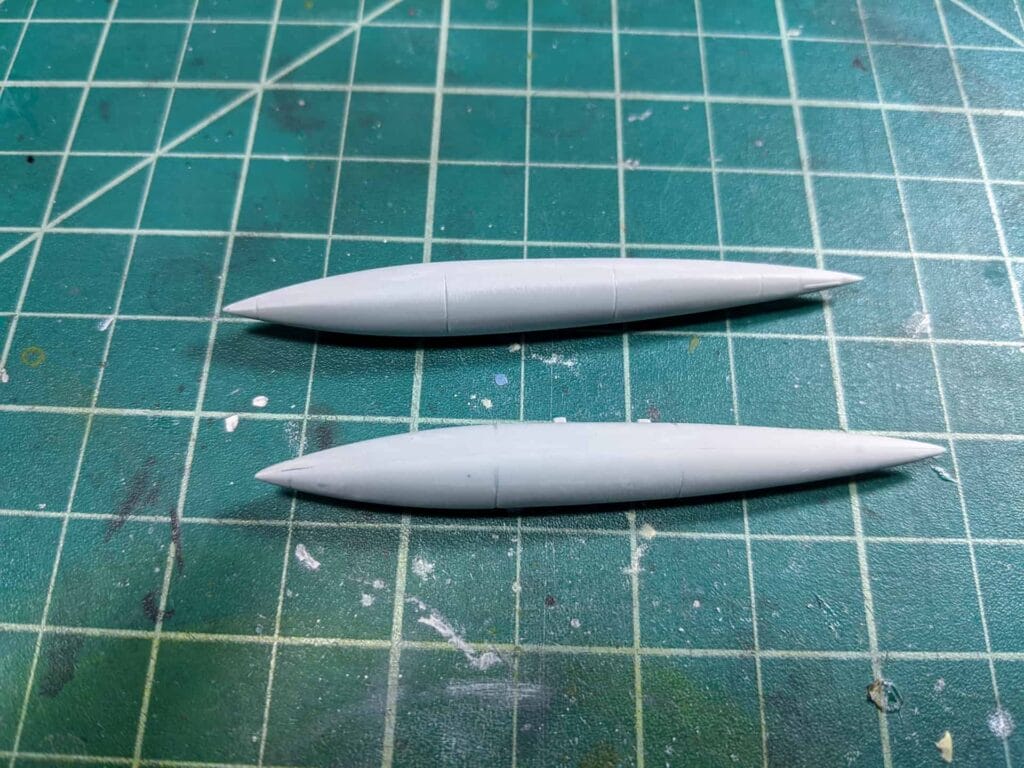
The weapons are all nicely detailed but contain tough to clean ejector pin marks as well as headache inducing fit. By the time I got to weapons I was so burnt out I didn’t want to clean up all the bombs and pods. I stuck to just the fuel tanks – which also was a headache. For whatever reason there is no locator pin on the tanks to fit to the pylons. I had to manually drill holes and install thin plastic so it can hook into the pylon.
There’s also no locator marks for the missile pylon that attaches inboard to the main wing pylon. It’s another “take your best guess” as to how and where it’s supposed to fit. No one should have to spend this much time looking at reference photos to see if something is supposed to fit right. This is a theme throughout the Italeri instructions and is really disappointing.
Painting and Weathering
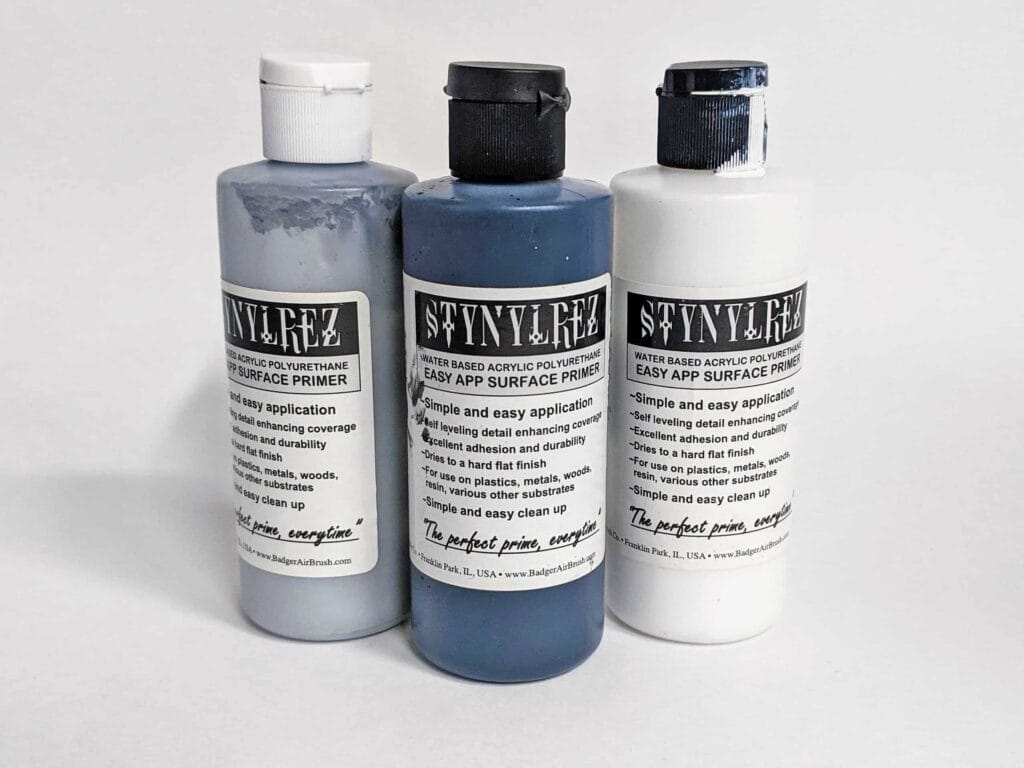
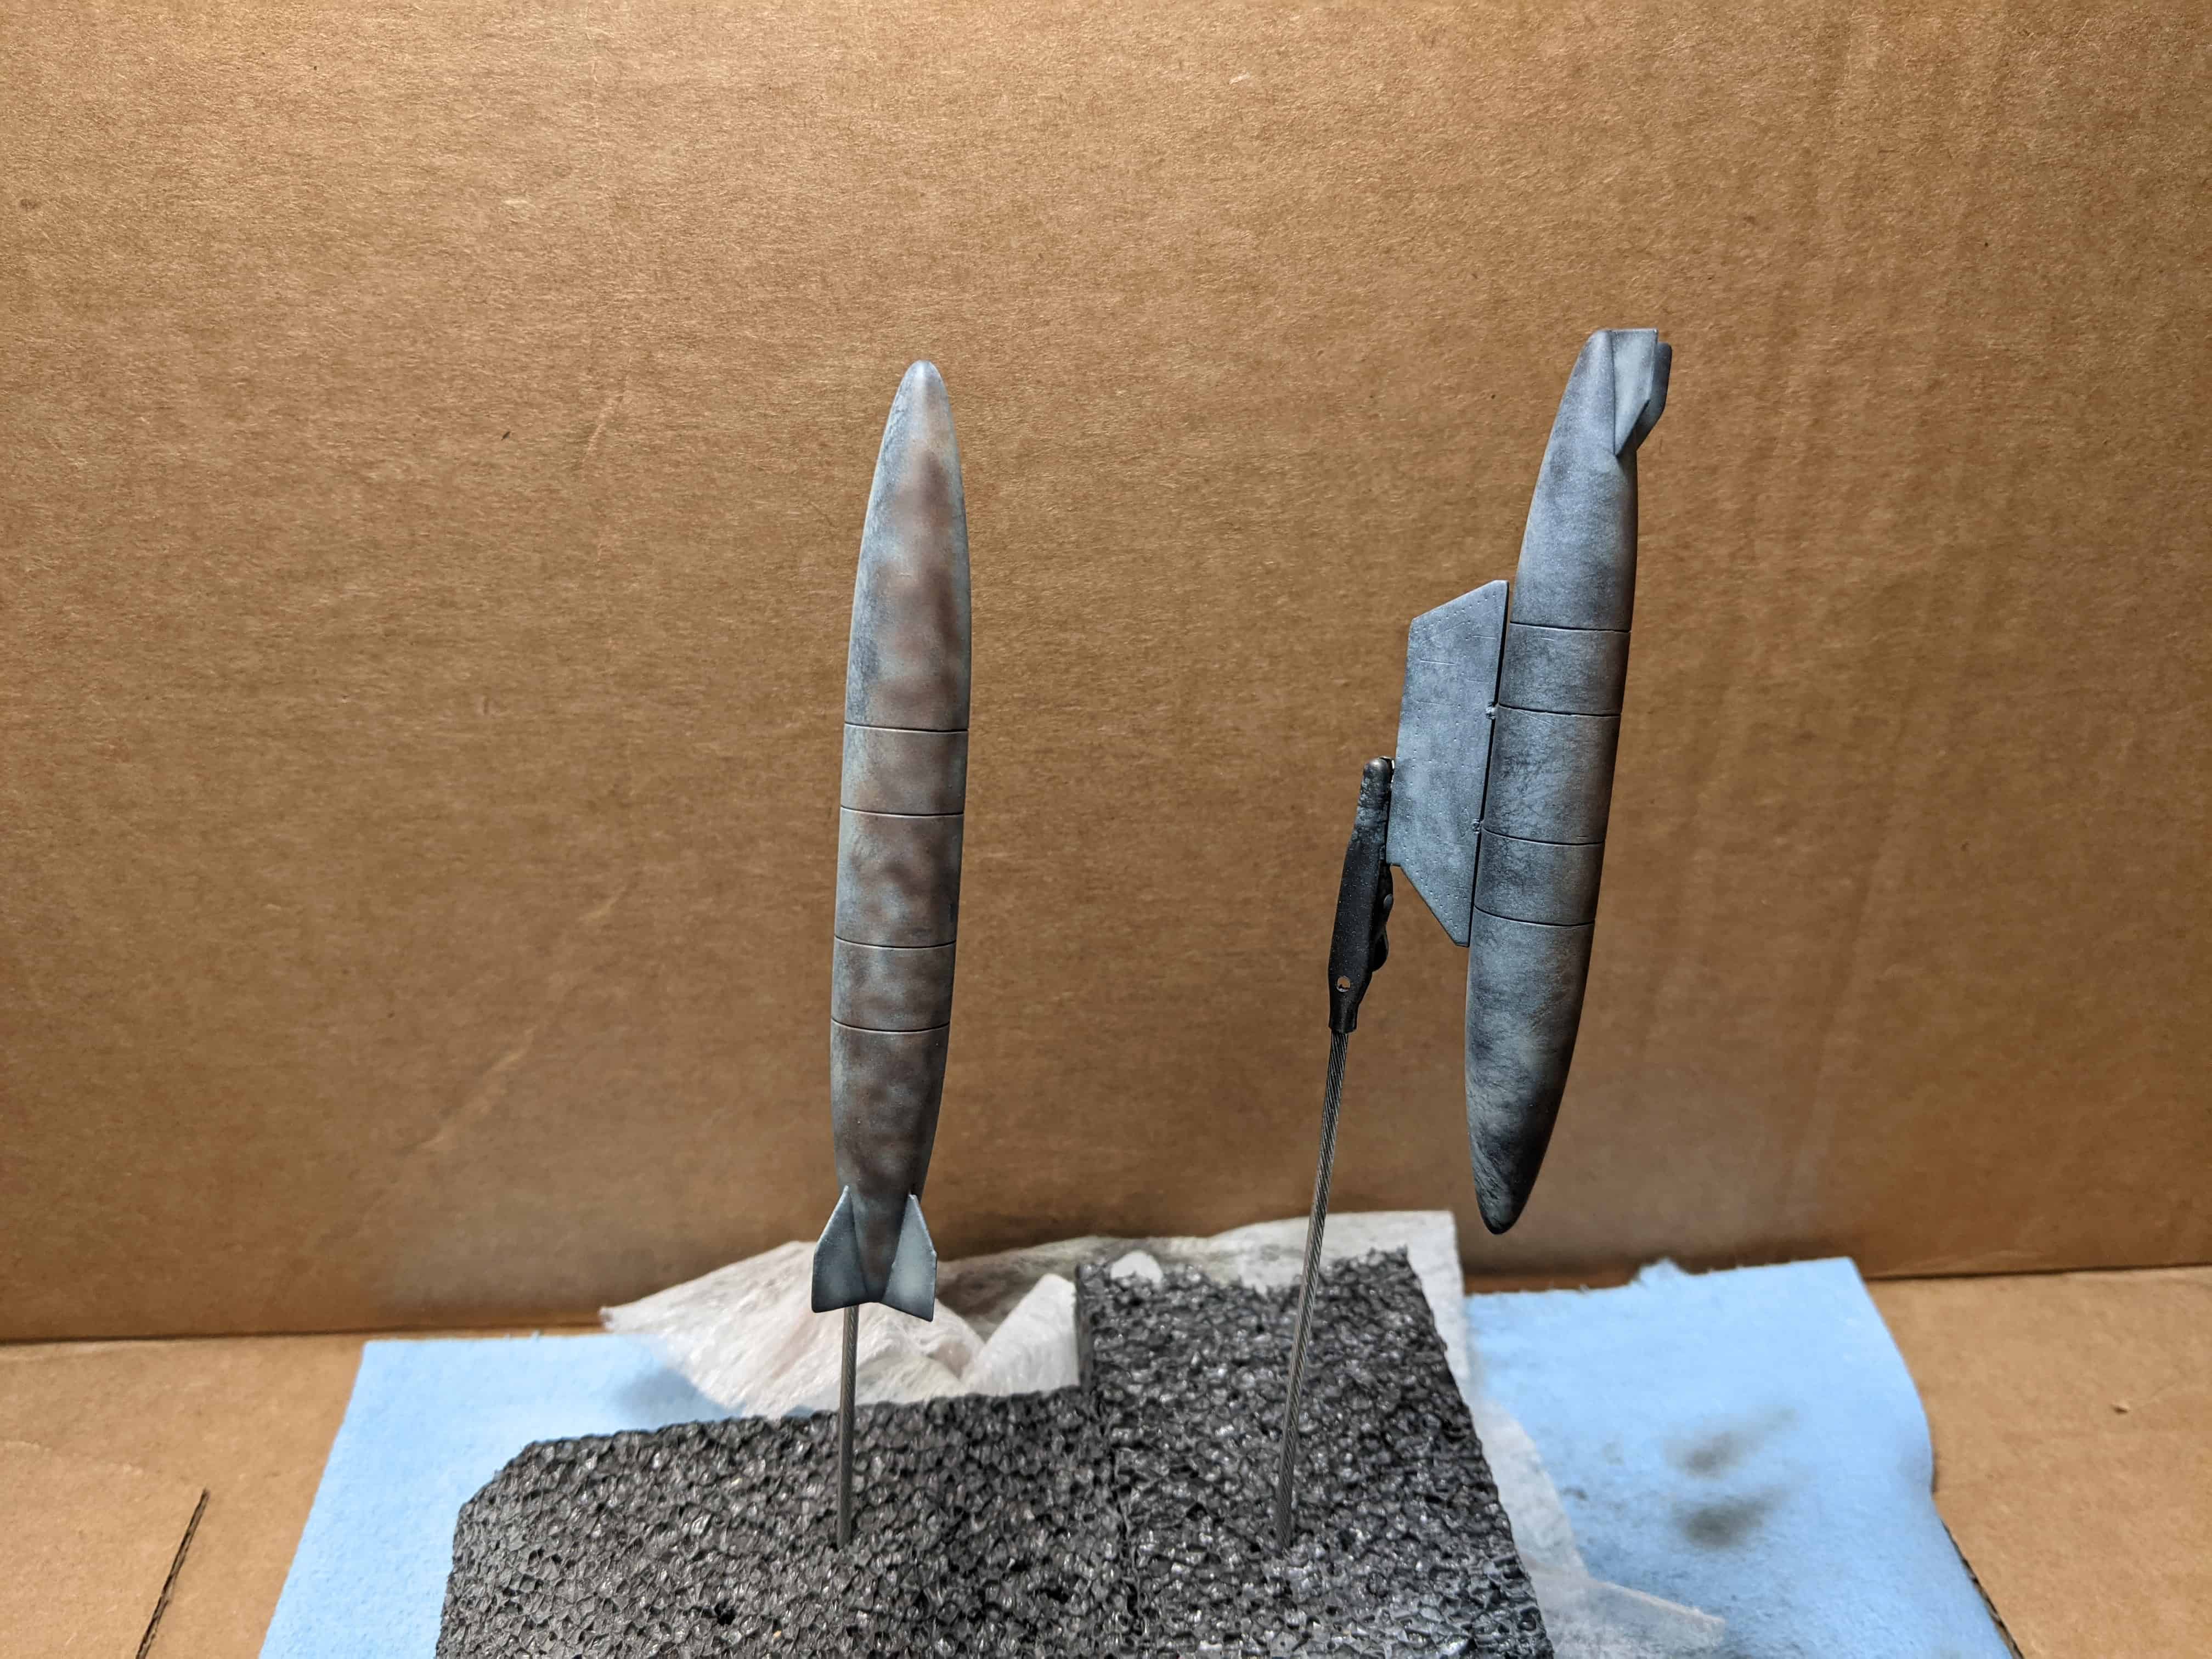
The kit was primed in black using my favorite primer Badger Stynlrez. I then laid down a mottle coat of light grey followed by a mottle coat of dark brown mixed with white.
The overall scheme was painted with MMP-081 LRDG Desert Pink. It’s a very translucent paint – but versatile. The more you build it up the pinker it gets. Lighter coats look more like an iraqi sand color. So you can get some nice variation.
Intakes, gear bays, and gear, were all painted MMP-001 White. The Engines were painted with a mix of metal colors ranging from steel, nickel, and gunmetal.
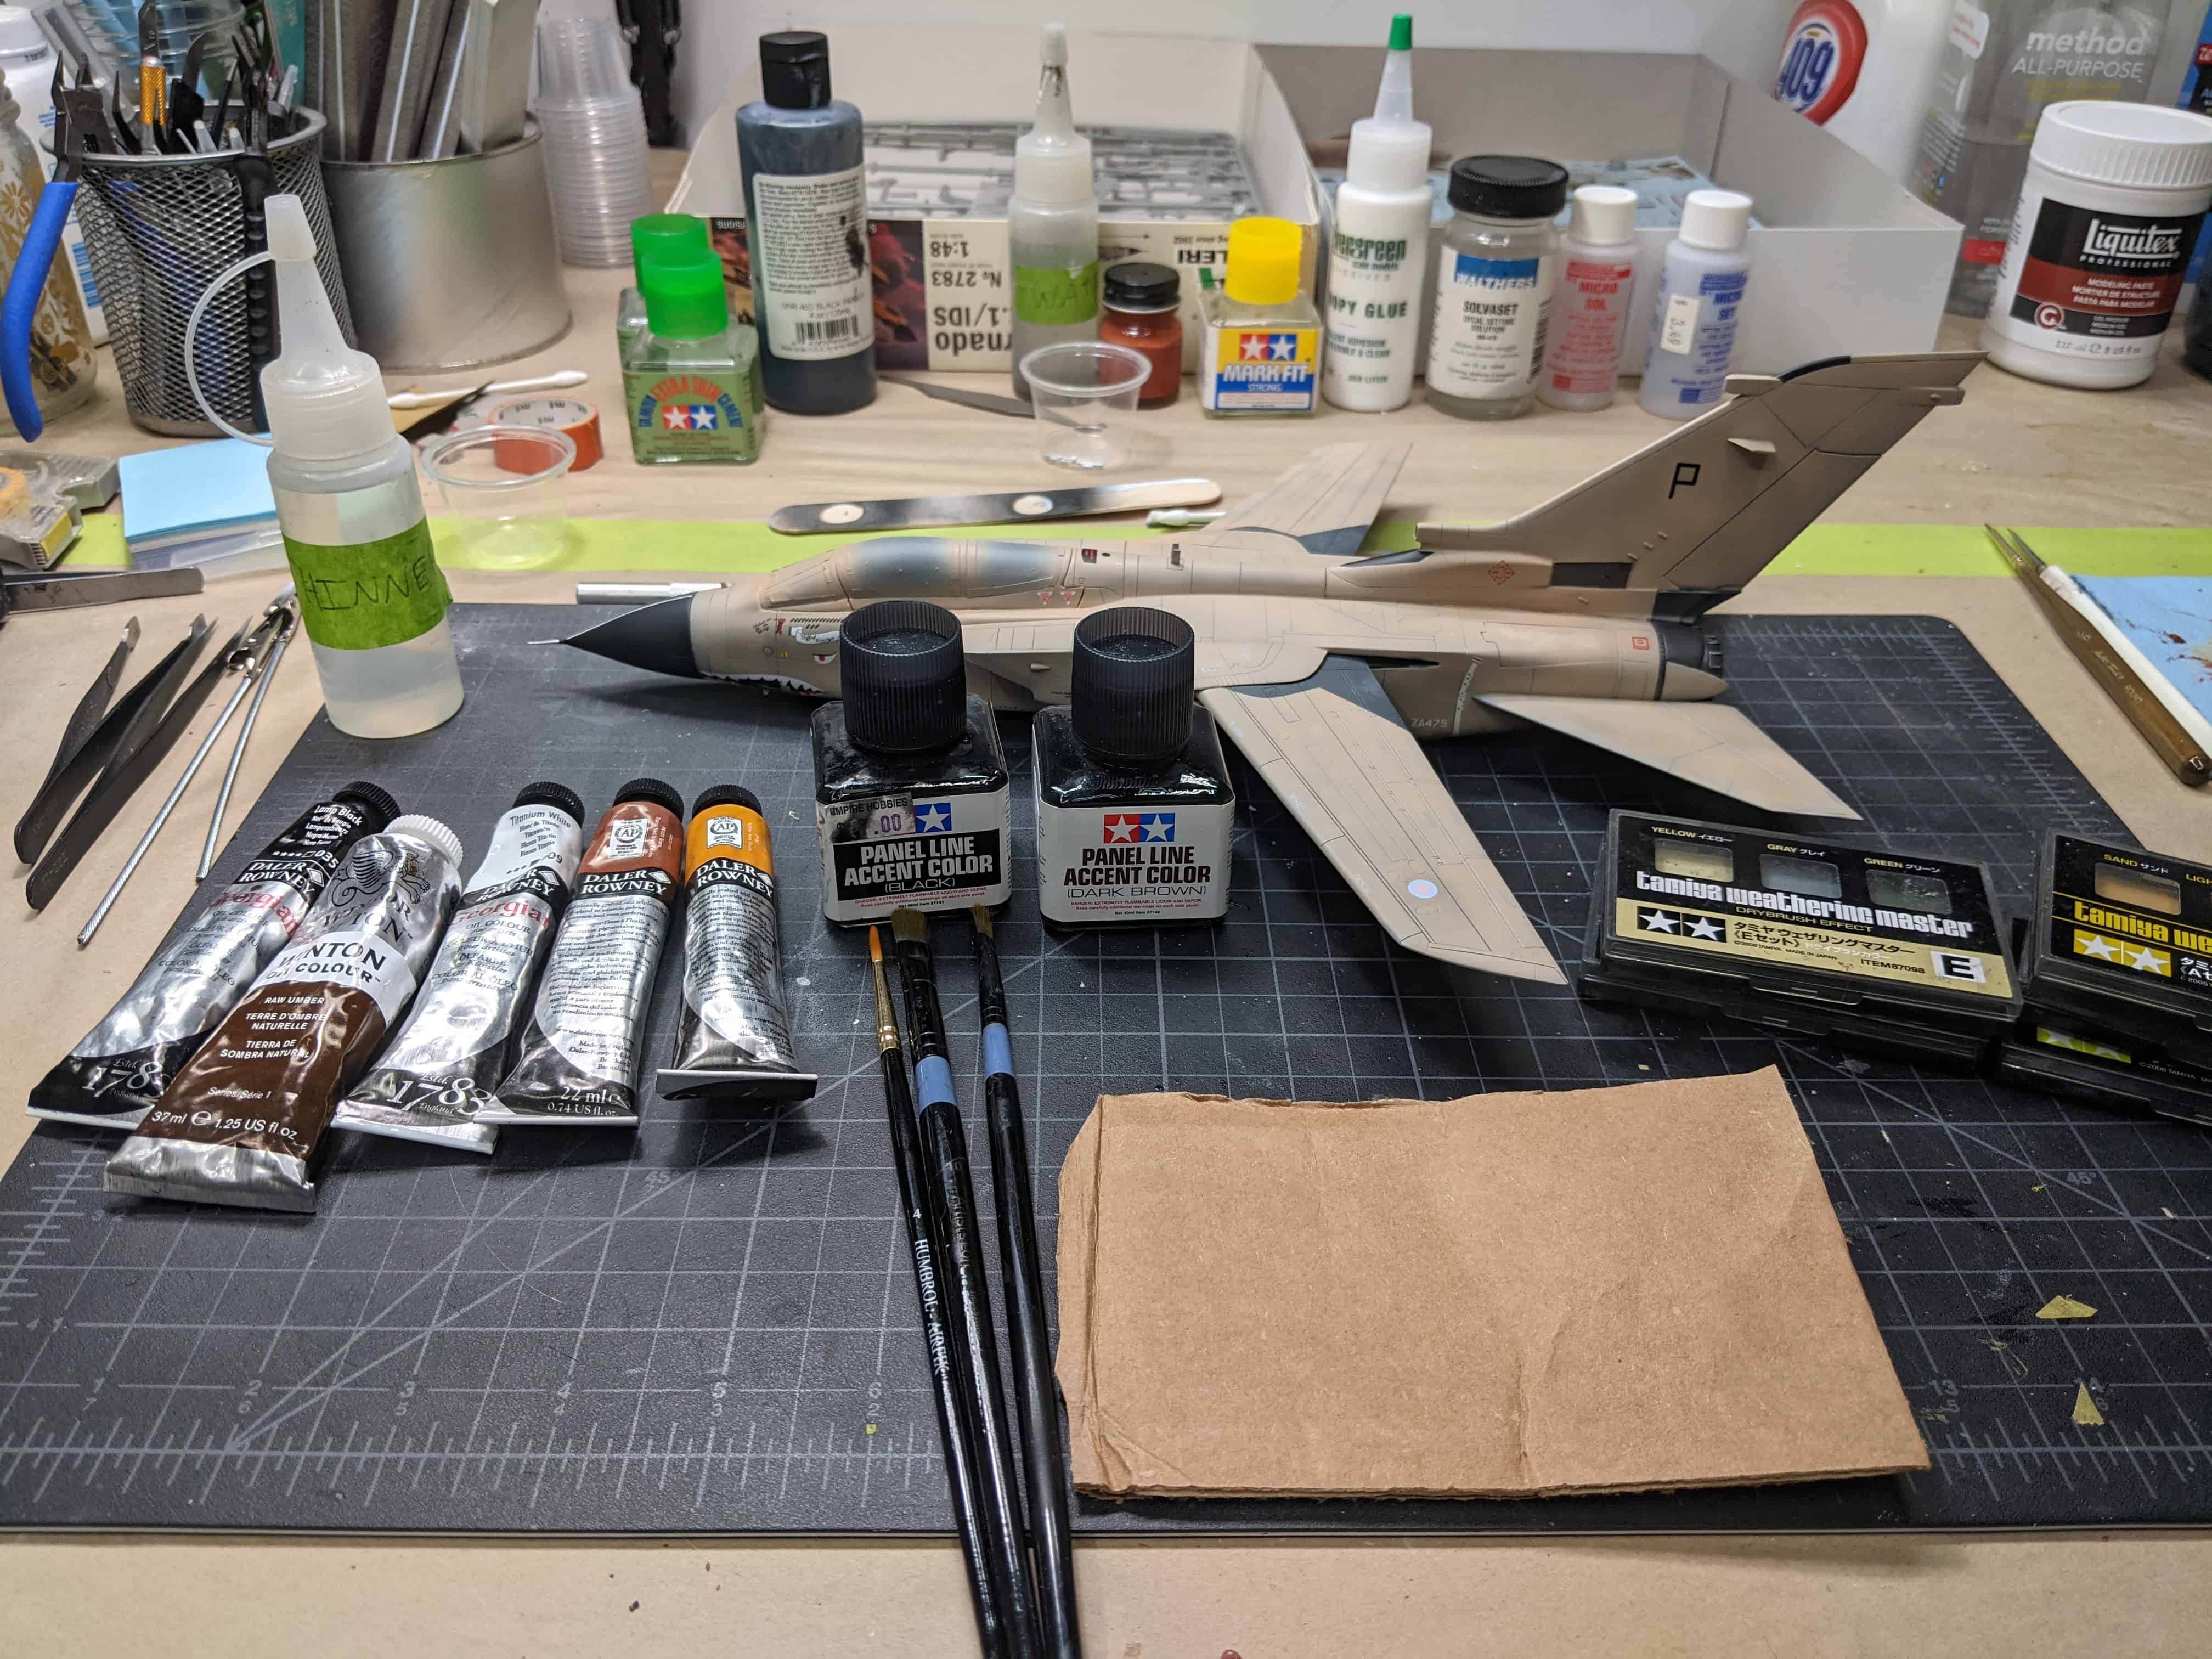
Weathering is a lot of fun with these Gulf War Tornados. They got absolutely filthy and chipped. First, the tail is famous for it’s exhaust staining. There’s loads of good reference pictures for this. I first used some diluted black paint to build up a soot stain. I then went over it with some lamp black oil paint to give it some texture. Next, I gave it an overall panel line wash with Tamiya dark brown wash. It’s a perfect color for the desert pink scheme. I then sponged on some lamp black oil paint along the leading edge of the wings and random panels to give a chipped effect. Finally, oils and tamiya washes were used throughout the model to give soot and grime effects.

Livery and Markings
A generous amount of schemes are included in the kit:
Version A: GR.1, ZA 475(P) “Triffid Airways” Royal Air Force, Muharraq AB 1991
Version B: GR.1, ZA 739(AC) “Armoured Charmer” Royal Air Force, Tabuk AB 1991
Version C: GR.1, No. 703, 7th Sq, RSAF, Lossiemouth AB, “Saudi Sword” exercise 2007
Version D: GR.1 No. 7507, 75th sq. RSAF, Coningsby AB, 2013
Version E: IDS, MM7074, Italian Air Force, Al Dhafra AB, 1991
Version F: IDS, Taktisches Luftwaffengeschwader 51 “Immelmann”, Mazar El Sharif AB, 2007
The decals are Cartograf printed and are very good quality. Lots of small details are clear and colors a bright and vibrant where expected. Markings are also available for the drop tanks and weapons. It doesn’t appear any small detail was omitted.
Final Thoughts
As mentioned earlier there’s just not a lot of Tornado kits out there in 1/48 scale. Most are reboxes of the Italeri or newer tooled Revell kit. However, despite being a new tool I’ve heard nothing but complaints regarding the Revell kit. Although I haven’t built that particular kit I would have to say it’s a toss up between them. If you’re looking for a Gulf War kit though, with top notch decals (without having to look aftermarket), the Italeri boxing is a clear winner.
It’s not a bad kit by any stretch but requires more work than it should in a few areas. The kit can leave you jaded when fit issues and seams crop back up again long after you’ve filled and sanded them.
If the detail was consistent throughout the kit this would be a no brainer. Perhaps older boxings of this kit haven’t had the tool degrade to the point of the boxing reviewed here.