This is part of a series originally published on Britmodeller.com. You can view the original article HERE.
Priming and Correcting Blemishes
Primer is now down. I’ve identified some areas that need additional sanding. I don’t think more filler will be necessary.
Primer down:

Additional areas that need to be cleaned up:
Shouldn’t be too much work. Looks like just raised filler/superglue that needs to be sanded even.
Here are the results.
I’m still not happy with the underside or the upper canopy area. Luckily, these are the two least visible locations – with the canopy area being due to me displaying it open. It should hide those blemishes.
Picking a Paint Scheme
While I still have some cleanup to do I want to briefly discuss my painting strategy for this kit.
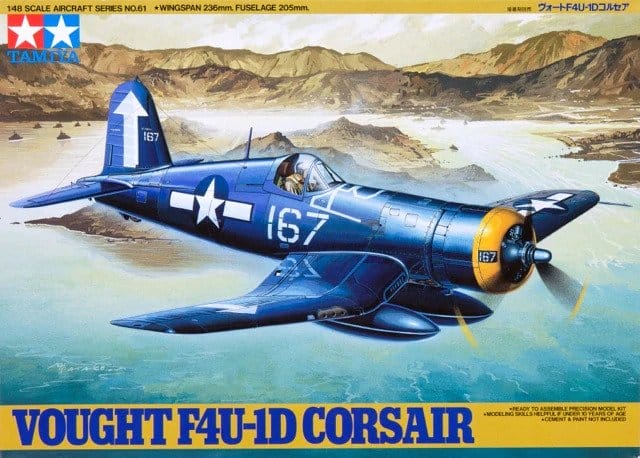
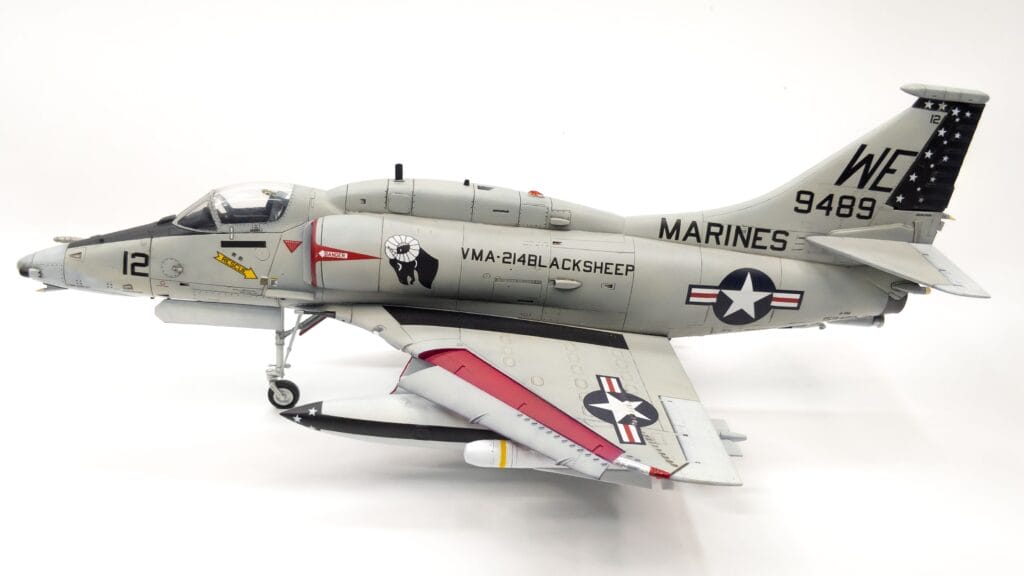
First, I’ve decided to go with VA-176 – Thunderbolts. I like the contrast with the black fuel tanks and the overall scheme. It’s not a real A-6 without that big ‘ol tan radome.
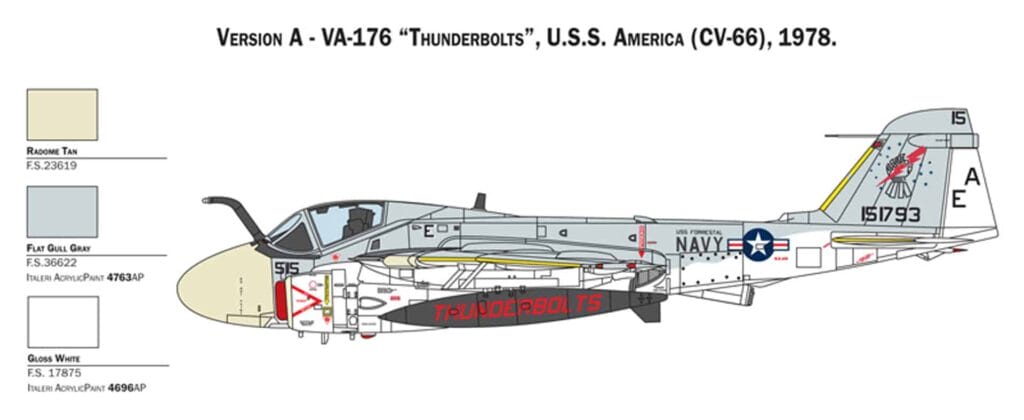
Tidbit – this is a navy aircraft while the box art shows this as a Marines variant. Not the first error/goof on this kit! Some sprue numbers are wrong in the instructions too.
Anyway, I’m going to be following a modified process I adapted from user Andy Moore. It’s a three layer blend. Which builds up the color from dark to light. I tested this on a bandai snowspeeder I did and loved how it turned out.
- First layer will be primer. In this case black. When I said modified it’s technically a three layer blend but also black basing.
- The next layer will be a medium or neutral gray for the bottom (which will end in white) and a darker aggressor or gunship gray for the top. This will be mottled on randomly as per standard black basing. This will be complete coverage including panel lines.
- Final color which will be MMP White for the bottom and MMP 36622 Camo Gray for the top. This will also be mottled on. This time avoiding panel lines.
- A final mist coat of thinned paint from above to blend it all in.
If the snowspeeder was any indicator this should turn out really well and give it a nice worn random appearance.
The contrast between layers should look good too. You want an even step between them. If you pick a color too dark for the second layer it will blend in with the primer too much. Too light and it overpowers the final coat. Same goes if it’s too close to the base color, you won’t notice it. So you want to pick something along the same gradient.
I’ve also mottled some random browns and greens to added weather variation in the past on select panels. However I’ve felt it gets blended in too easily. Better off saving that energy for post paint weathering.
I will however you with the idea of lightening the final base coat color with white and overspray a few panels to give more variation. But we will see how it turns out overall first.
Testing Paints
I’ve settled on a pallet for now. Same MMP base colors but the mid tone will be Vallejo German grey.
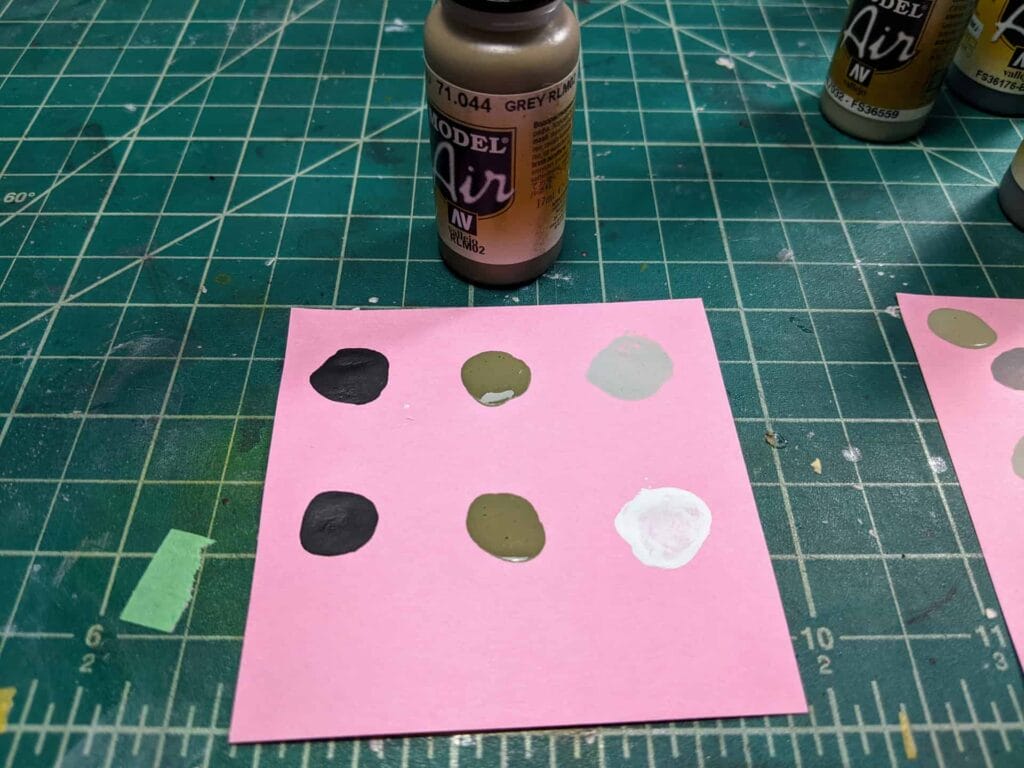
It’s nice because it has a little bit of green and a little bit of brown tint to it while still being a grey/neutral color.
I’m going to use it as the mid tone for the whole plane since it will show a nice even wear and tear from a heavily used navy aircraft.
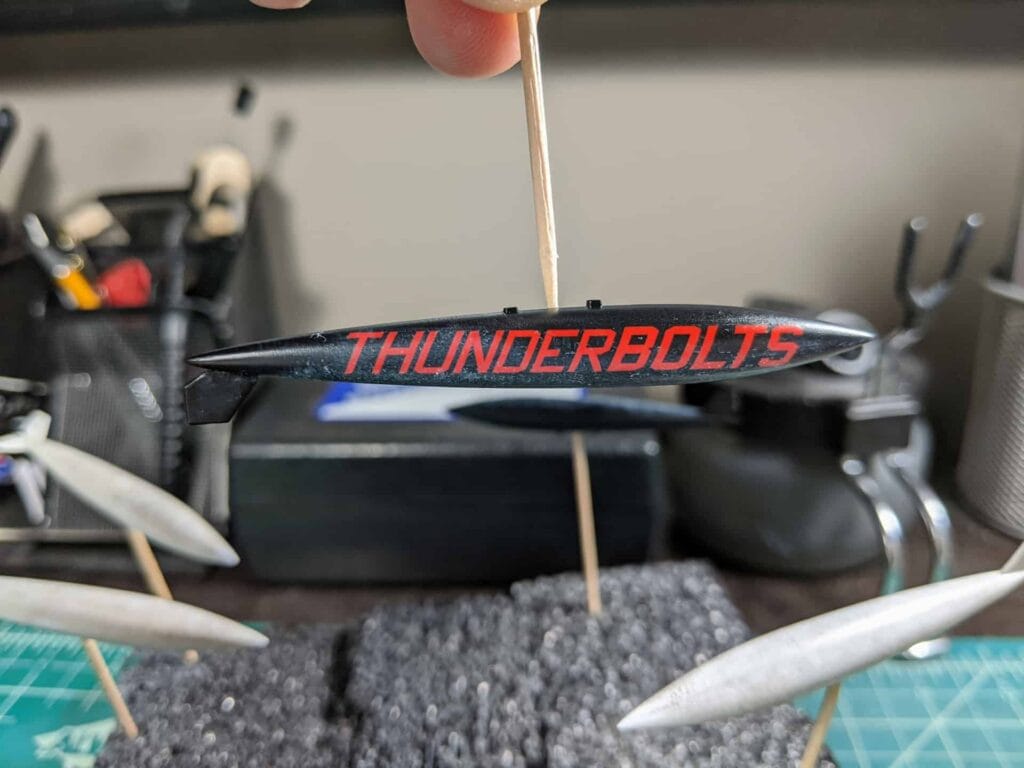
Of course, I’m going to test it on a mule just to make sure it gives the result I want and doesn’t look ridiculous.
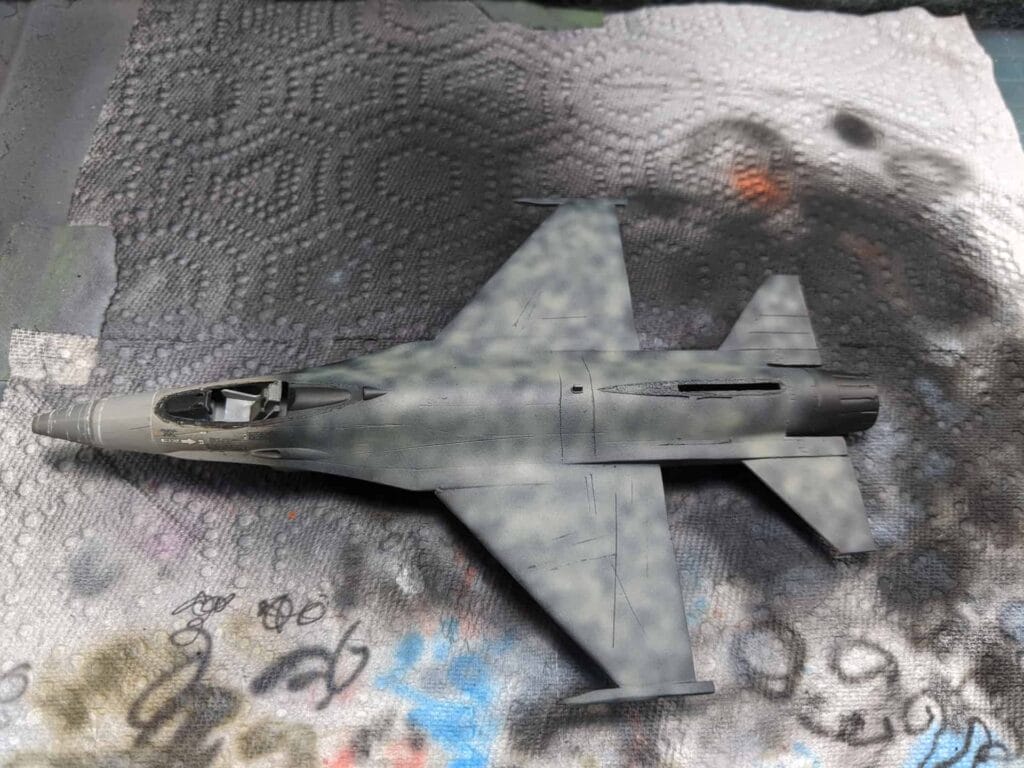
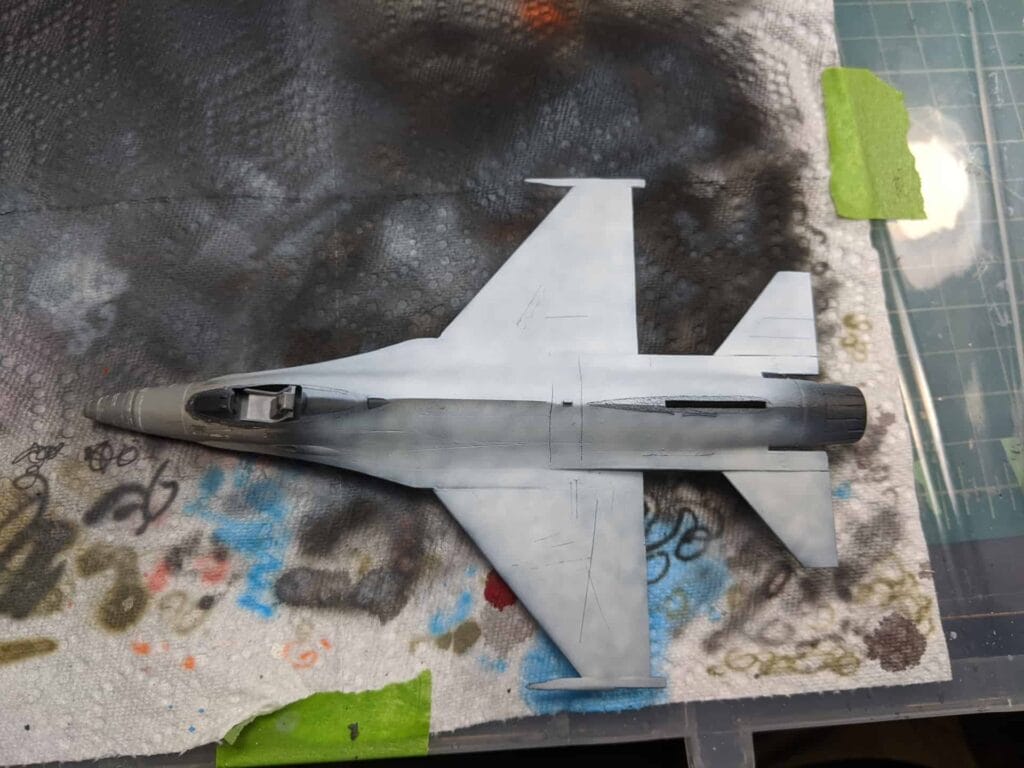
So here’s my test mule. It doesn’t look like there’s much to gain from the intermediate layer so I’m going to skip it and just mottled directly on the black. MMP paints are fairly translucent so they should build up nicely.
White is always terrible to get good color modulation. It either turns out muffled or gray if you don’t build it up and too bright and bland if built up too much. With a black base if you miss any spots or don’t cover enough of an area you get shadow like black patches.
The camo gray will turn out nicely. I think for the white I might just go over the panel lines lightly with a dark gray heavily thinned to get some modulation. Weather will take care of the rest.
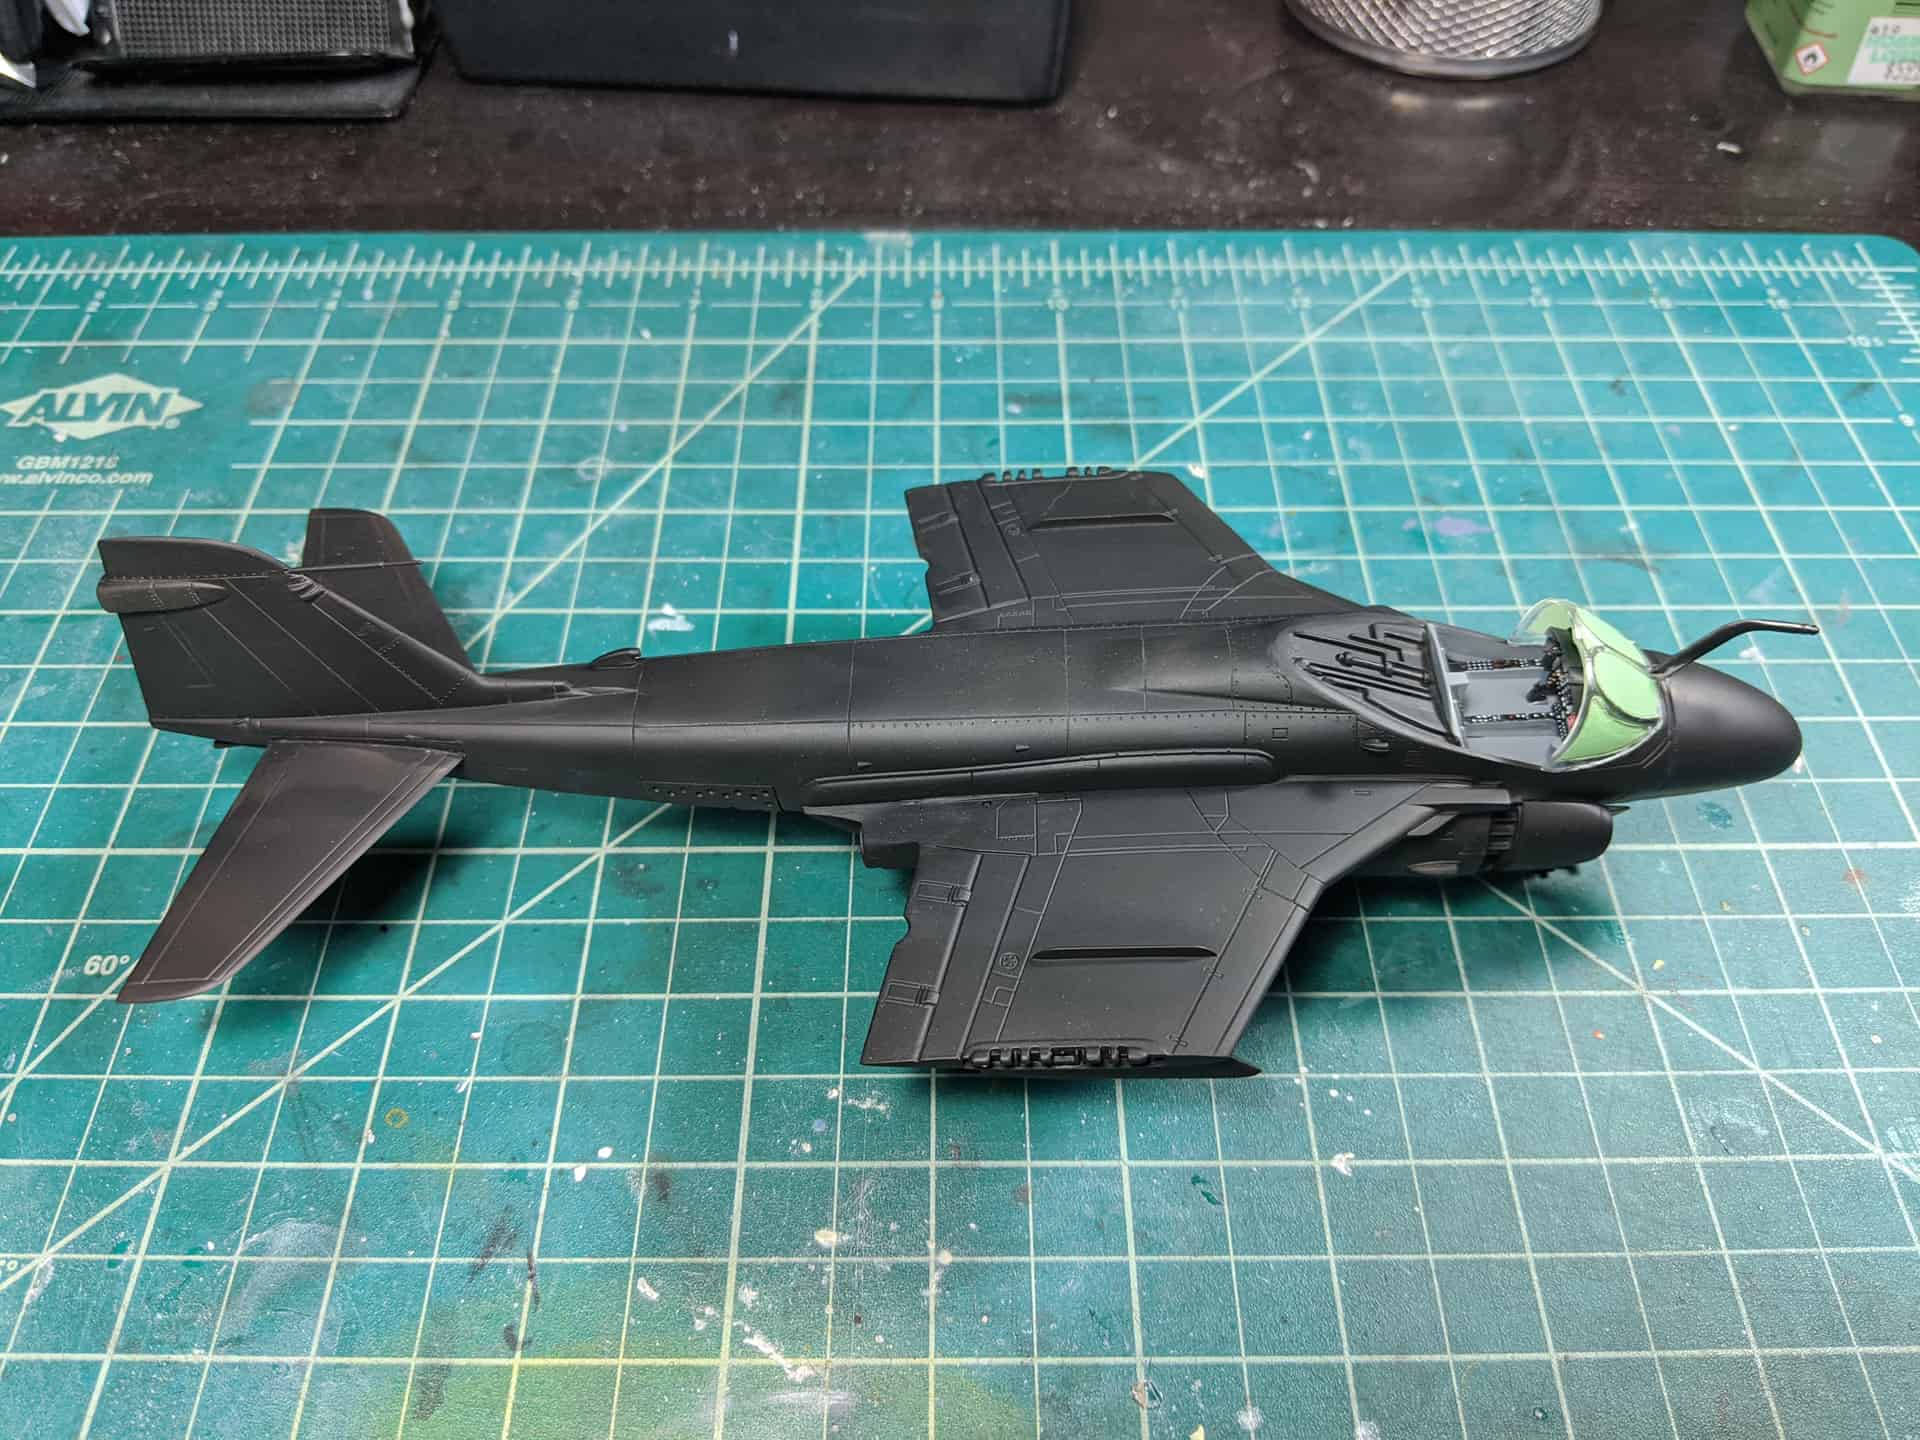
Black base plus intermediate layer added: