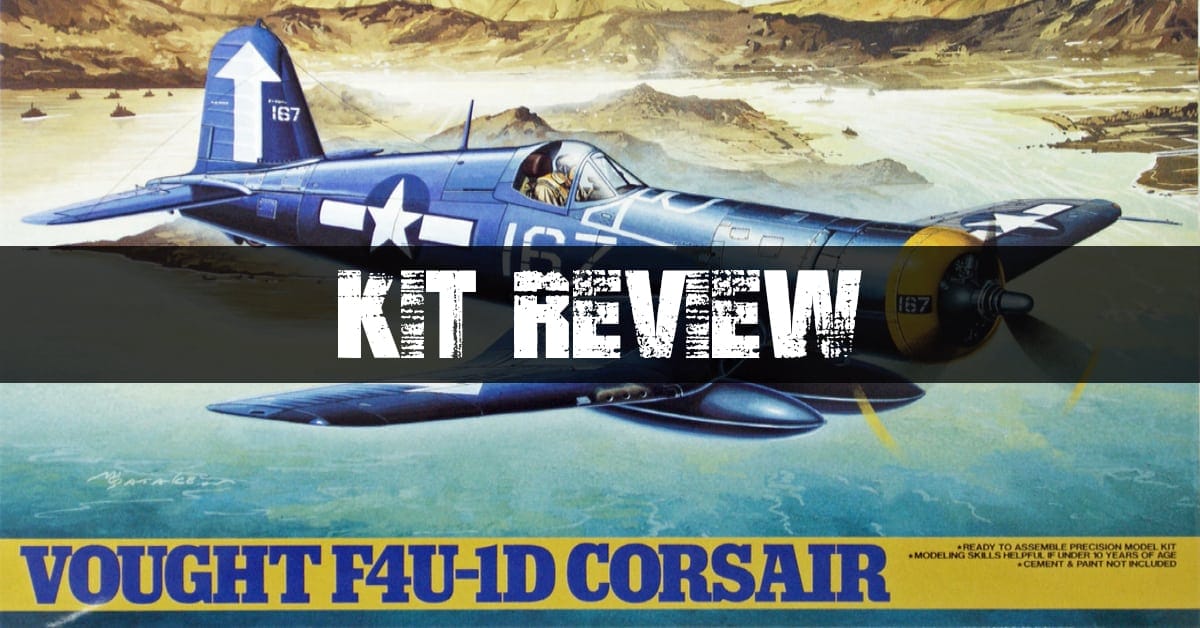
The Kit
Tamiya kits need no introduction as they are renowned as the one of the best manufacturers on the market. While they don’t have the catalog depth as many other brands, the kits they do release are engineered close to perfection, have fantastic overall detail, and are a joy to build. The 1/48 F4U-1D Corsair is no exception. Tooled in the mid 90’s as part of a surge of WWII releases from Tamiya the Corsair kit is still one of the best on the market. Dollar for dollar it is absolutely the best value for this scale.
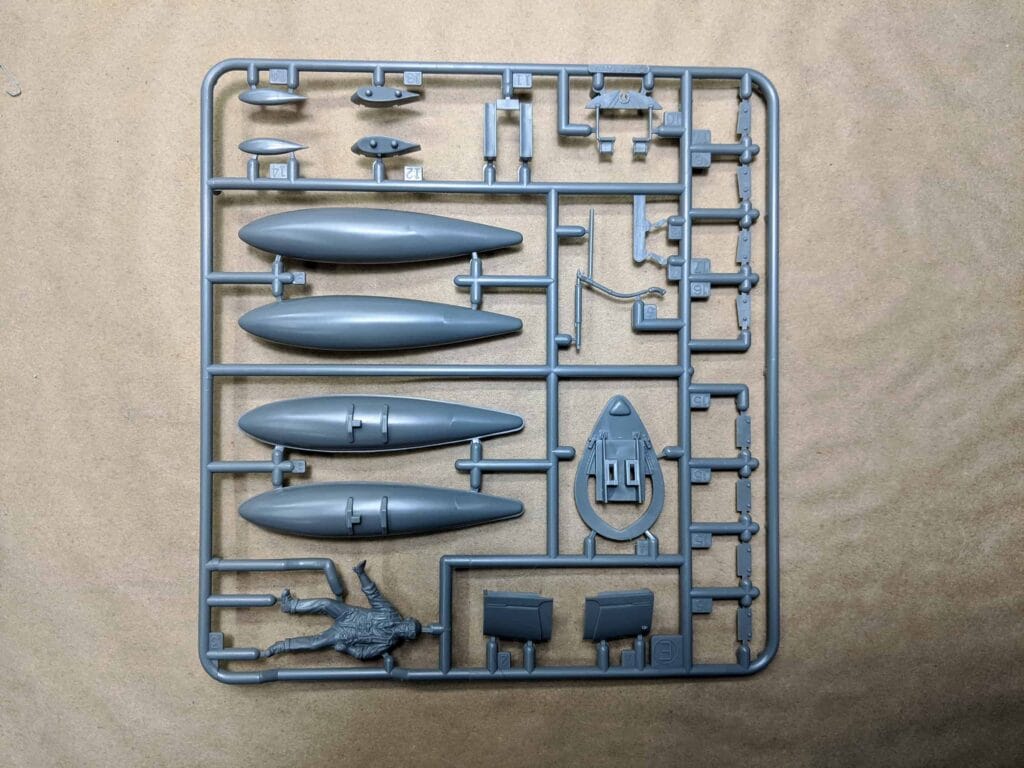
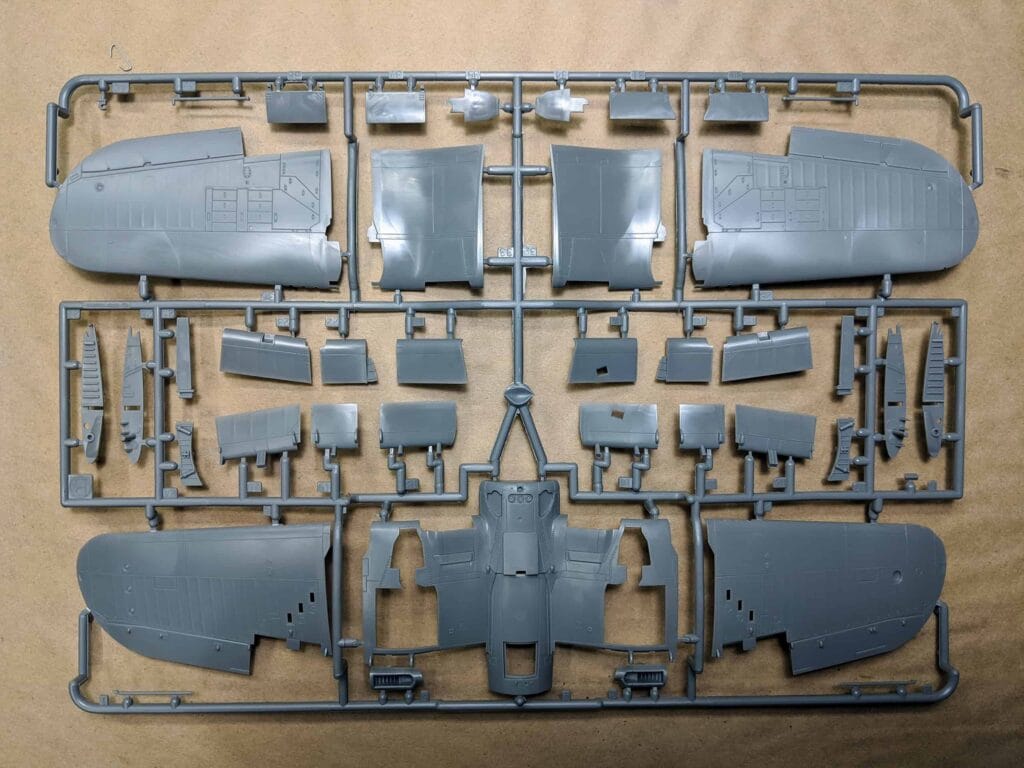
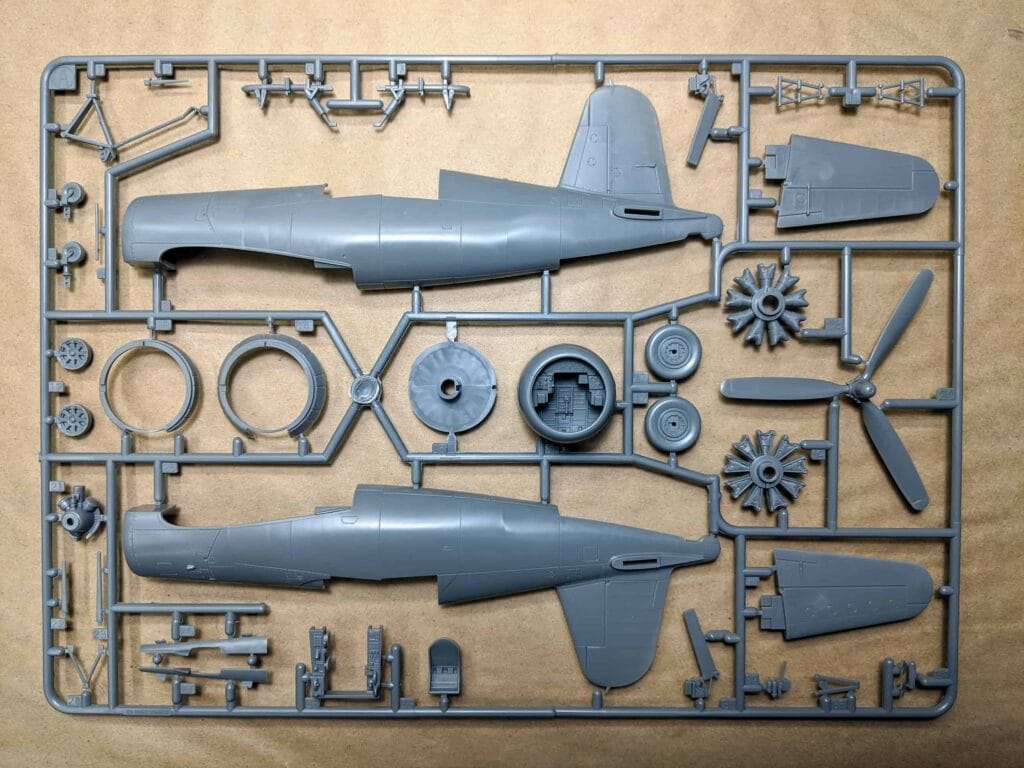
The kit comes with 3 sprues, 1 clear sprue, and 1 decal sheet. All parts are molded in a smooth gray with very fine recessed detail that includes panel lines and rivets. You also get several construction such as a including a two piece canopy that can be posed open or closed. You also get two different canopy options depending on which marking option you choose. The difference being a single frame bar on the top of the main canopy. Parts to pose the wings folded or extended are also included. Any manufacturer that includes folded wings for Navy aircraft is a huge plus.
There are a few criticisms I can make about the kit as a whole. First is the baffling omittance of any ordinance. The kit includes the pylons for bombs and rockets (and it does include two fuel drop tanks) but omits the weaponry itself. It’s odd because the weaponry is available in other Tamiya boxings of this kit. Second is inability to close the flaps. It’s an interesting decision seeing as most manufacturers only included flaps closed with no option to extend. Tamiya reverses that and only gives the option to extend.
Construction
Tamiya has you begin with the cockpit and is painted US interior green. It’s very well detailed with raised/recessed markings on the instrument panel, side consoles, and cockpit walls. It also includes rudder pedals, throttle stick, and control stick.
After the cockpit is assembled you move on to the engines and cowling. This consists of six separate pieces including two different cowlings (open or closed). Don’t forget to paint, as I did, the inside of the cowling before gluing it over the engine. The inside of the cowling is interior green with the engine being your choice of metal paints and a light gray for the crank case.
Next up, you mount the lower fuselage to the gear bays and also insert the wing radiators. Note the belly window gets painted on -1D (it becomes a generic access hatch) so don’t bother masking it. Everything here fits well but caution the numerous ejector pin marks in the gear bay. These will need to be sanded down or covered. The radiators also have a poor fit and will need some sanding and filling.
View in the Model Showcase
Following that the fuselage halves go together with the cockpit inside and the lower fuselage is attached. You can also attach the horizontal stabilizers. All goes together well with just your standard seam down the top and bottom of the fuselage that needs to be sanded and filled. This part also calls for you to attach the cowling. The fit isn’t great so I recommend attaching it. If you’re doing more elaborate paint jobs on the cowling it would be best to dry fit and then paint and attach separately.
Next the landing gear assemblies are put together along with the flaps. The flaps fit can be hit or miss. I highly recommend dry fitting here and choosing what works best for you in terms of attaching them now or later. The gear doors fit great and can be left off until the end. The outer wing assemblies are next and here you can choose to display folded or extended. Tamiya uses some nice engineering tricks by using support bars for the wings. This, along with terrific fit, allow you to paint the outer wing assemblies before attaching them as very little glue will be needed. If you do leave the wings extended take note not to fill the panel lines in the crease where the wings fold.
Finally, the fuel tanks, pylons, and other small bits are put together or attached. No seams to speak of with the fuel tanks as the U.S. style has a thick lip that runs centerline.
Livery and Markings
The kit comes with three marking options:
- VF-84, USS Bunker Hill, c. 1945
- VMF-112, USS Bennington, c. 1945
- VMF-913, Cherry Point, c. 1945
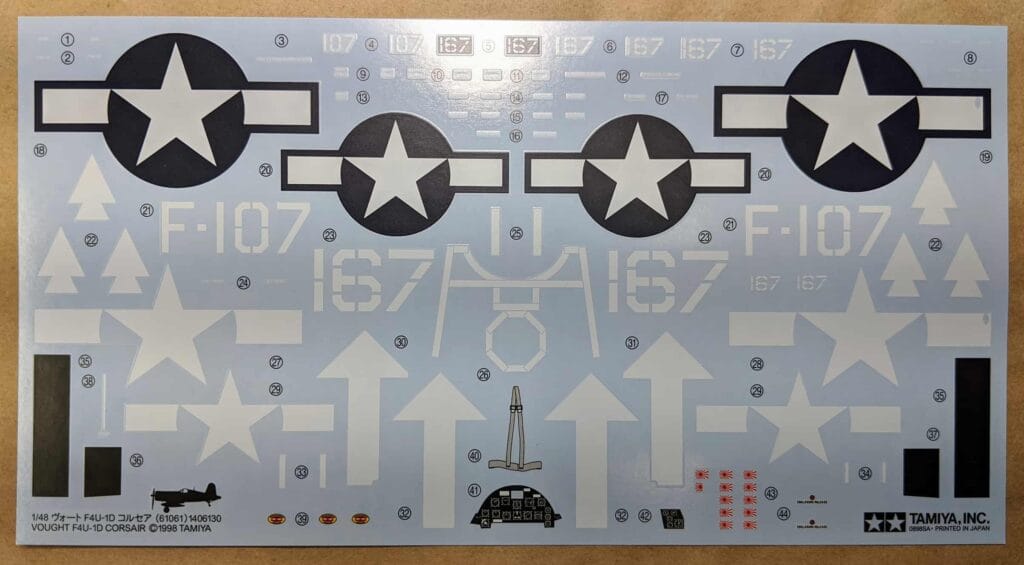
The Tamiya decals are nicely rendered but are thick. A heavy use of setting solutions is recommended. I believe VF-84 to be the best looking scheme that comes with the kit. Also included are kill markings represented by Japanese flags. These however are not used in any of schemes indicated by the instructions. You can feel free to use them though as it can add some pop to the plain gloss sea blue scheme.
There are also options for the instrument panel and seat belts. I would advise against the IP decal as the kit details are already very nice and should be painted.