This is part of a series originally published on Britmodeller.com. You can view the original article HERE.
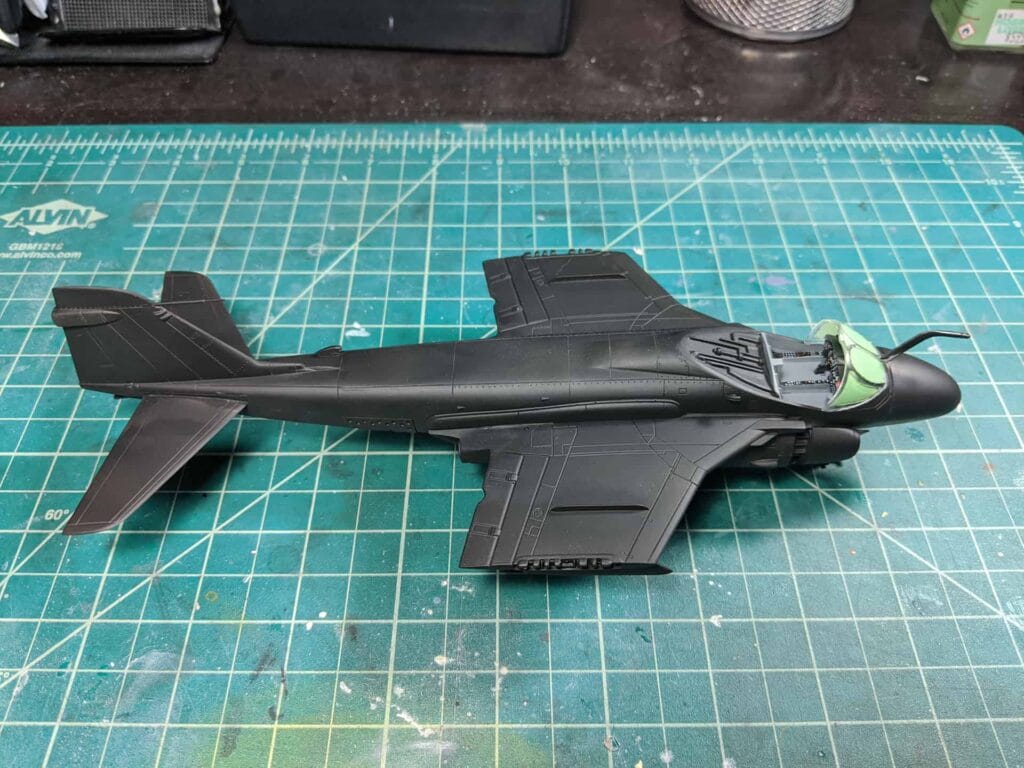
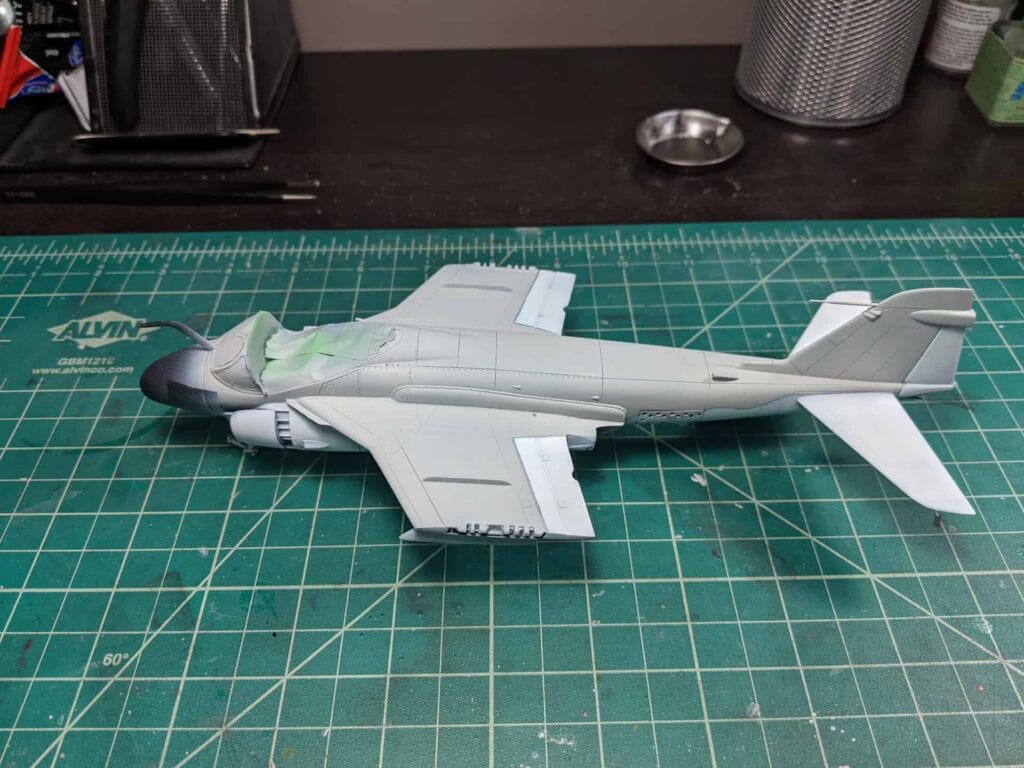
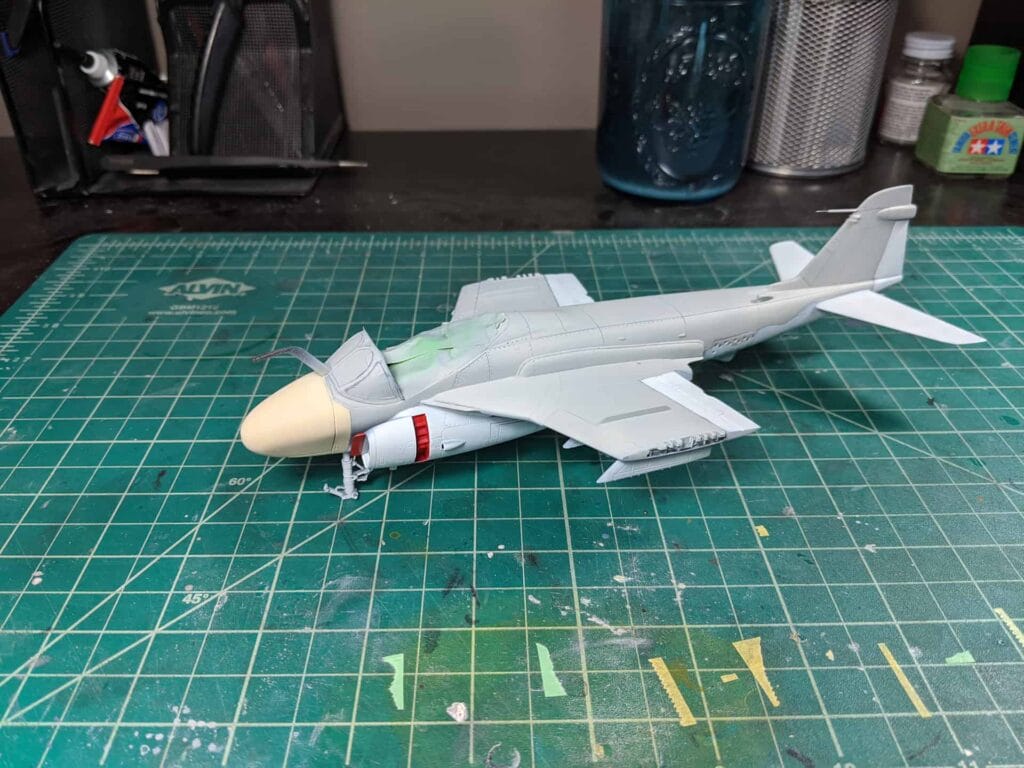
Masking and Base Coat Applied
So she’s all taped up and ready for final base coat. I already painted the underside white and the flight controls.

…And the base coat applied.
Now, here is a happy little accident. But first, let me preface this by saying that when you spray two camo colors ALWAYS be sure to overspray the first color way more than you think. This way, when you go to mask off the first color you don’t get what I got here:
Funny thing is, I kind of like it. I don’t think it’s historically accurate but it’s kind of a cool effect. It just so happens the other side has exactly the same effect with the exact same demarcation size. So that helps my decision in keeping it. So, should I decide to keep it I just need to do a few white touch ups (as you can see in the photo), paint the nose “radome tan”, and then paint a few red areas on the wings and access stairs. After that we’re off to the gloss coat!
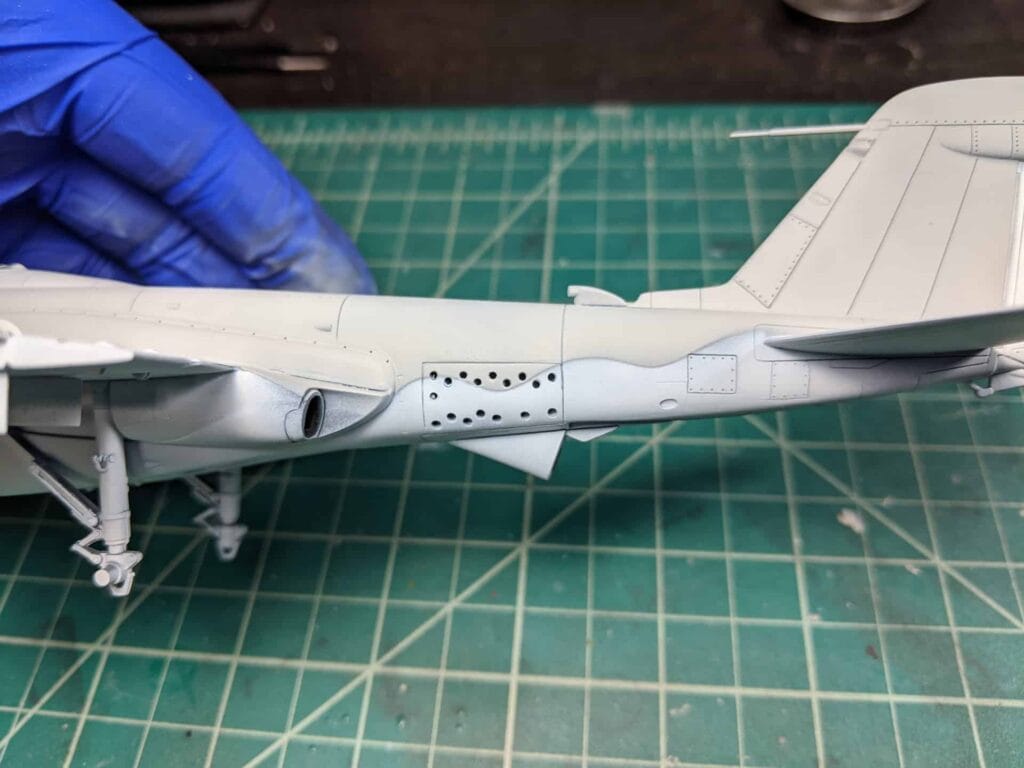
Minor details have been painted and it’s ready for a gloss coat. Dealing will begin shortly after that.
Not too many blemishes and the red painted in nicely after extensive masking. Red is one of those colors you don’t want to mess with. You need to mask like it’s going to be sprayed with a rattle can from a foot away. Even the slightest overspray will be an eyesore and even harder to get out.
Applying Decals and Other Minor Details
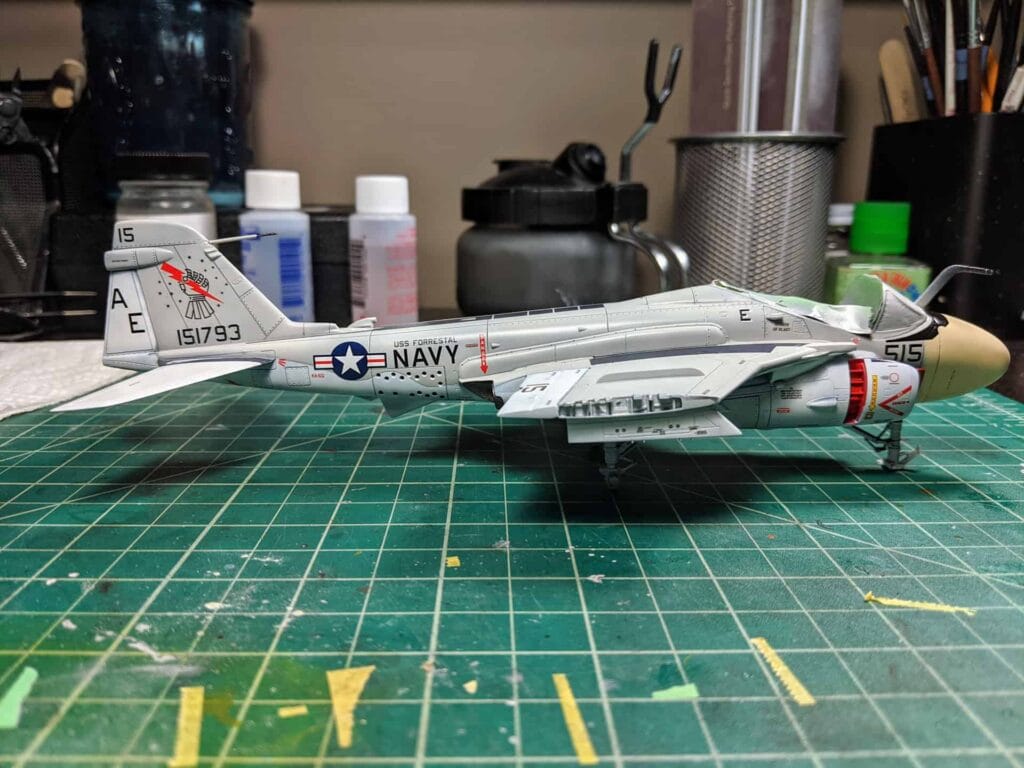
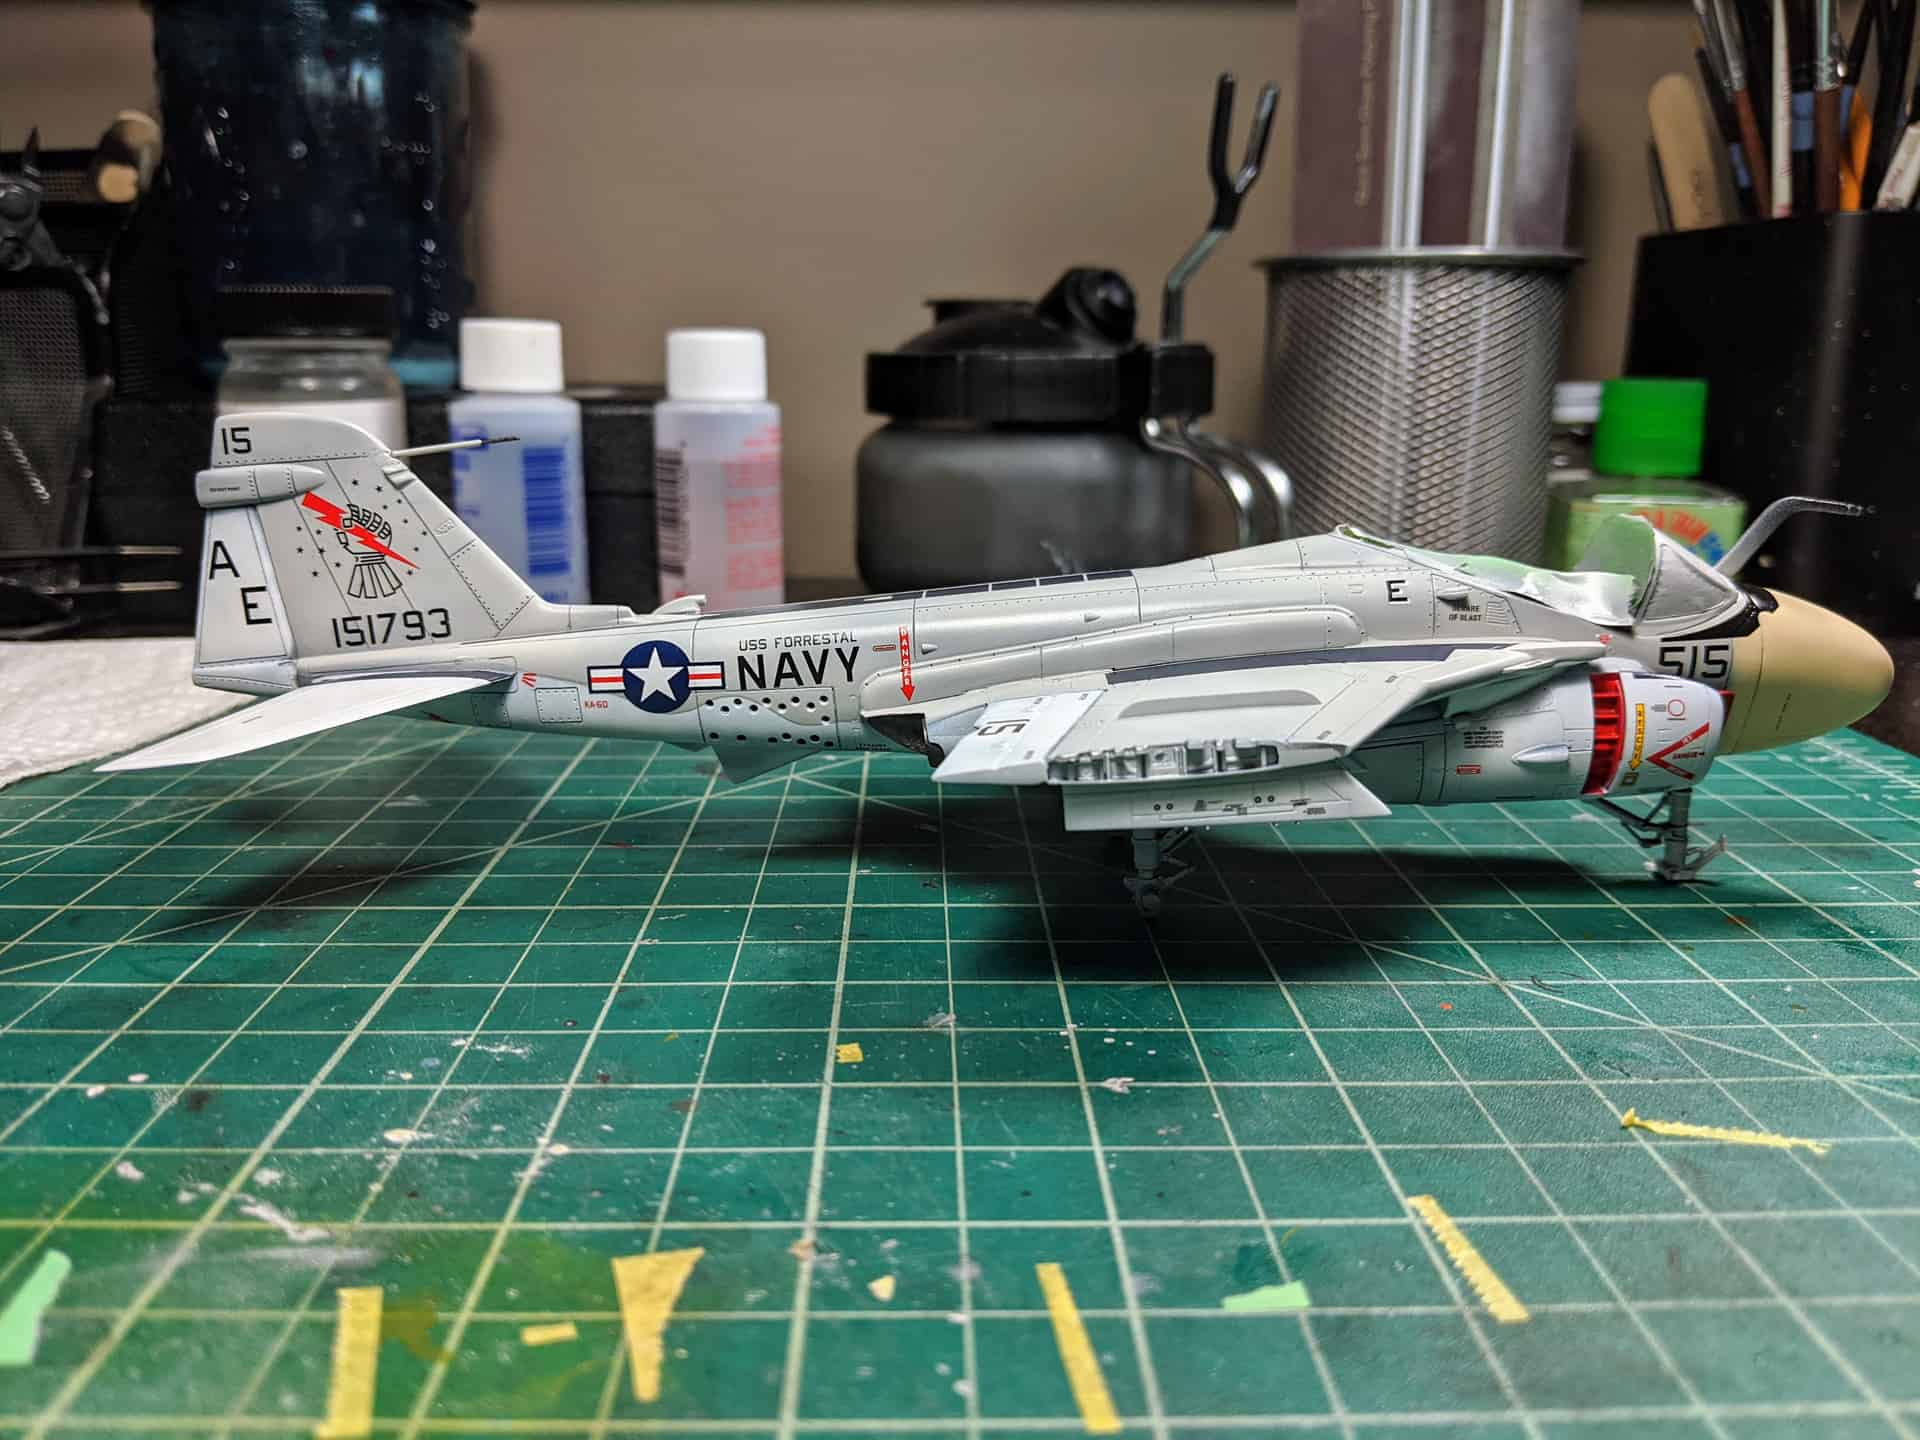
Topside decals are on. Italeri decals are really great. They’re thin, slide off the backing within seconds, and snuggle down nicely. I’m not sure but I though I read somewhere that their decals are unmarked cartograf.
Only issue I found so far is that the colors are off. The anti skid is a blueish color, as seen the photos below, but should be more of a black/gray. It’ll be fine though once we weather it.
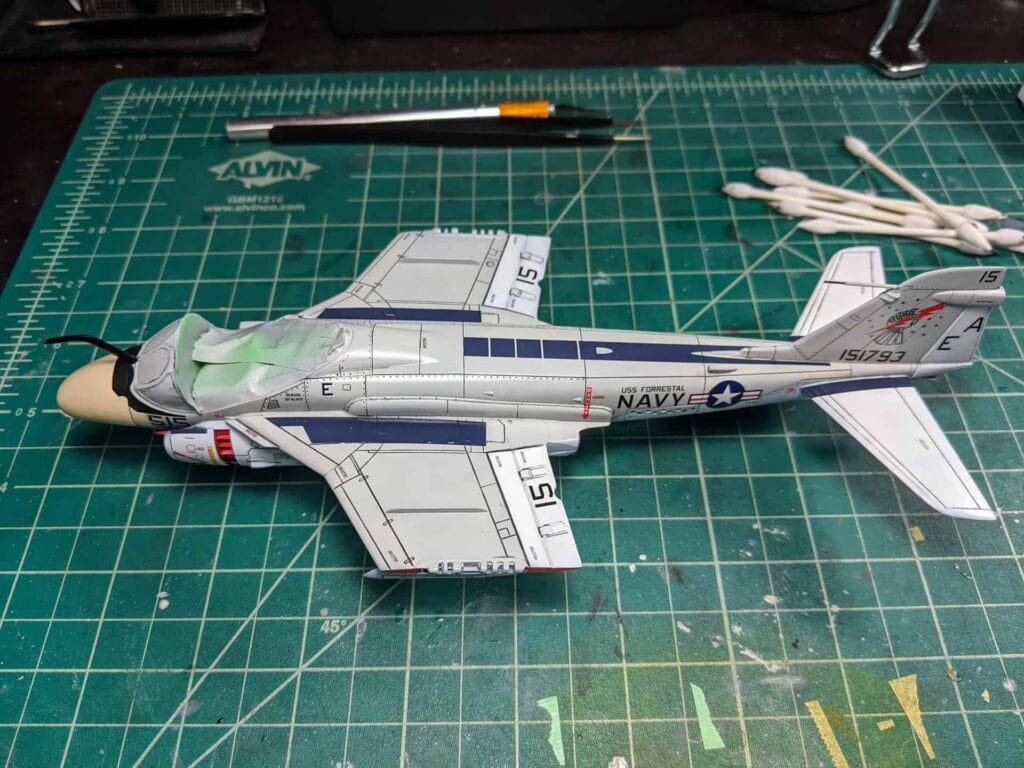
Close up show how nice they snuggle down. Hardly any raised edges since they’re so thin.
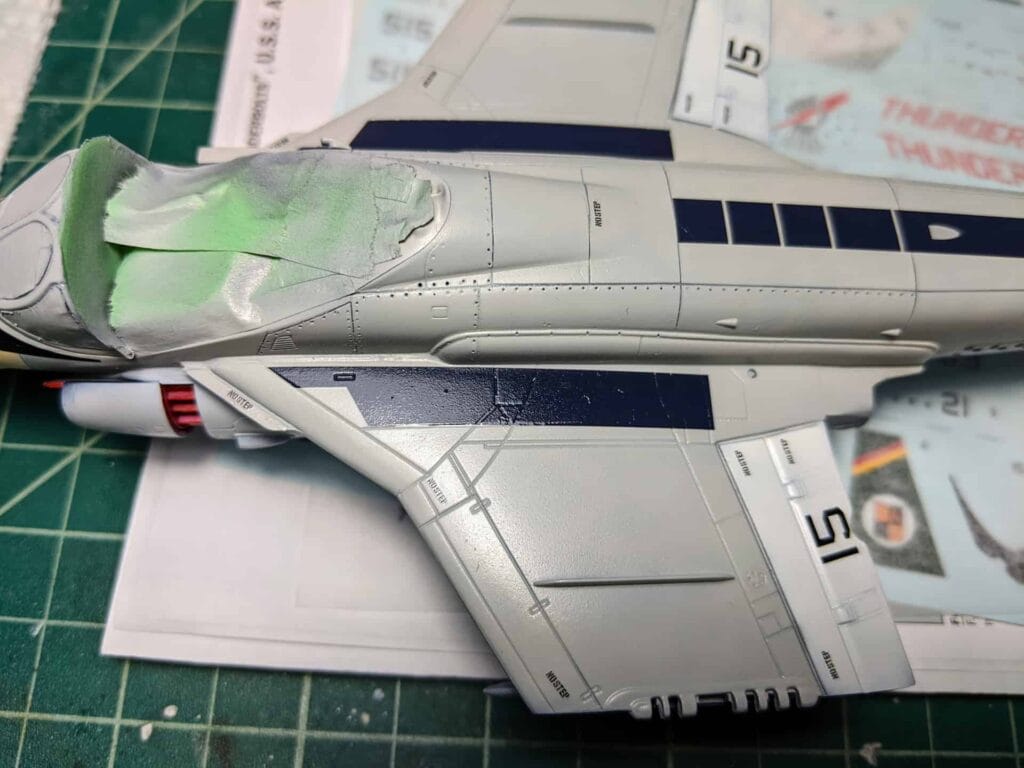
Decals are complete. Some minor placement issues but only the most hardcore rivet counters will notice. This occured due to panel detail in the instructions not matching the model. This made determining the placement locations for some decals difficult.
I’m going to slice along a few panels lines and reapply solvaset but other than that we’re done with this step.
Next will be to gloss coat it again to seal the decals and move onto weathering.
Always be sure to wipe down the model with water and a lint free cloth/tissue. It will remove any leftover residue you might not be able to see from the decal solutions.