This is part of a series originally published on Britmodeller.com. You can view the original article HERE.
Assembling the Drop Tanks
Got some work done on the 5 external fuel tank stores. Whats weird though is that the kit includes 5 wing tanks and one centerline tank. Along with that it includes 6 fins for those tanks.
It would make sense, extra parts wise, if there were six wing tanks and 6 fins for those tanks. But anyway…
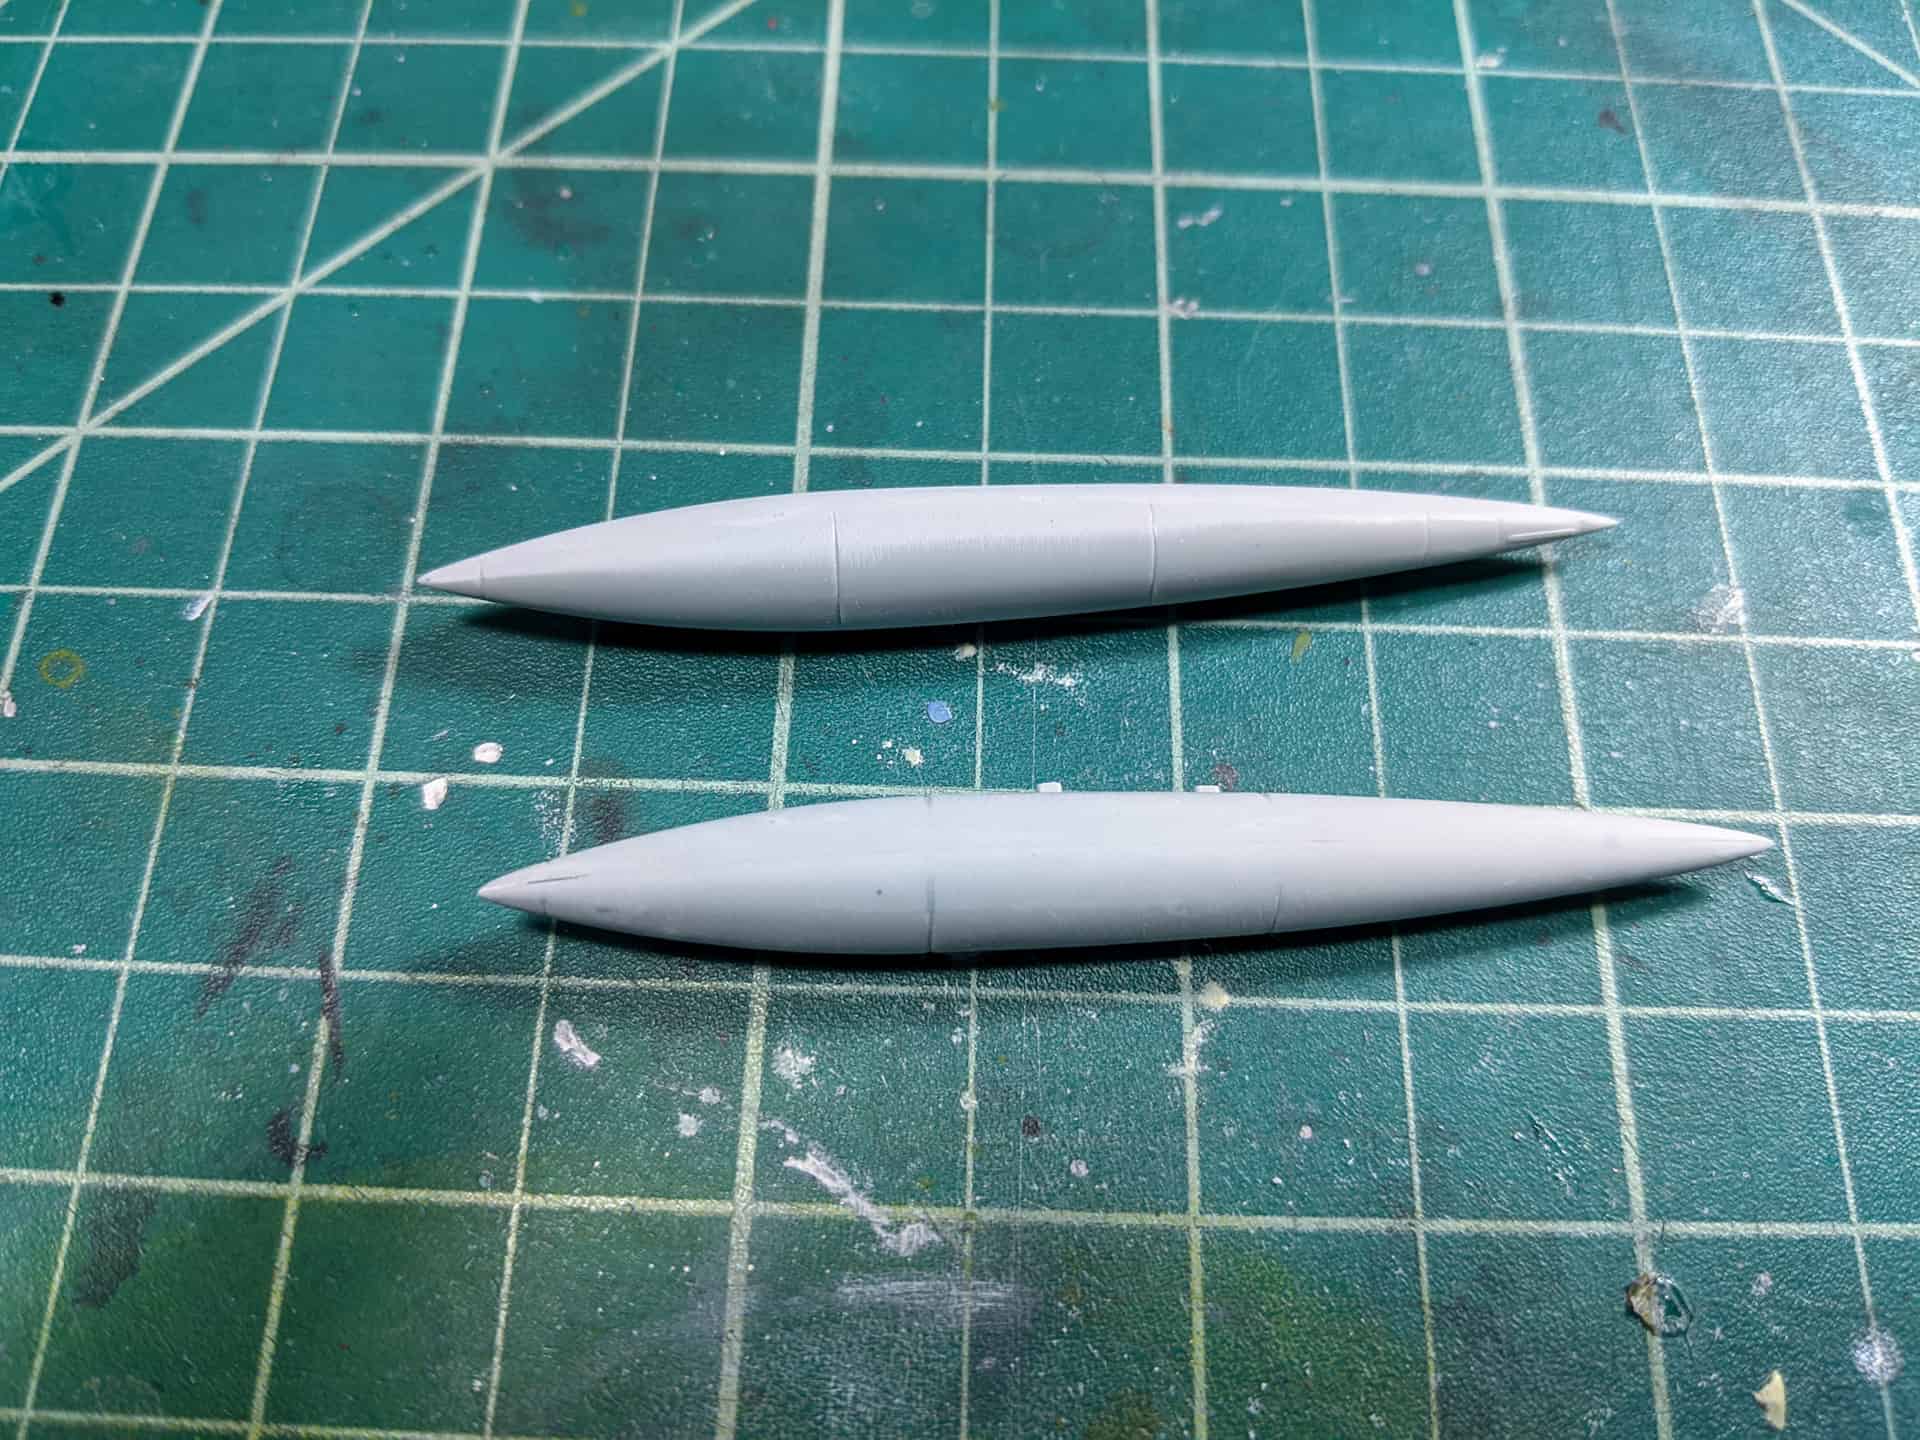
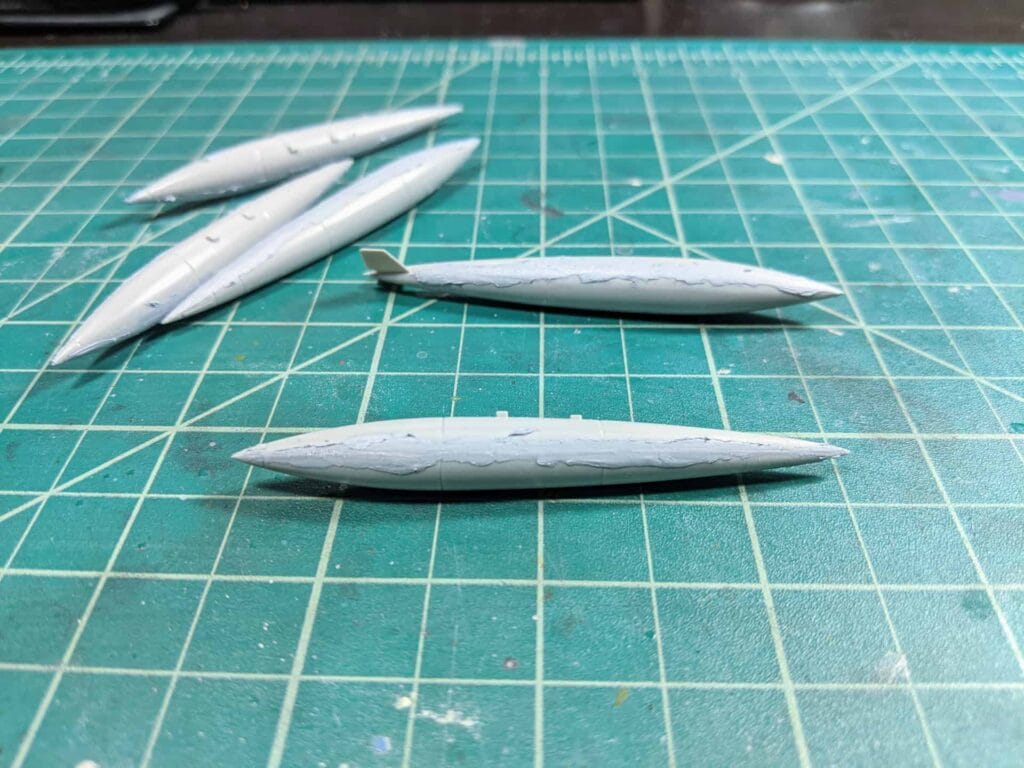
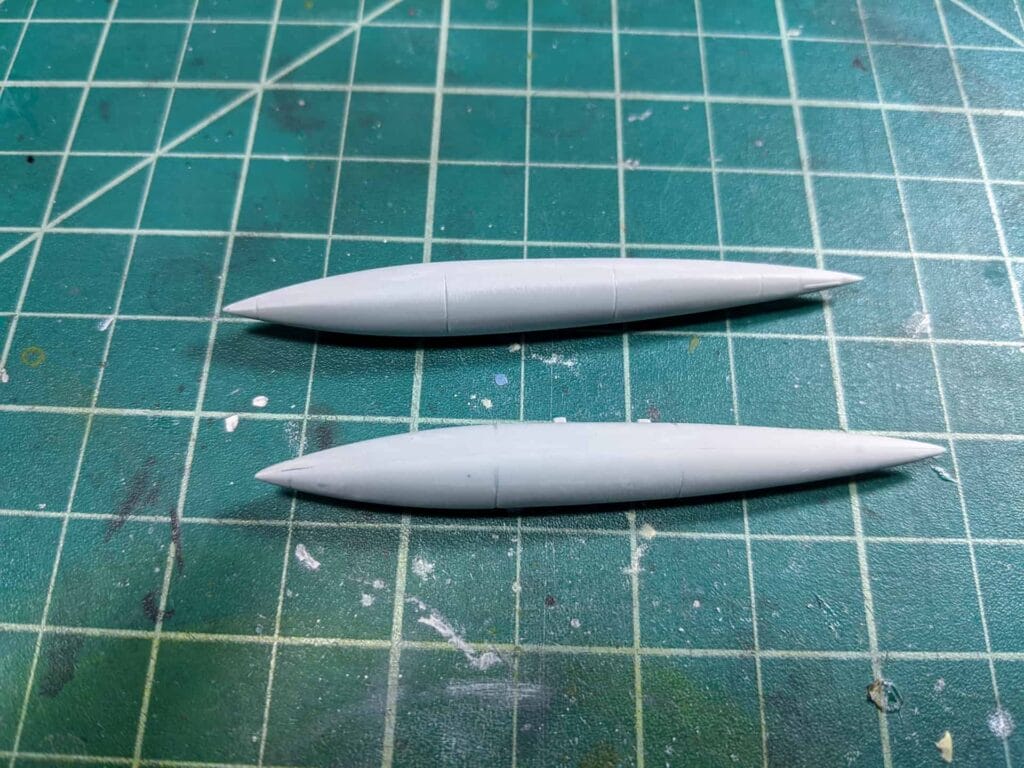
Easily enough out together but all need major putty work:
After that they’re sanded down smooth. Here’s the million dollar skill: sanding down cylindrical shapes while retaining said cylindrical shape.
I use the infini softback sanding sponges as they confirm to the shape of the surface better. Still not perfect but better than using bare sand paper or sanding sticks. Once paint is one you usually don’t notice some sides being flatter than the other.
If anyone has the magic bullet strategy on how to do this better I’m all ears. Here they are sanded down. Will be describing the lines on them soon.
Finally, the fins are added which are no small feat to get centered properly. There’s a raised guideline but it’s useless. You have to eyeball the placement and go blind in the process.
Ideally Italeri should’ve molder the fin on one end of the tank and then it self centers when you slap the other half on. That’s how most kits do it…but oh well.
Next I’ll be in fuselage sanding/filling/rescribing hell. Already started on some of it using super glue. But there are some major gaps that will need some Milliput.
Fuselage Sanding and Cleanup
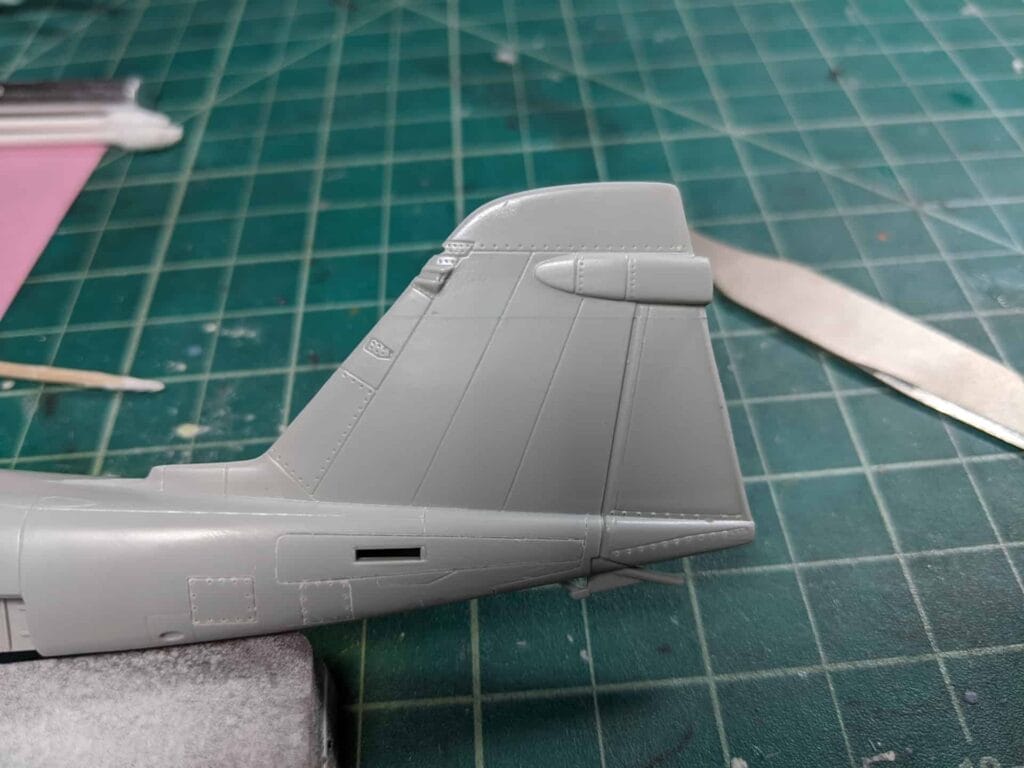
Here are some examples of what good rescribing can do.
Before:
After:
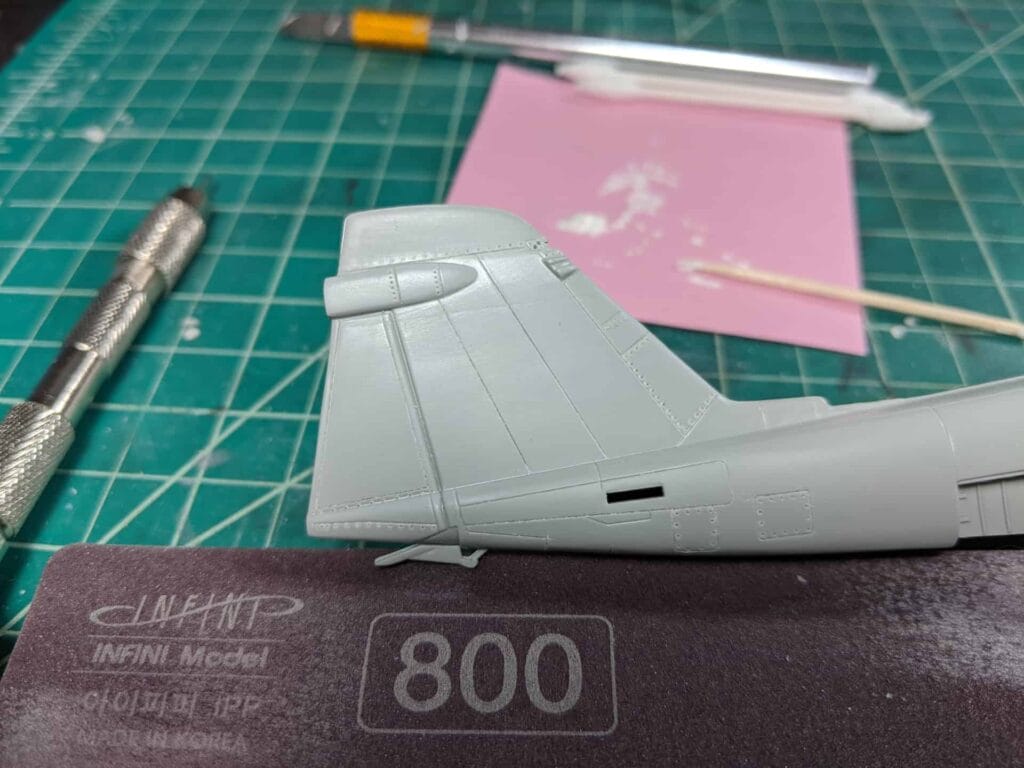
Most rescribing and rivets were done with a simple needle in a pin vise.
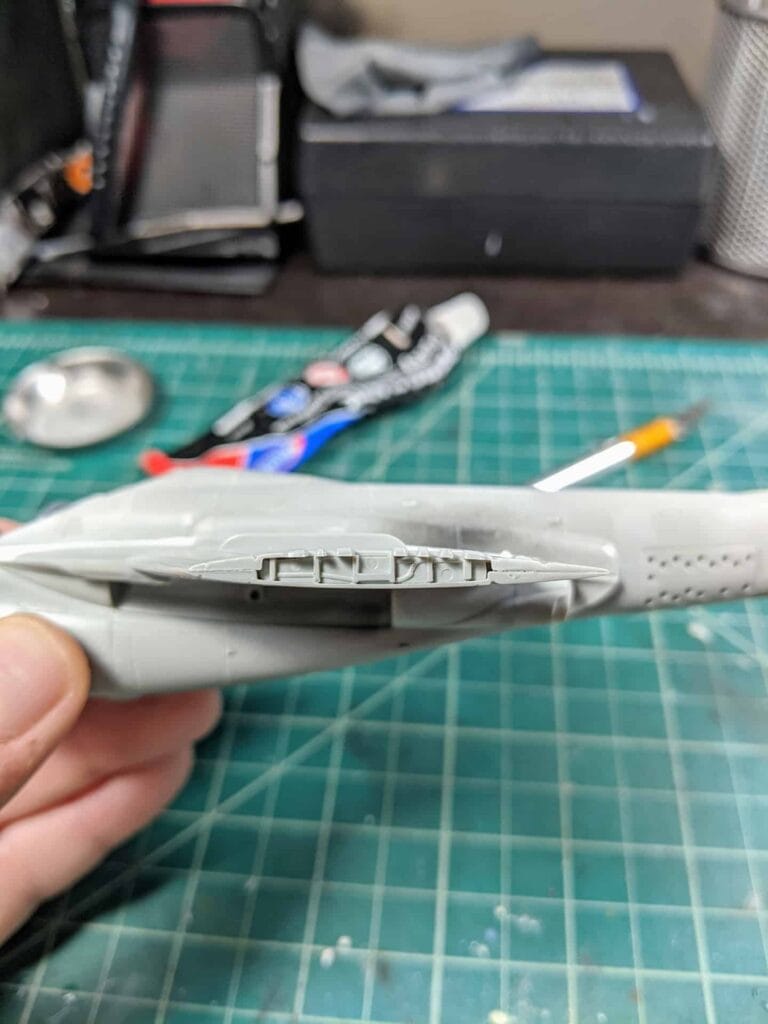
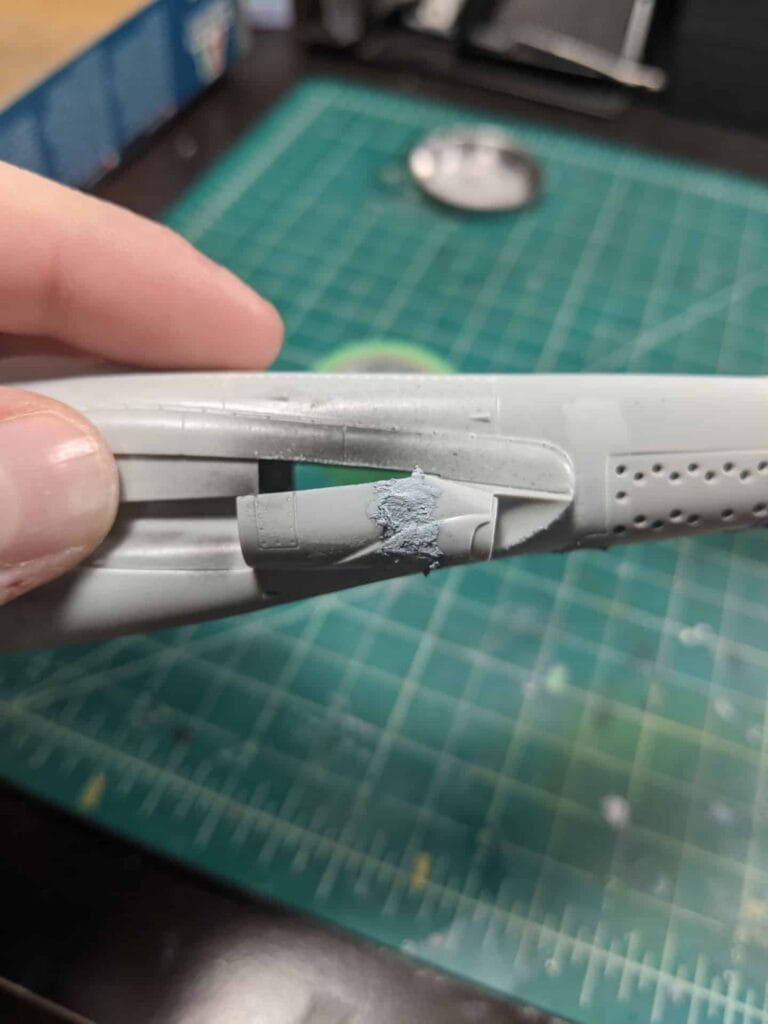
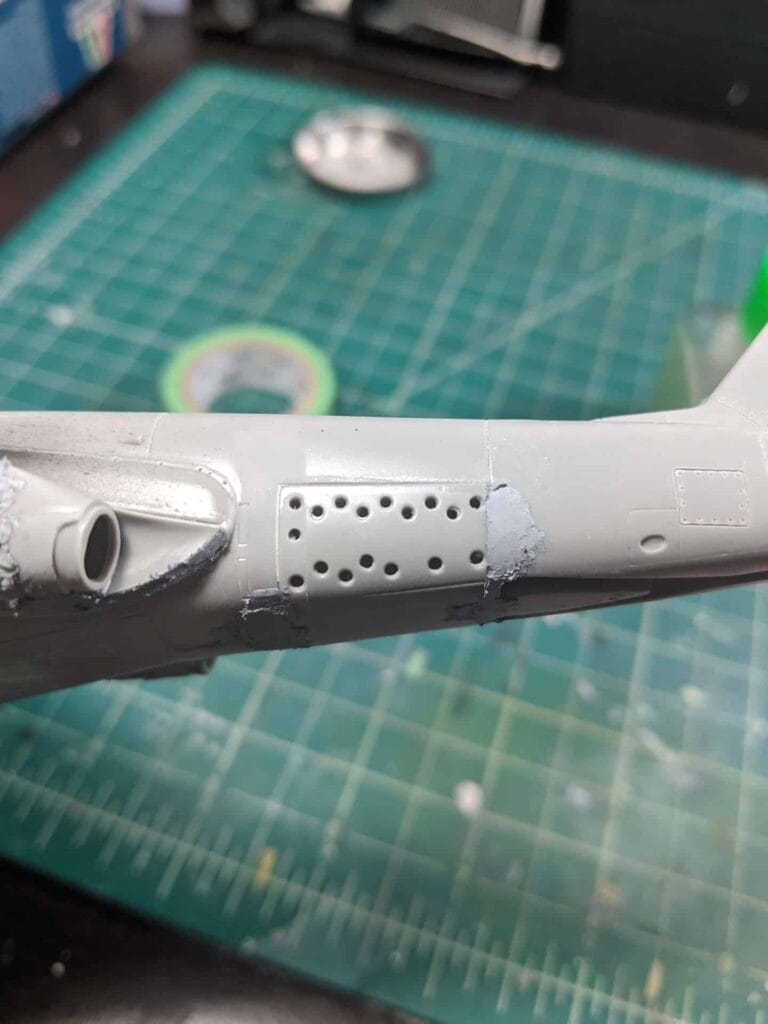
Still sanding and filling. Nothing is a drop fit on here. In the images below you can see the gaps I filled on the underside and the engine exhaust.
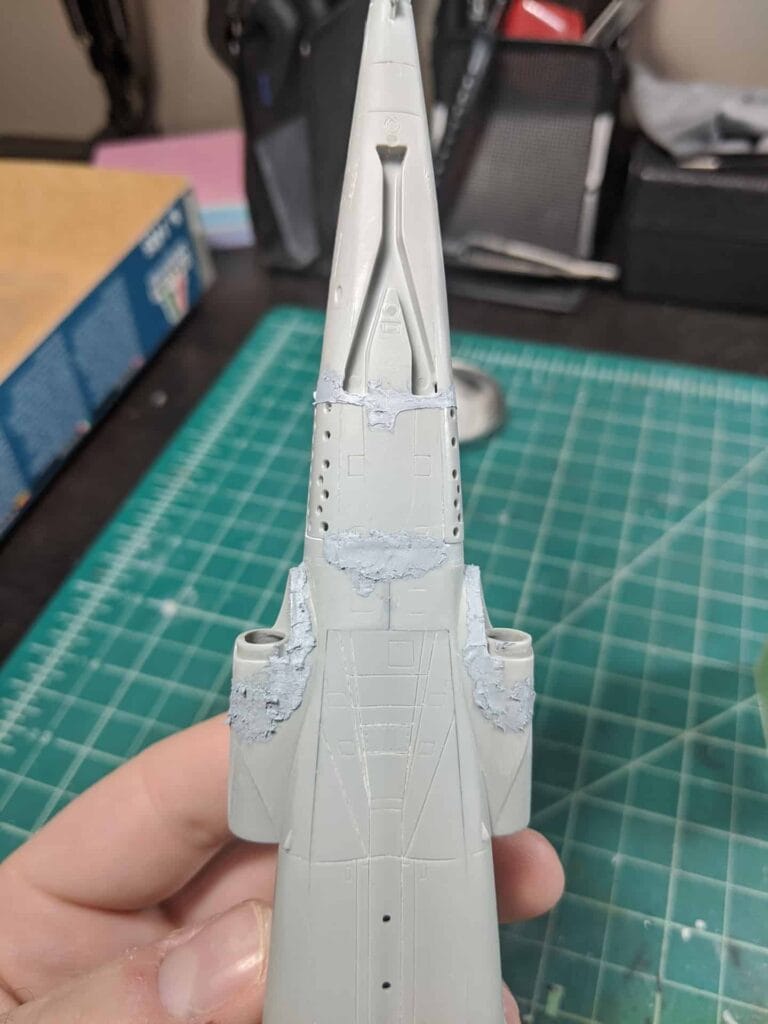
And here are the airbrakes attached and the holes drilled out for them.
Not pictured but I attached the forward intakes, and the inner portion of the wings to the fuselage. I also dropped some lead weight in the nose and once the glue dries, will attach it.
I also dry fit the forward windscreen…and…well…were going to have a problem. It has some major gaps. But I knew it would be problem from reviews I read.
Fuselage Sanding and Filling Continues
The putty party continues…What’s funny though is that there are no big gaps or egregious fits that cause you bust out hours of *basic modelling skillz*. While most of the attachments are NOT a good fit, they don’t require too much putty or sanding.
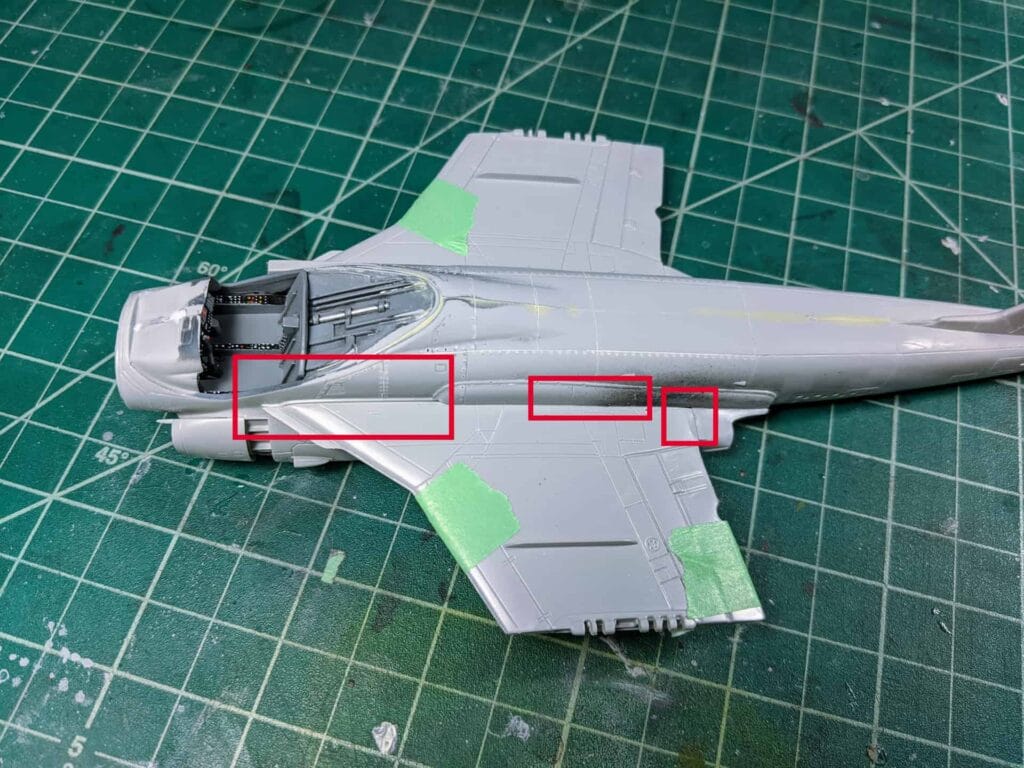
In this image you can see some marked off areas that were in need of putty and sanding. You can see the gaps aren’t horrible. This isn’t an old Revell/Monogram kit here, but it is still annoying.
Here you can see the gaps on the wings. Nothing too bad but not a drop fit either. We want to clean this up since we’re displaying the wings folded. Another annoyance is the gaps inside the wing you can see on either side. The wing is three pieces with the top, bottom, and folding mechanism (in the center). I could try to fill it but it would be more trouble than it’s worth. Another issue are the numerous ejector pin marks. Almost impossible to sand though out. I might drill them out or just add more detail over them. Or I’ll just say *F* it and leave them.