Italeri KA-6 Intruder (Pt. 7)
In this post we throw down the base coat, do some detail painting, and finally apply all the decals.
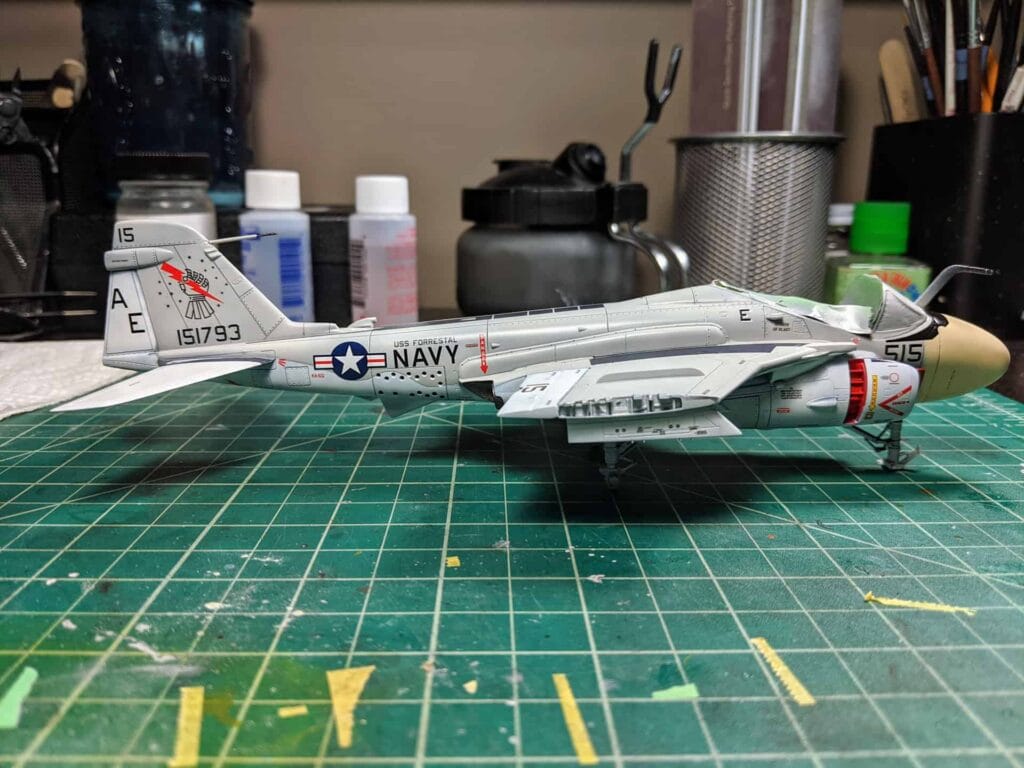
In this post we throw down the base coat, do some detail painting, and finally apply all the decals.
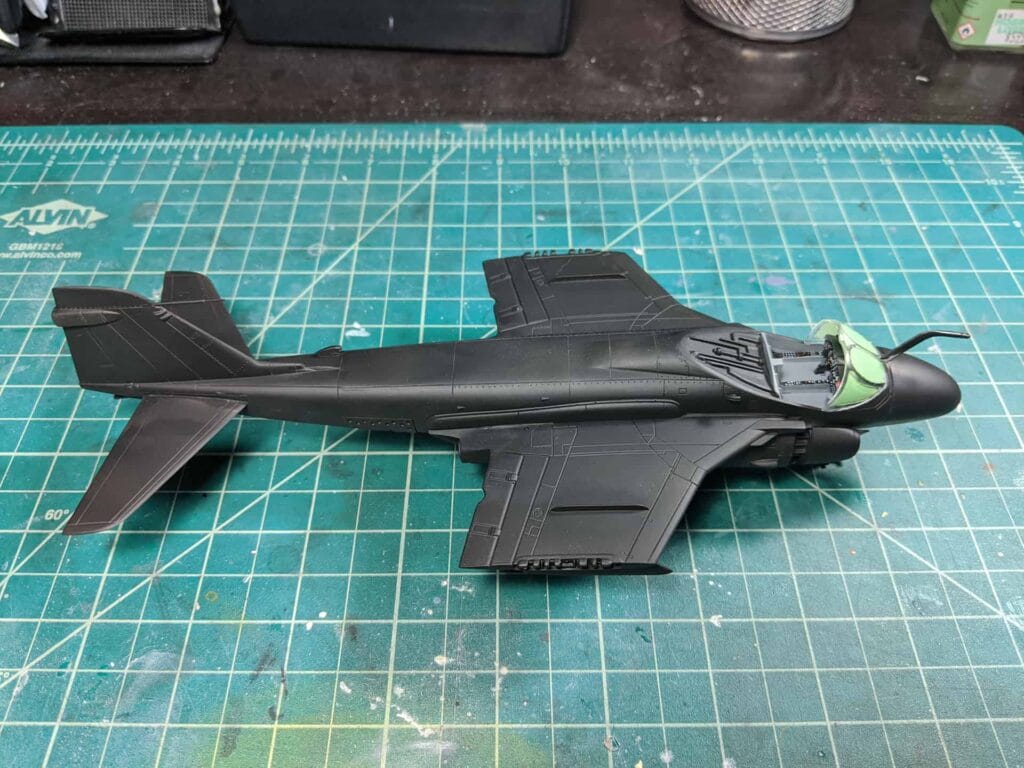
In this post we put down some primer and clean up a few remaining blemishes. I also go over the scheme options and chose paint scheme to use.
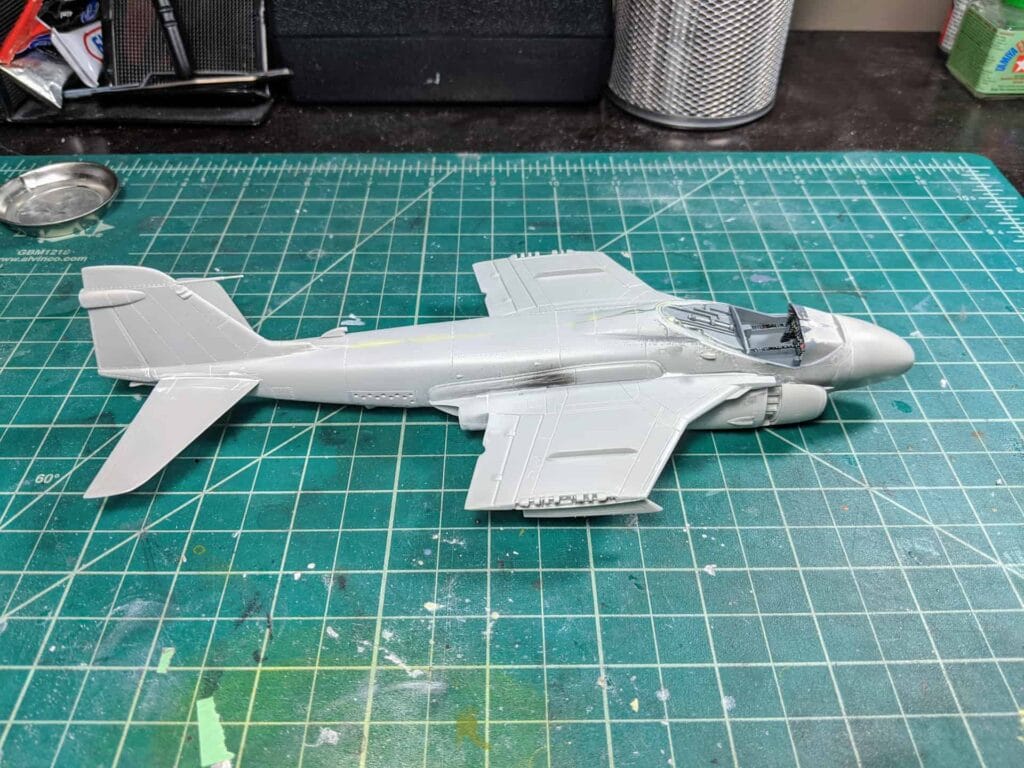
In this post we finish up the fuselage, clean up a few more seams, and add some nose weight. Finally, we clean it up to be ready for priming.
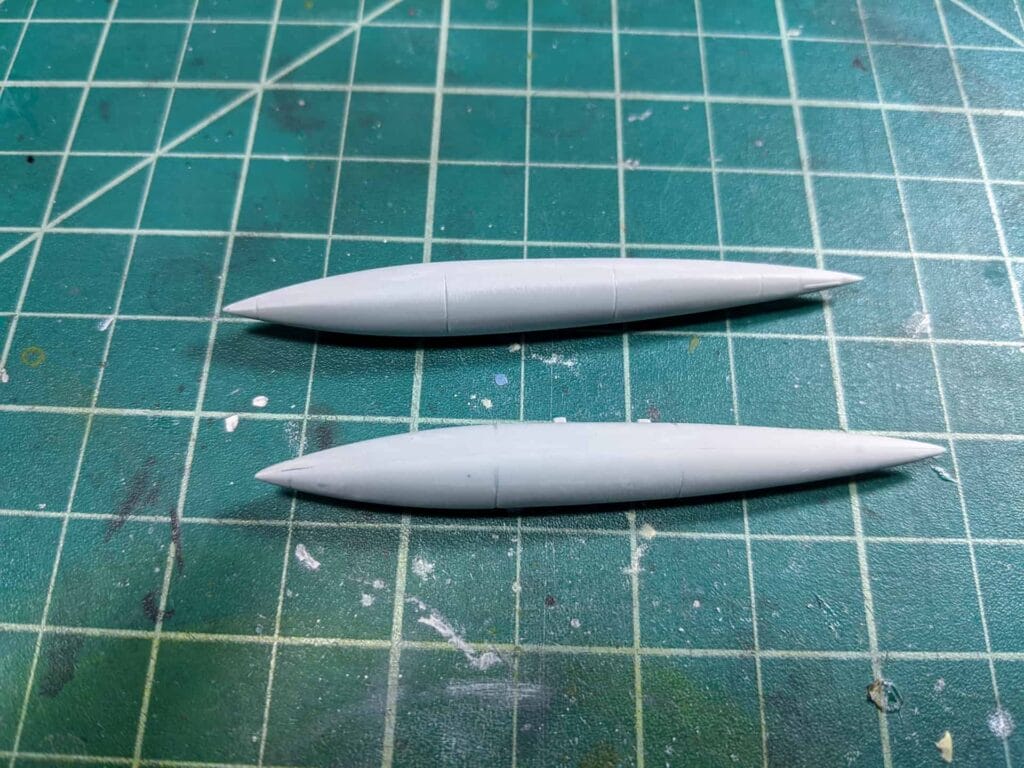
In this post we sand, and sand, and sand, and sand some more. We also attach some remaining fuselage bits.
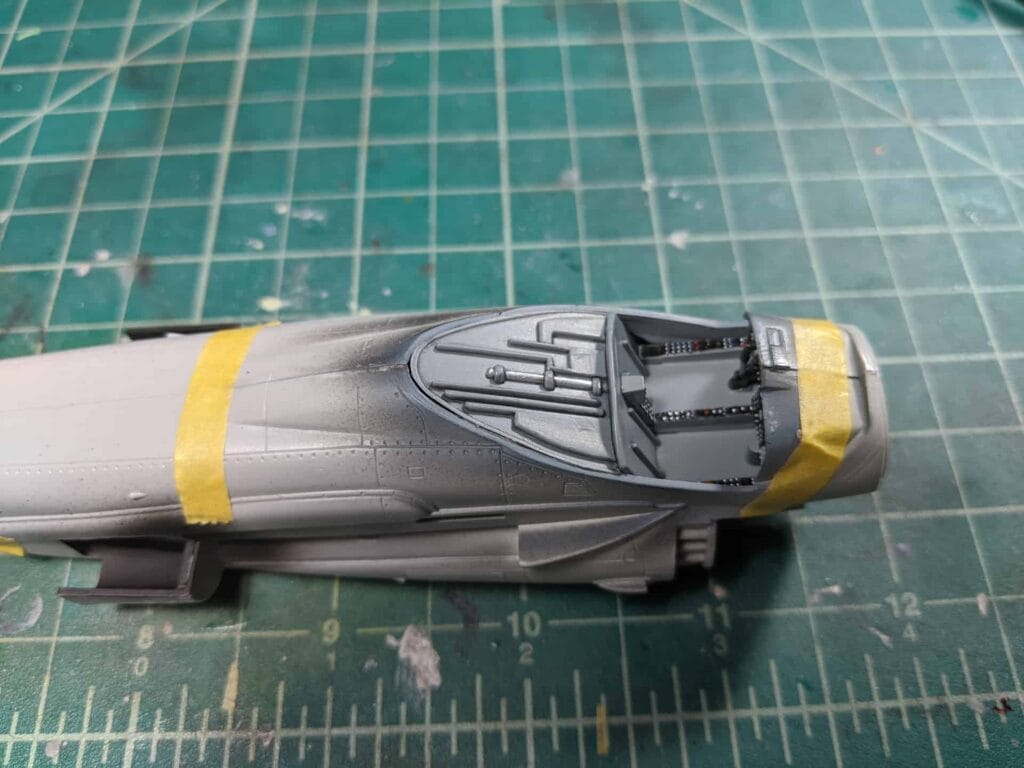
In this article we put together the exhausts and go over the various intricacies of assembling the fuselage together.
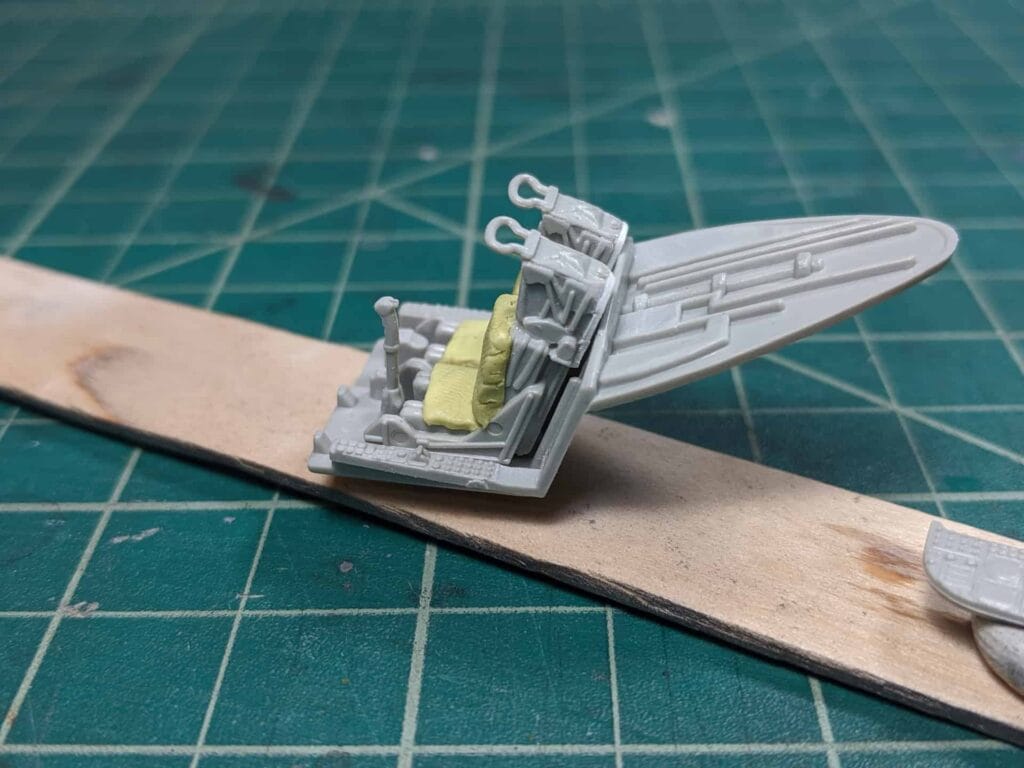
In part two we work on the some cockpit details, ejection seats, and instrument panel.
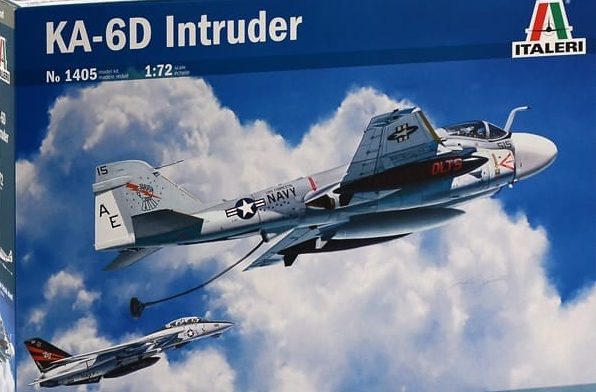
In part one we dive into an unboxing of the Italeri KA-6 Intruder. Here we review the various sprues and decals included in the kit.
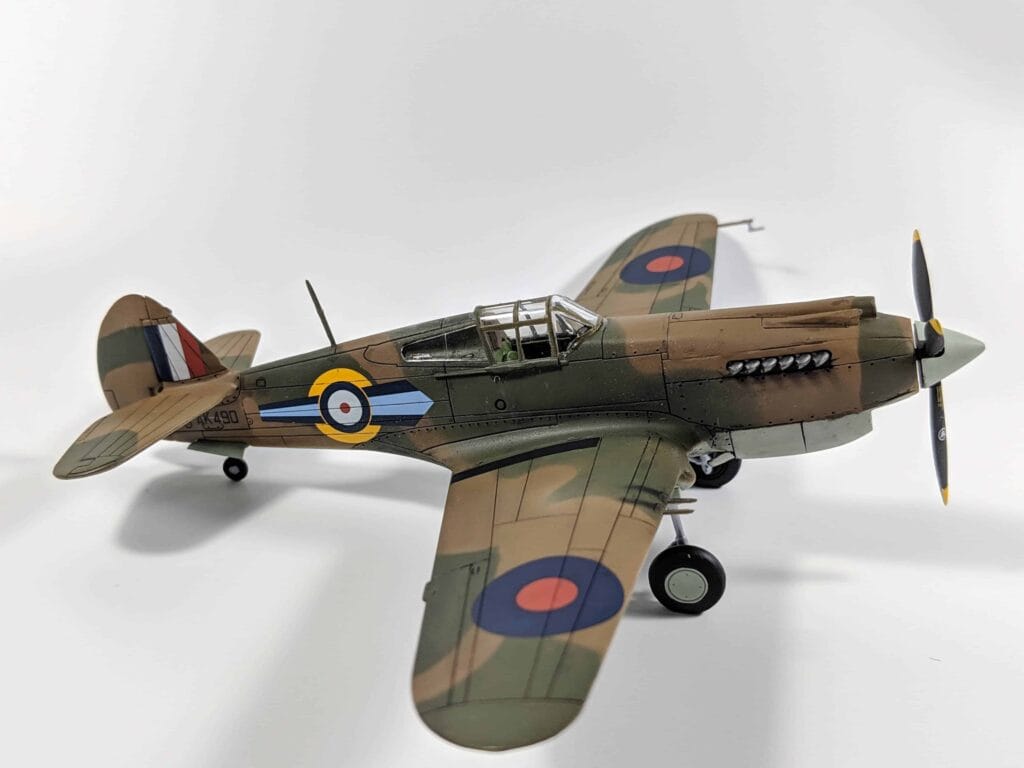
A completed build of the Airfix Curtiss Tomahawk on display in the Model Showcase.
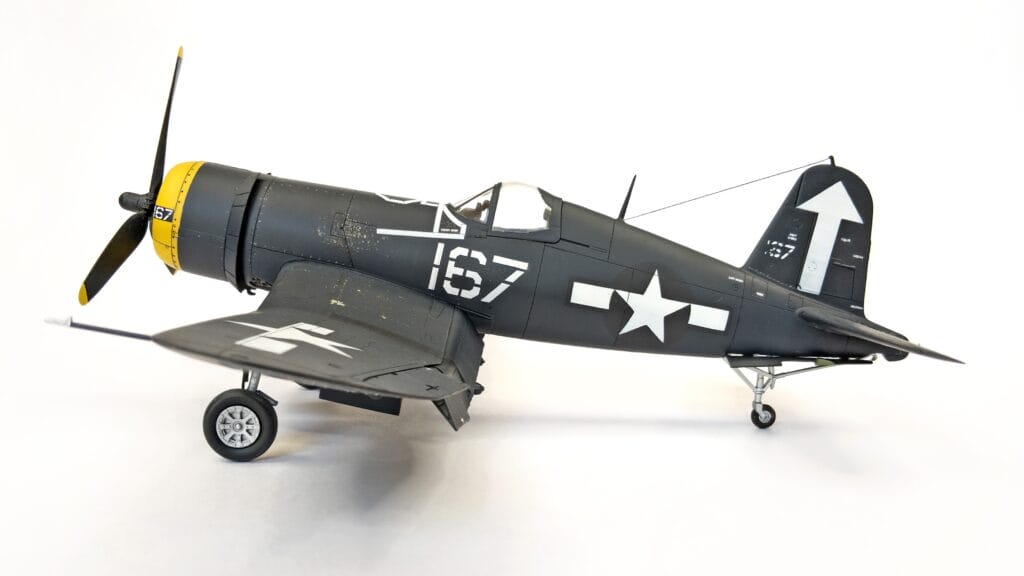
A completed build of the Tamiya F4U-1D Corsair on display in the Model Showcase.