Tamiya F4U-1D (Pt. 3)
In Part 3 we go over weathering of the fuel tanks and put on some base layer paint. We also get into hairspray chipping.
In Part 3 we go over weathering of the fuel tanks and put on some base layer paint. We also get into hairspray chipping.
In Part 2 we detail the gear bay as well as look into the cockpit and fuselage fit.
In Part One we unbox the excellent Tamiya Corsair and check out its parts and decals.
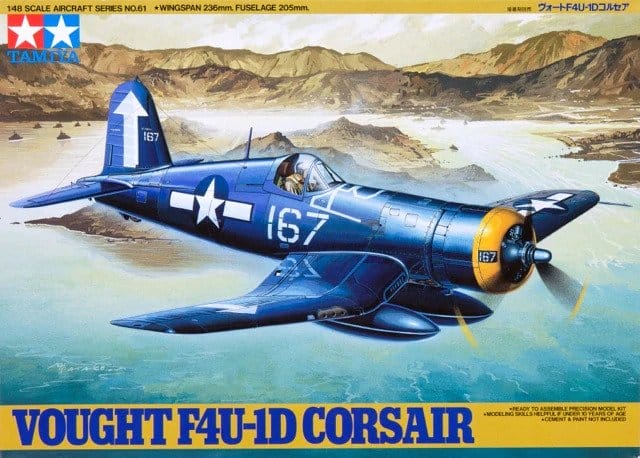
A detailed review of the Tamiya 1/48 F4U-1D. A fantasic 90’s era kit from Tamiya that still holds up well today.
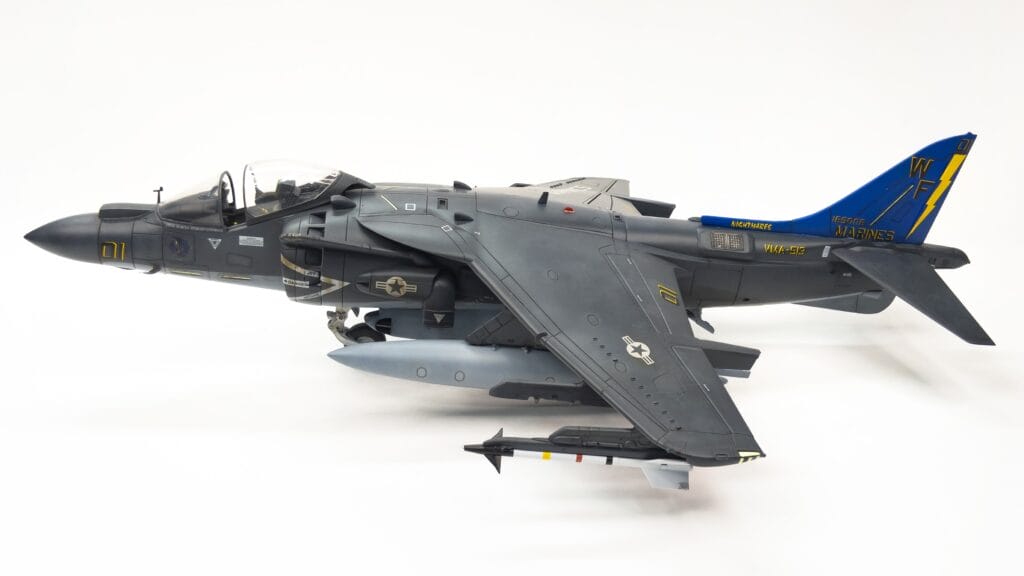
A completed build of the Hasegawa AV-8B Harrier II Plus on display in the Model Showcase.
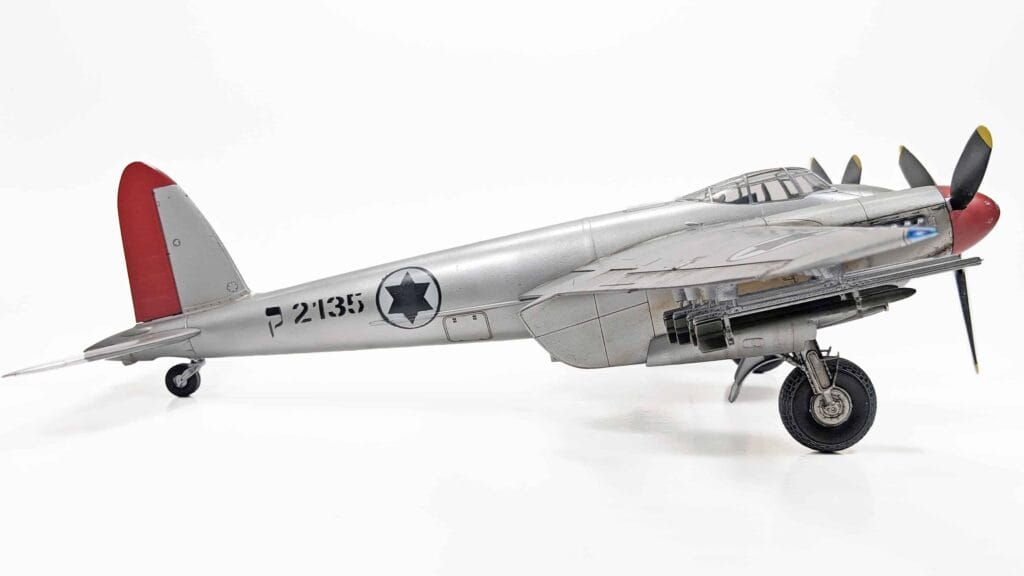
A completed build of the Tamiya De Havilland Mosquito FB Mk.VI on display in the Model Showcase.
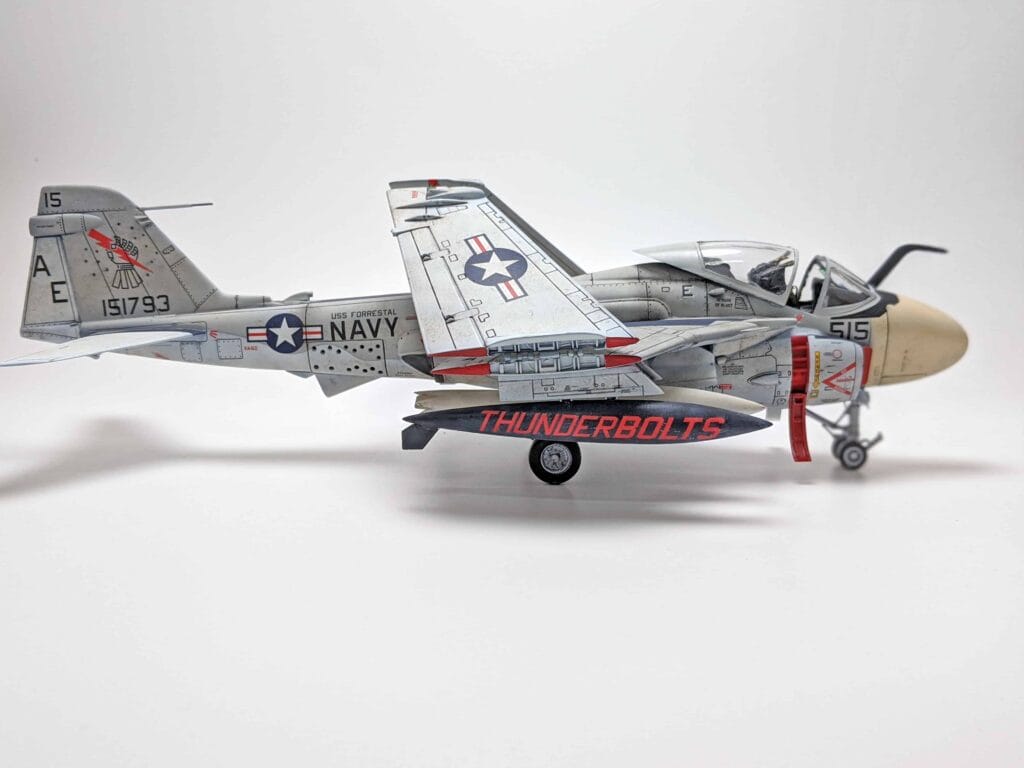
A completed build of the Italeri KA-6 Intruder on display in the Model Showcase.
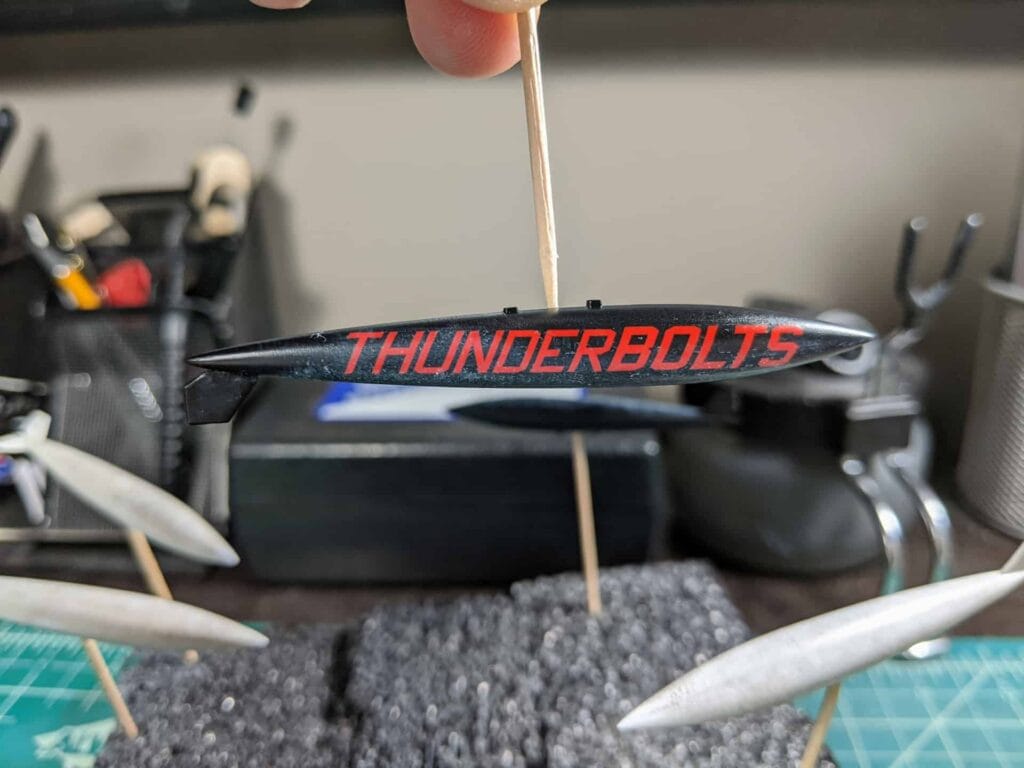
In part eight, the final installment of this build series, we weather the aircraft and assemble the final pieces. The full completed build gallery can be found in the showcase.
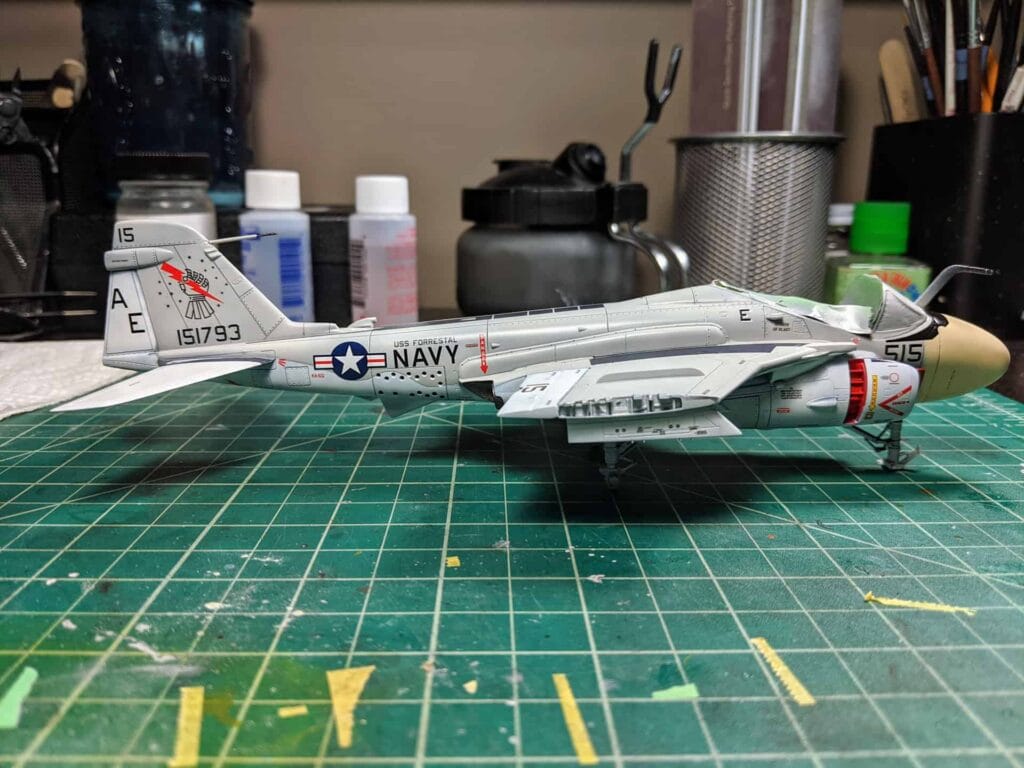
In this post we throw down the base coat, do some detail painting, and finally apply all the decals.