Introduction
In a bid to reinvent their brand in the 2010’s, Airfix/Hornby released a tsunami of new tooled kits with their updated red box branding. Most of these kits were very well received by modellers for their diversity in subjects, scale, and price. While not the most accurate or detailed kits their value is generally unbeatable coming well under the $30 USD price point.
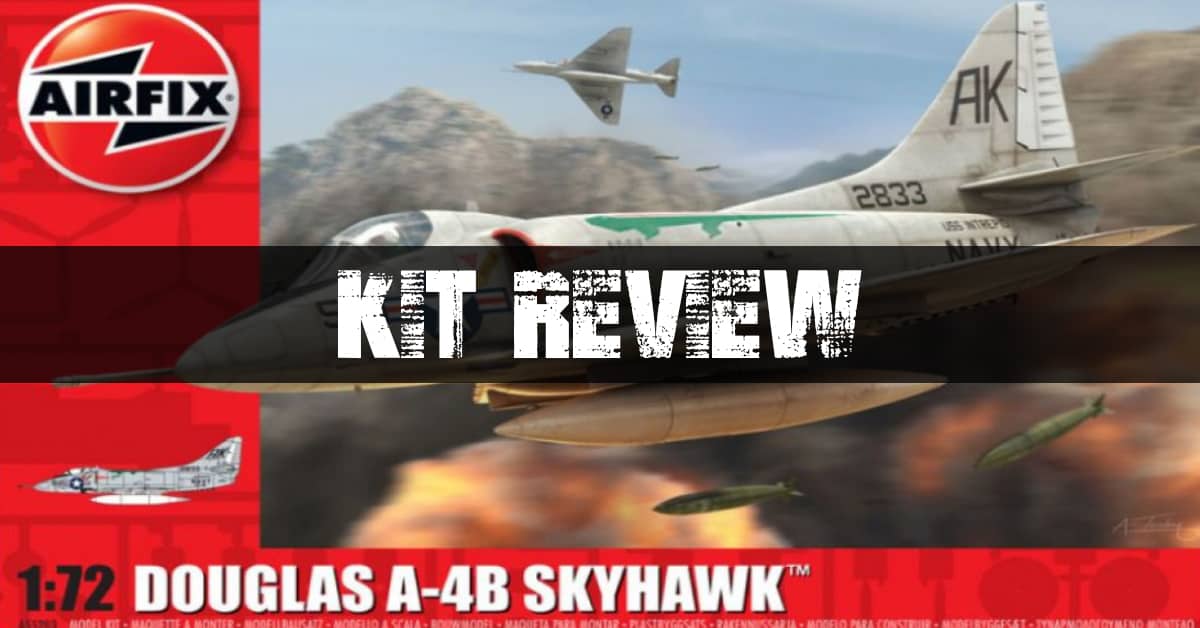
Released in 2012 the Airfix A-4B Skyhawk was the first 1/72 Skyhawk released since Fujimi and Hasegawa in 1987. The Fujimi kit has been the better of the two with the Hasegawa kit being largely forgettable. Surprisingly, given the positive reception of the Skyhawk, Airfix has chosen to not expand on it’s variants only releasing a -B, -P (Agressor), and -Q (Argentine Navy). The intended UK audience is clear with the Falkland War Argentina variant.

The Kit
For whatever reason, at least in the US, the Airfix A-4B “starter set” is always significantly cheaper than any of the other variants. For my latest build I was able to pick this one up for $14 USD which is an insignificant amount. For that price this kit can be used for anything from a full detail build to a paint mule.
The starter set comes with glue, several paints, and two paint brushes. I immediately tossed the paint and glue in the garbage. The paint brushes are just OK but it’s always nice to have some utility brushes so I kept them.
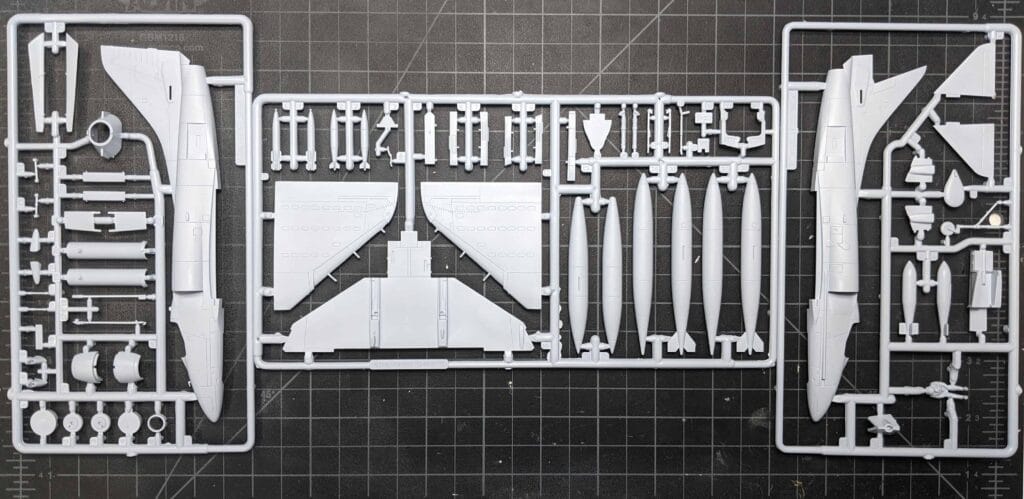
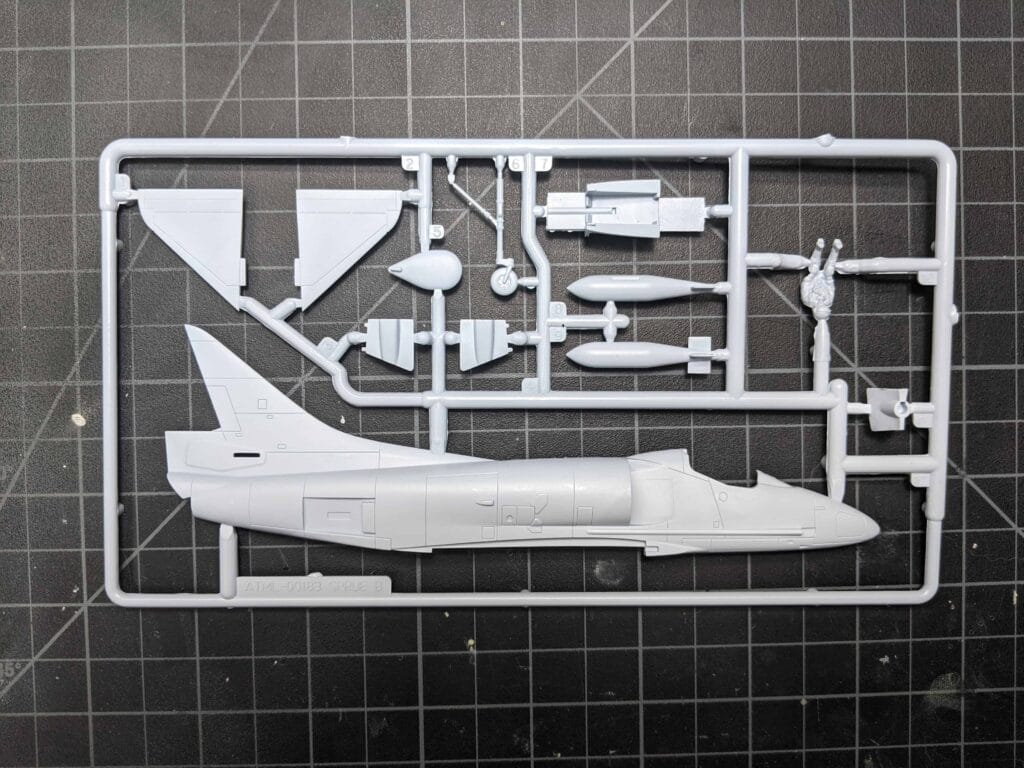
Once unboxed the kit comes with a set of instructions, a small decal sheet, and three sprues in light gray styrene. Famous to Airfix’s new tooled kits is their new softer styrene. It’s easier to scribe but harder to get seams to be sanded smooth. The details are also very sharp although the panel lines are a bit wide which is standard for Airfix boxings. One of the most important details of a Skyhawk is the delta wing vortices on top of each wing. These little bumps allow air flow better and reduce drag. This kit models these very well.
Included in the sprues are plenty of configuration options. The airbrakes can be posed open or closed. The leading edge flaps can also be posed open or closed. Finally, the kit includes three external fuel tanks (one center, two wing) two Mk.81 bombs with the TRD (tail retarder device) and two smooth tail Mk.81 bombs. Four pylons are included (for future variants) but the -B instructions call for only two pylons to be attached. If you wanted to attach all four you can do so.
View in the Model Showcase
Construction
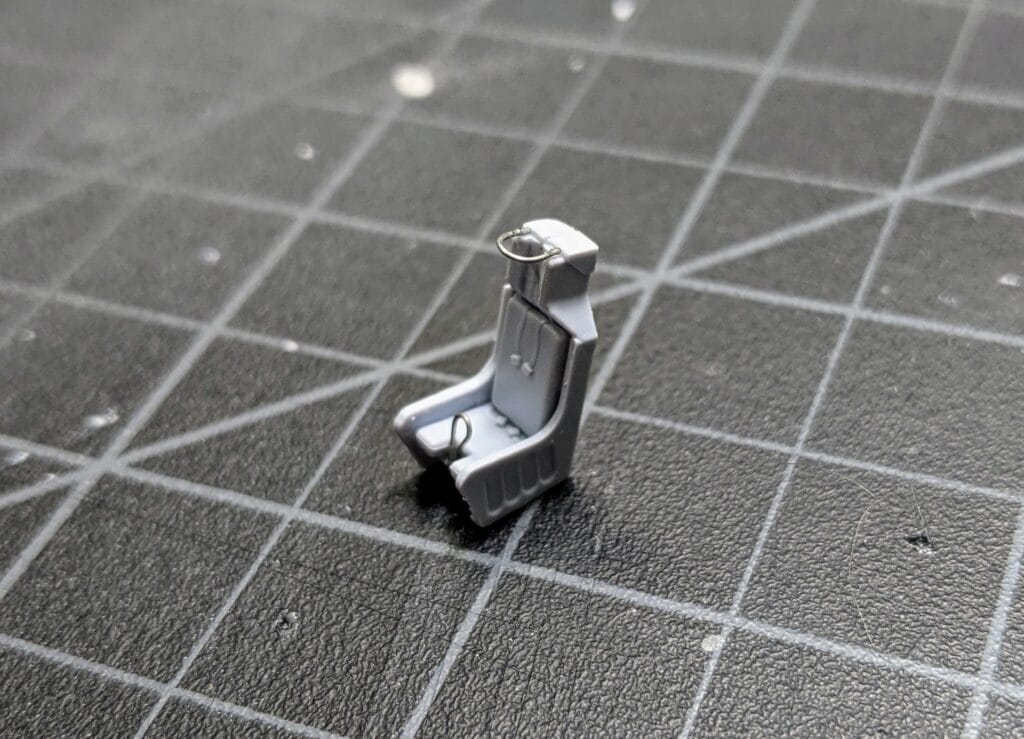
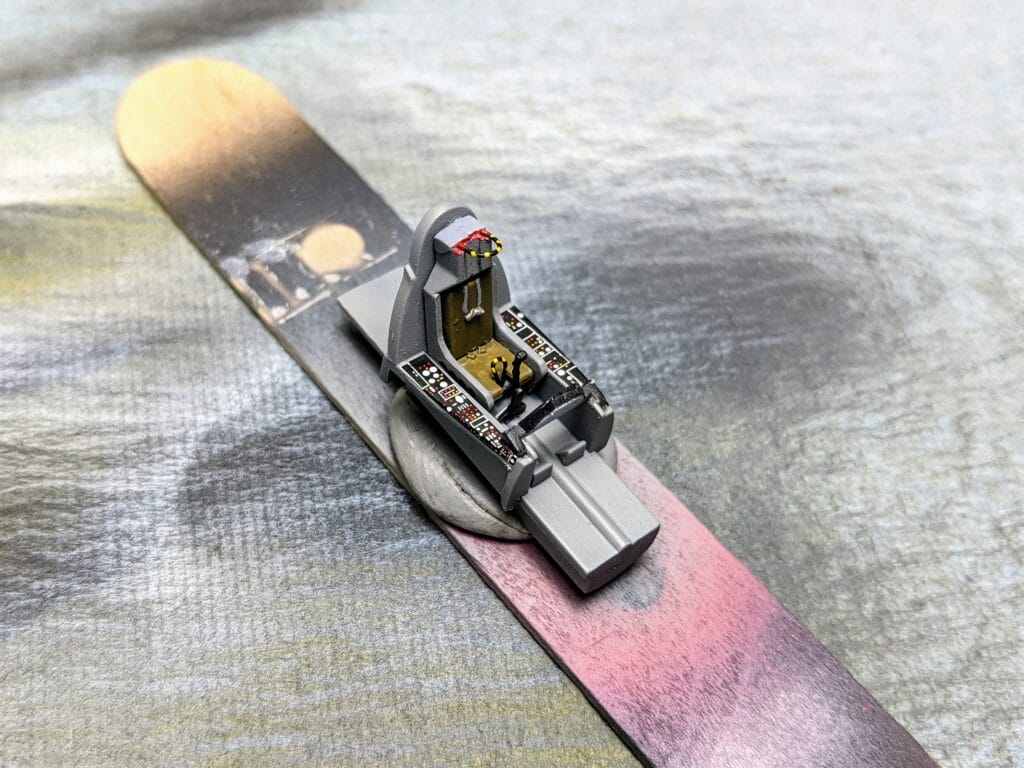
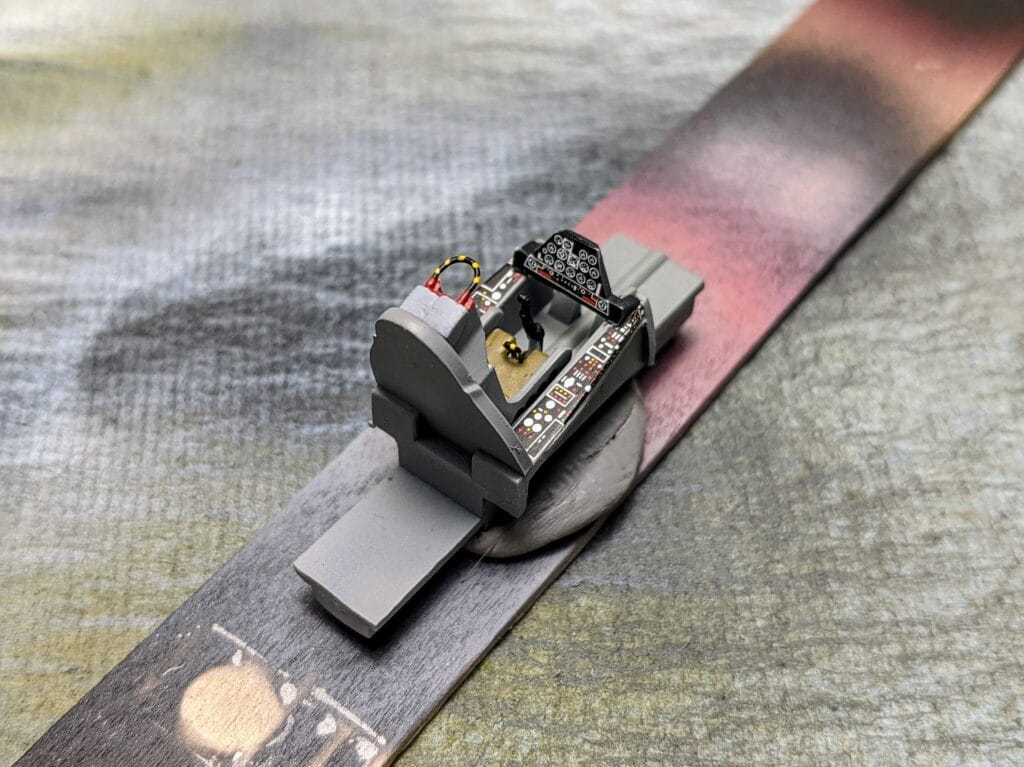
The kit has you beginning construction on the cockpit. Included is a basic four part seat, tub, interment panel, and control stick. As with most of these Airfix kits there is absolutely no detail in the cockpit. Eduard makes a decent photoetch set but it’s very hard to find and might even be out of production. Decals are provided in the kit for the instrument panel and sidewalls. The Skyhawk is already a pretty small aircraft with a tight cockpit so I found the decals detail to be sufficient.
For the seat I used some small gauge steel wire to simulate the ejection handles. It worked out quite nicely.
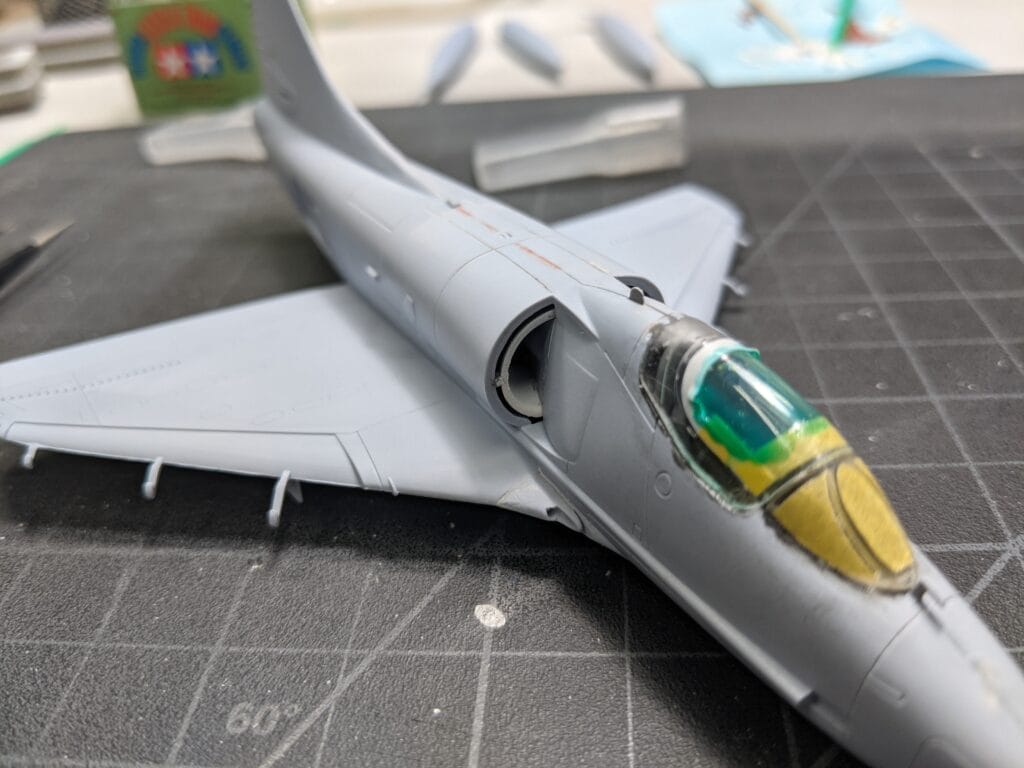
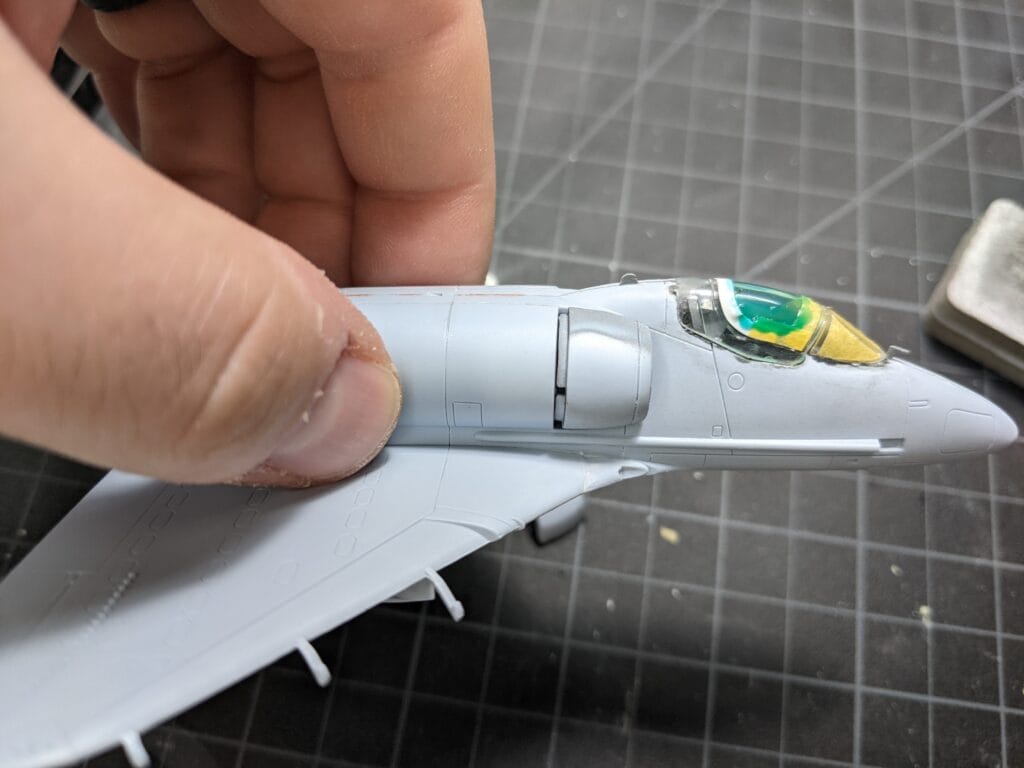
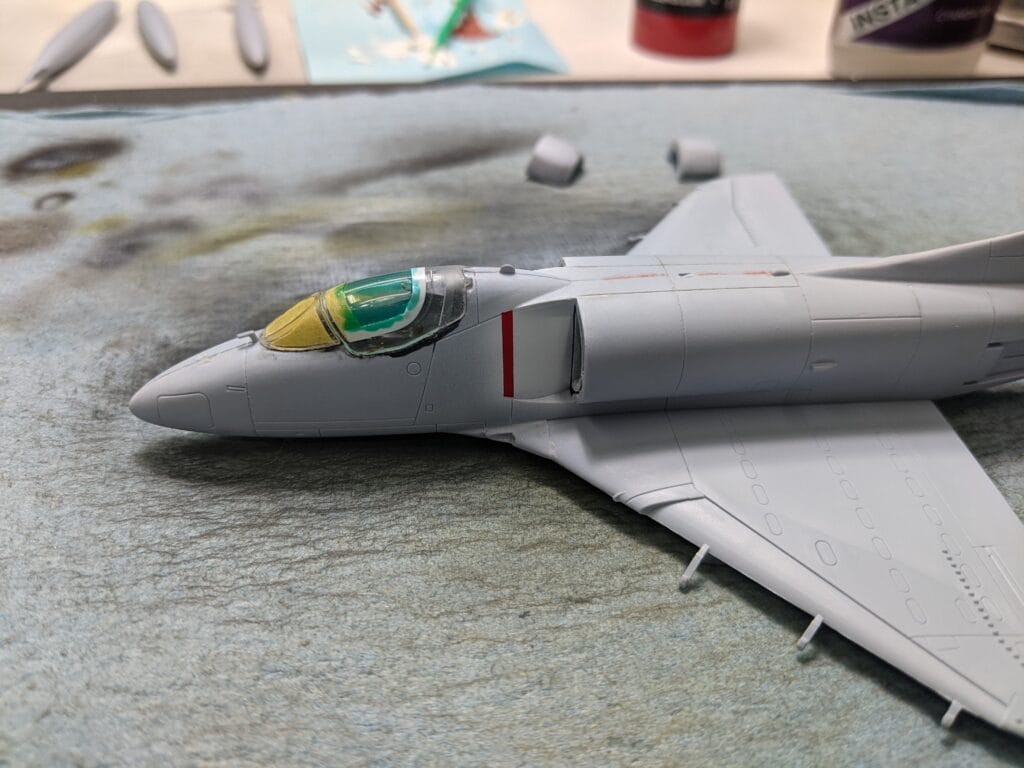
Next, you assemble the air intake as well as the exhaust. These get painted and placed into a fuselage half before closing it up. I highly recommend painting and masking the intake area of the fuselage before you assemble the intake cover. See my images here for an example. It’s much easier to paint it and paint the red stripe that’s needed before it’s all assembled. Everything fits into the fuselage without issue. Be sure to add weight to the nose though because the Skyhawk is a major tail sitter with it’s extended length front gear strut.
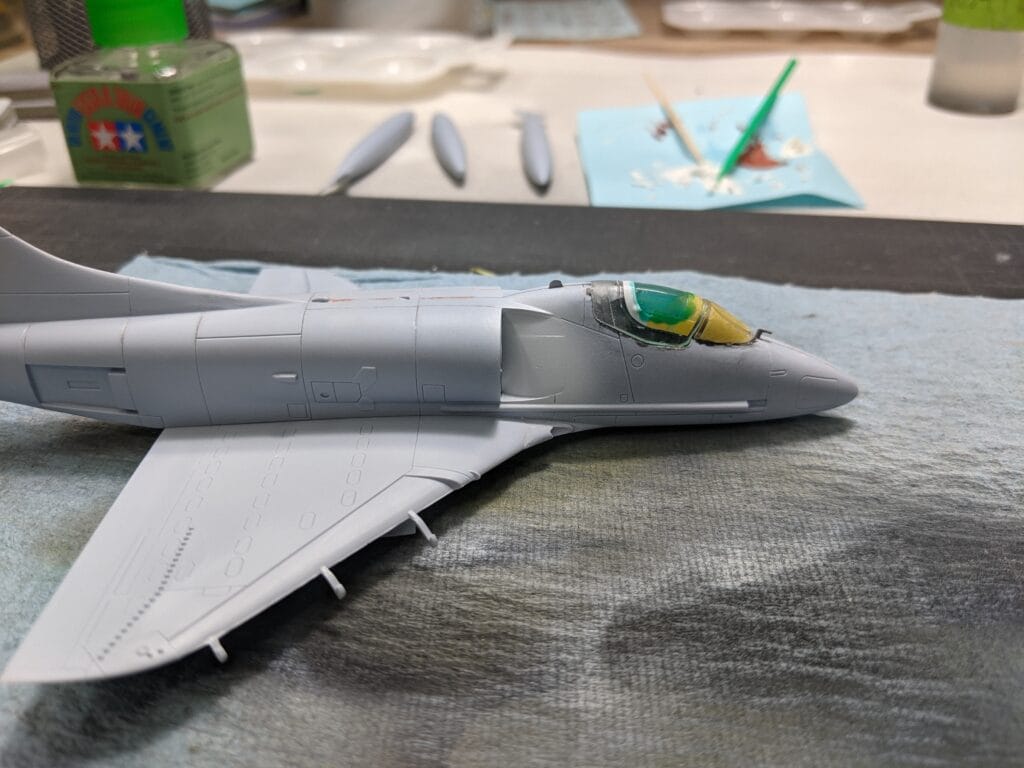
Moving on to the three part wing/fuselage section I recommend attaching the lower wing/fuselage section to the fuselage first before attaching the upper wings. I found you get a nice tight fit with no gaps or seams if the upper wings are attached last. The lower fuselage section is going to require a lot of clean up, sanding, and rescribing. Check your references as a few of the seam lines should exist as panel lines. I also recommend attaching the pylons at this point as they won’t interfere with any decals.
Now, attach the elevators and other small bits and pieces such as the fuel probe and gun ports. I would leave the guns off for now as you need to paint a metallic/black section just behind them (for the gun exhaust). These ports will also require sanding/filling.
The front windscreen fits without any real issue but I’ve often had trouble with the canopy fit. Either it’s too short for the cockpit rails or there’s molding issues with the hinges on the rear. Lots of dry fitting will be necessary.
Finally, as always I assemble and paint the landing gear, gear doors, and other detachable parts (such as the flaps and air brakes) separately to be attached once the main model is completed. All of these parts go on without any issue. The landing gear doors, which are always a fit concern with any kit, fit snug and secure.
The bombs come as one piece which is nice so only minor cleanup is needed. The fuel tanks come as two pieces and there will be standard seam cleanup and rescribing.
Painting and Weathering
To paint the kit I used Mission Models paint and my Badger Patriot 105. For the cockpit I used MMP-64 Dark Gull Grey. The intakes are painted MMP-104 Insignia white. The seat is also painted Dark Gull Grey with the cushions painted olive drab.
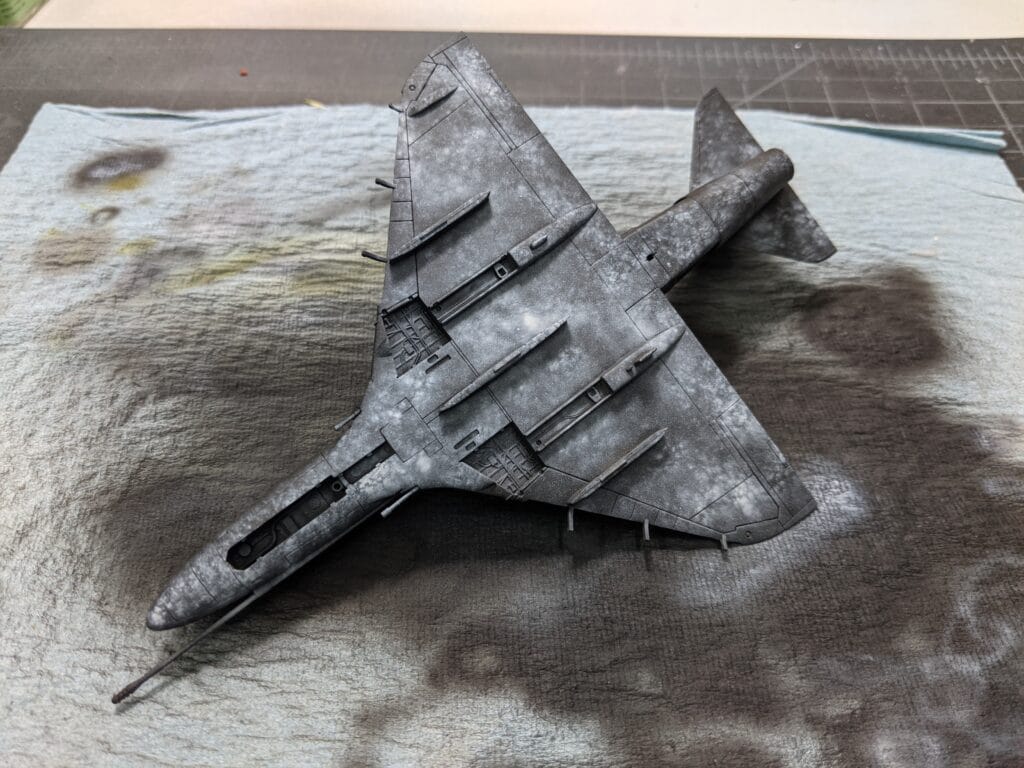
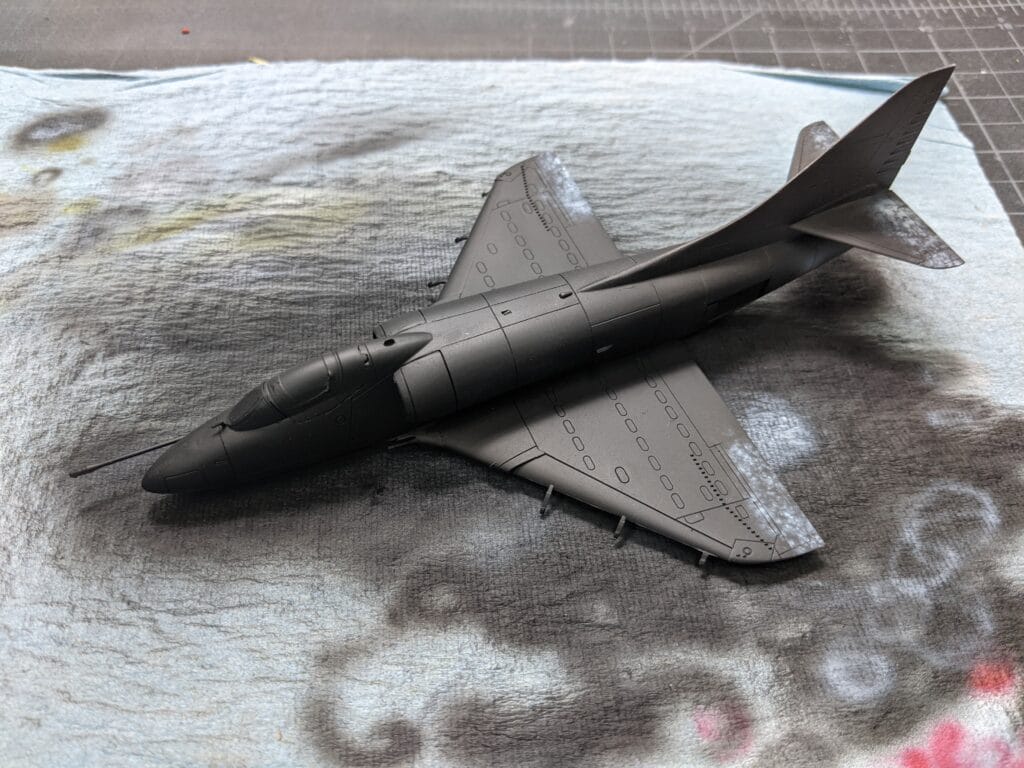
For the rest of the aircraft I started with a black primer base of Stynlrez. I then mottled with MMP-95 US Camo Grey. I then gave it a blend coat of MMP-63 Light Gull Gray. Afterwards I used my .03mm needle to mottle some of the base coat mixed with a few drops of insignia white to create a weathered effect. Finally, I used some diluted black to go over a few panel lines to create some shading. In this instance I did not dilute the paint enough and the effect was too strong, in my opinion.
The control surfaces, lower fuselage, and gear bays are painted white in which I used MMP-104 Insignia white. The inner control surfaces such as the flaps and air brakes are painted red or MMP-003. The edges of the intakes as well as the edges of the gear bays should also be red. The instructions call for the inner brake area to be painted white. This is mostly incorrect as it should be red, however I followed the instructions in this instance.
Weathering was done over a VMS Satin clear coat once the decals had been applied. Black and Dark brown Tamiya weathering washes were used. Cleanup was done using hardware store orderless mineral spirits.
Livery and Markings
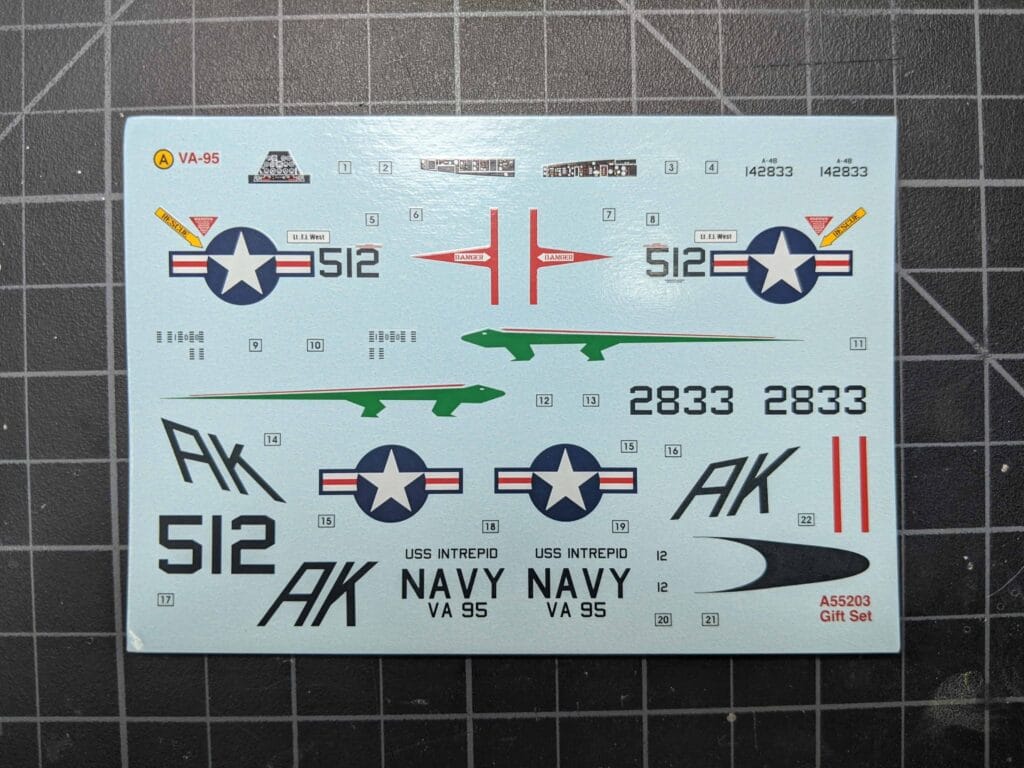
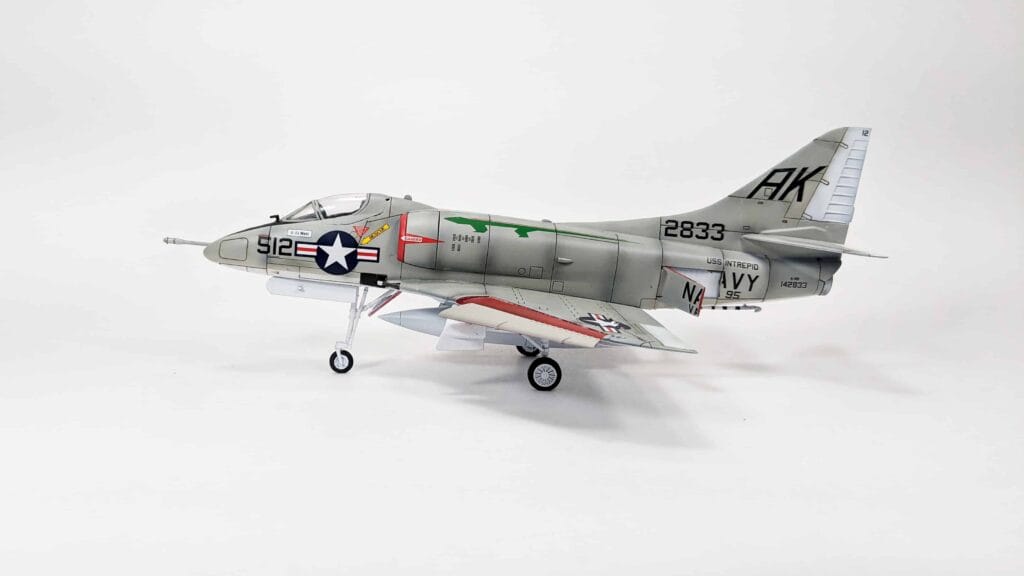
The kit comes with only one marking option:
VA-95 Green Lizards, USS Intrepid, c. 1966.
It’s a nice scheme with a prominent lizard decal that goes across the fuselage. The kit decals are actually quite nice. The printing is crisp and clear and they are nice and thin. They release quickly from their backing and respond very well to any number of setting solutions. They do not disintegrate when using even the strongest solutions such as solvaset. I recommend using a stronger solution and multiple applications around the wing vortex insignia. With some patience it conforms really well and looks sharp. All the other decals are standard for US Navy high-viz and pop nicely on the light gull gray surface.
The decals were placed down directly on top of the MMP paint. No clear coat needed as cured MMP does not react to most setting solutions. Afterwards, a satin clear of VMS varnish was used which does a fantastic job of hiding any decal film.
Conclusion
Overall this kit is really great for any number of build types and skill levels. It’s also one of the best values you can find for a newer tooled kit. More serious modellers will want to upgrade to Hasegawa’s 1/48 scale Skyhawk. Otherwise there really is no reason to go with anything but Airfix’s 1/72 Skyhawk.